

how to draw backgrounds for beginners
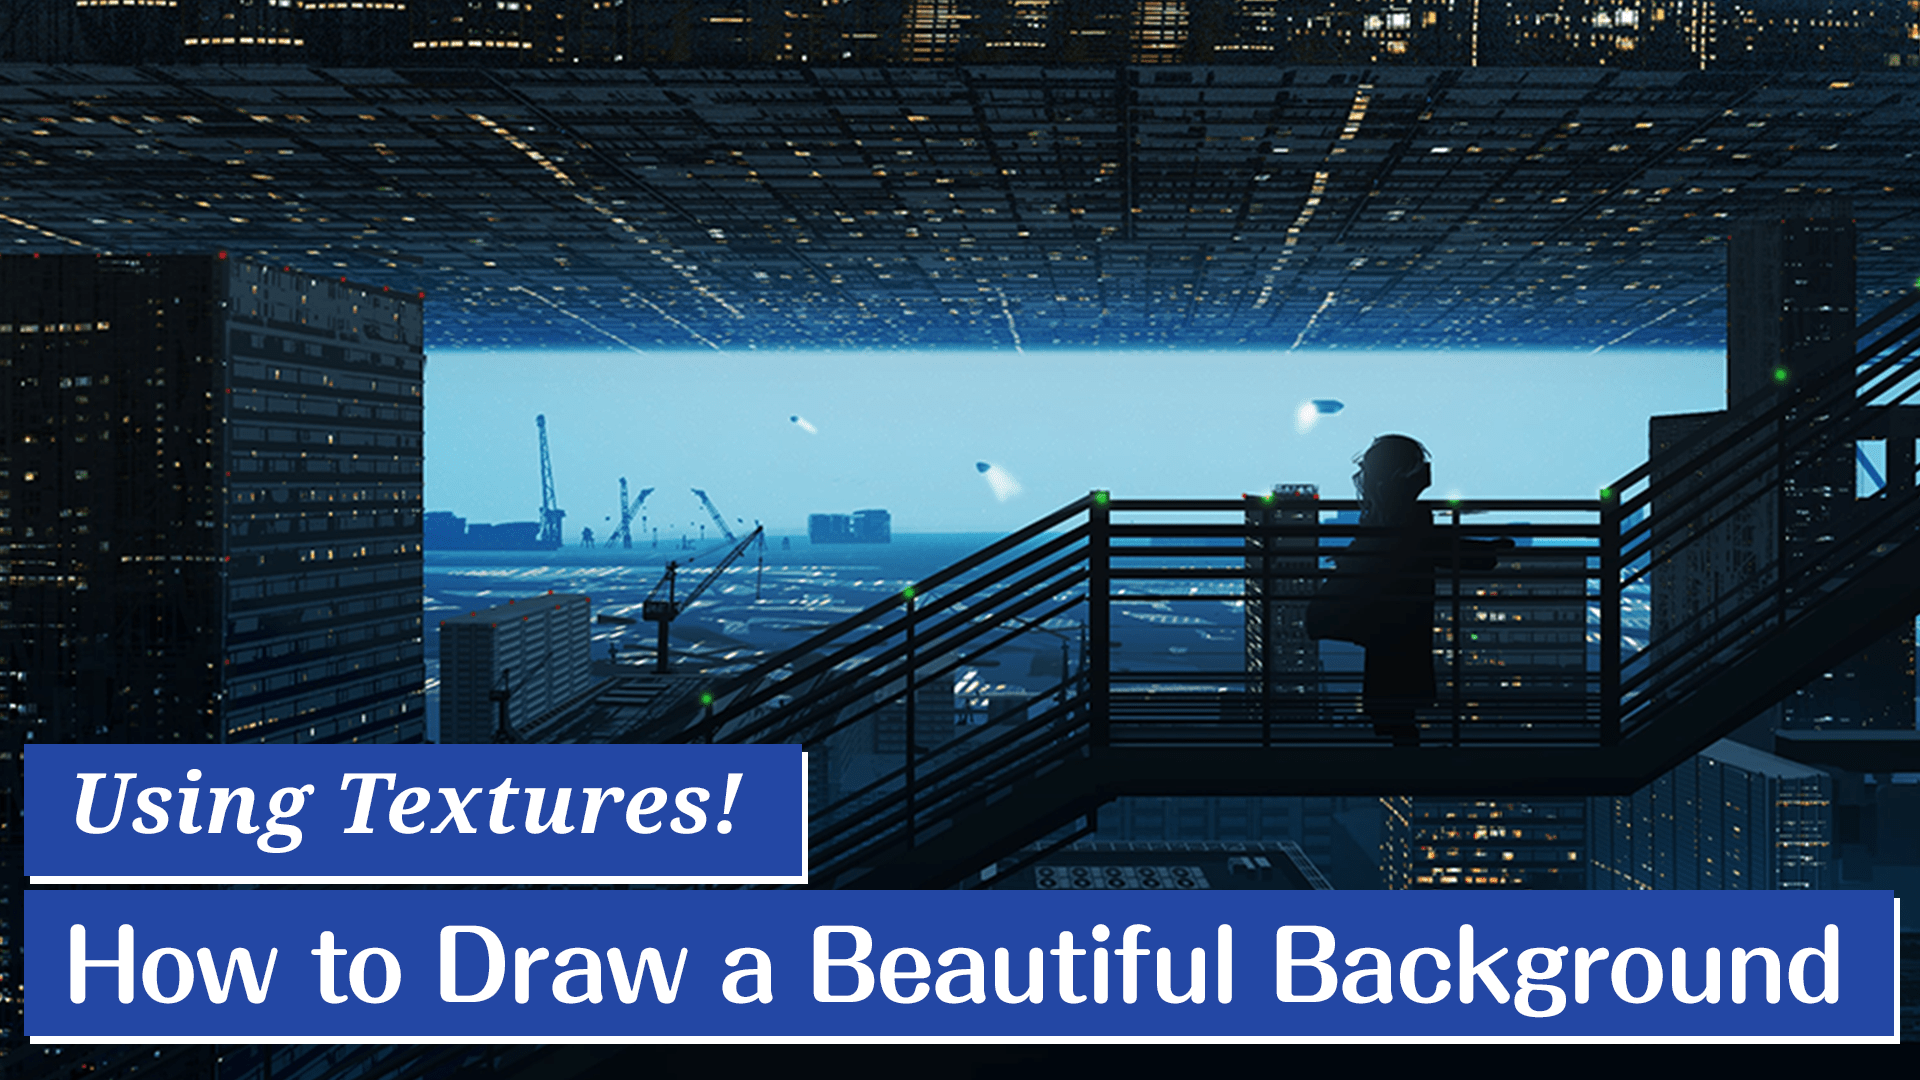
In this article, I would like to create texture and apply it to cartoon an entire urban center.
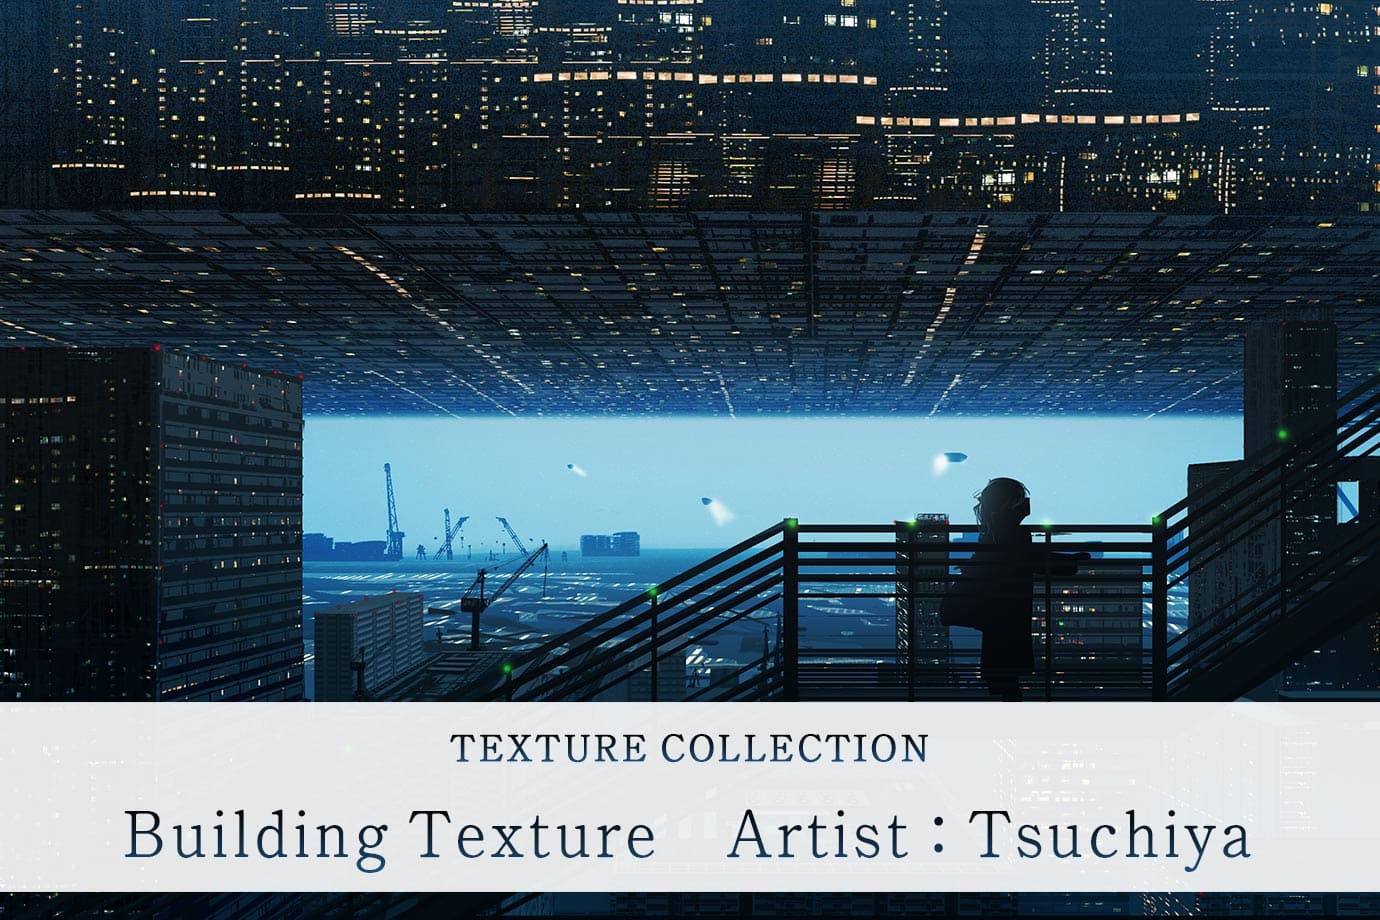
The building textures we used here are now available at ART street! Delight check it out!
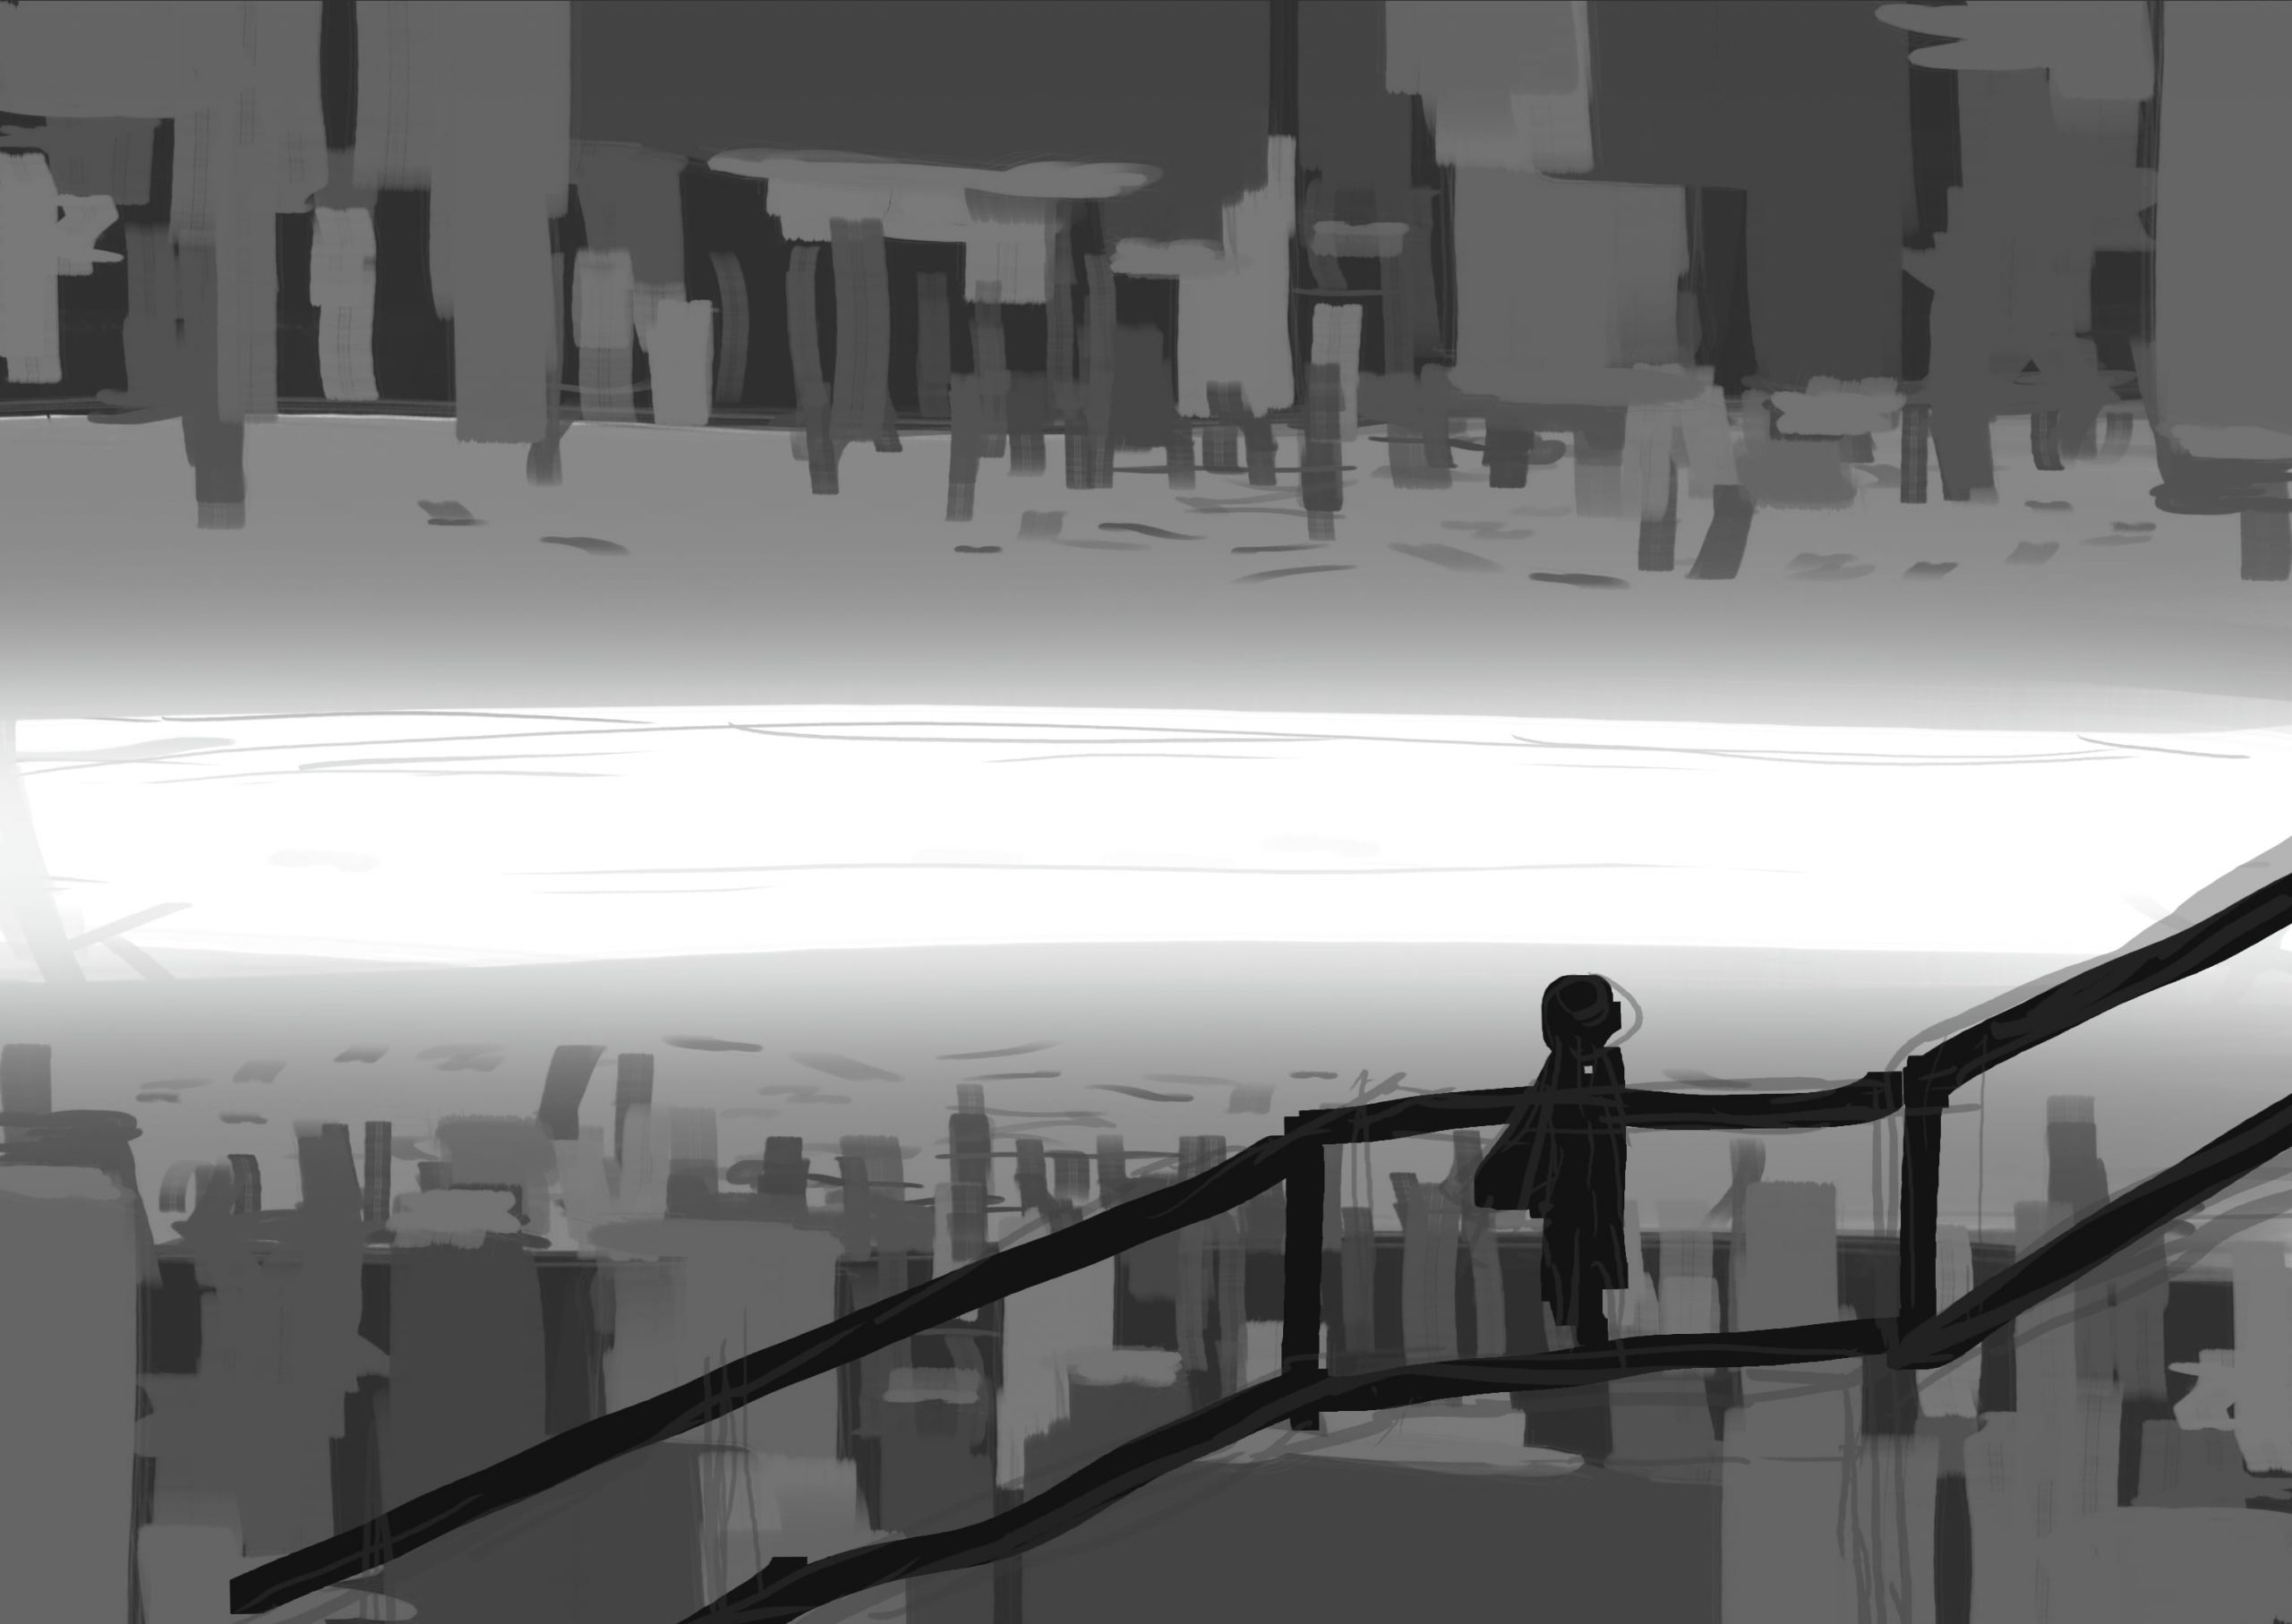
1.Creating a rough sketch
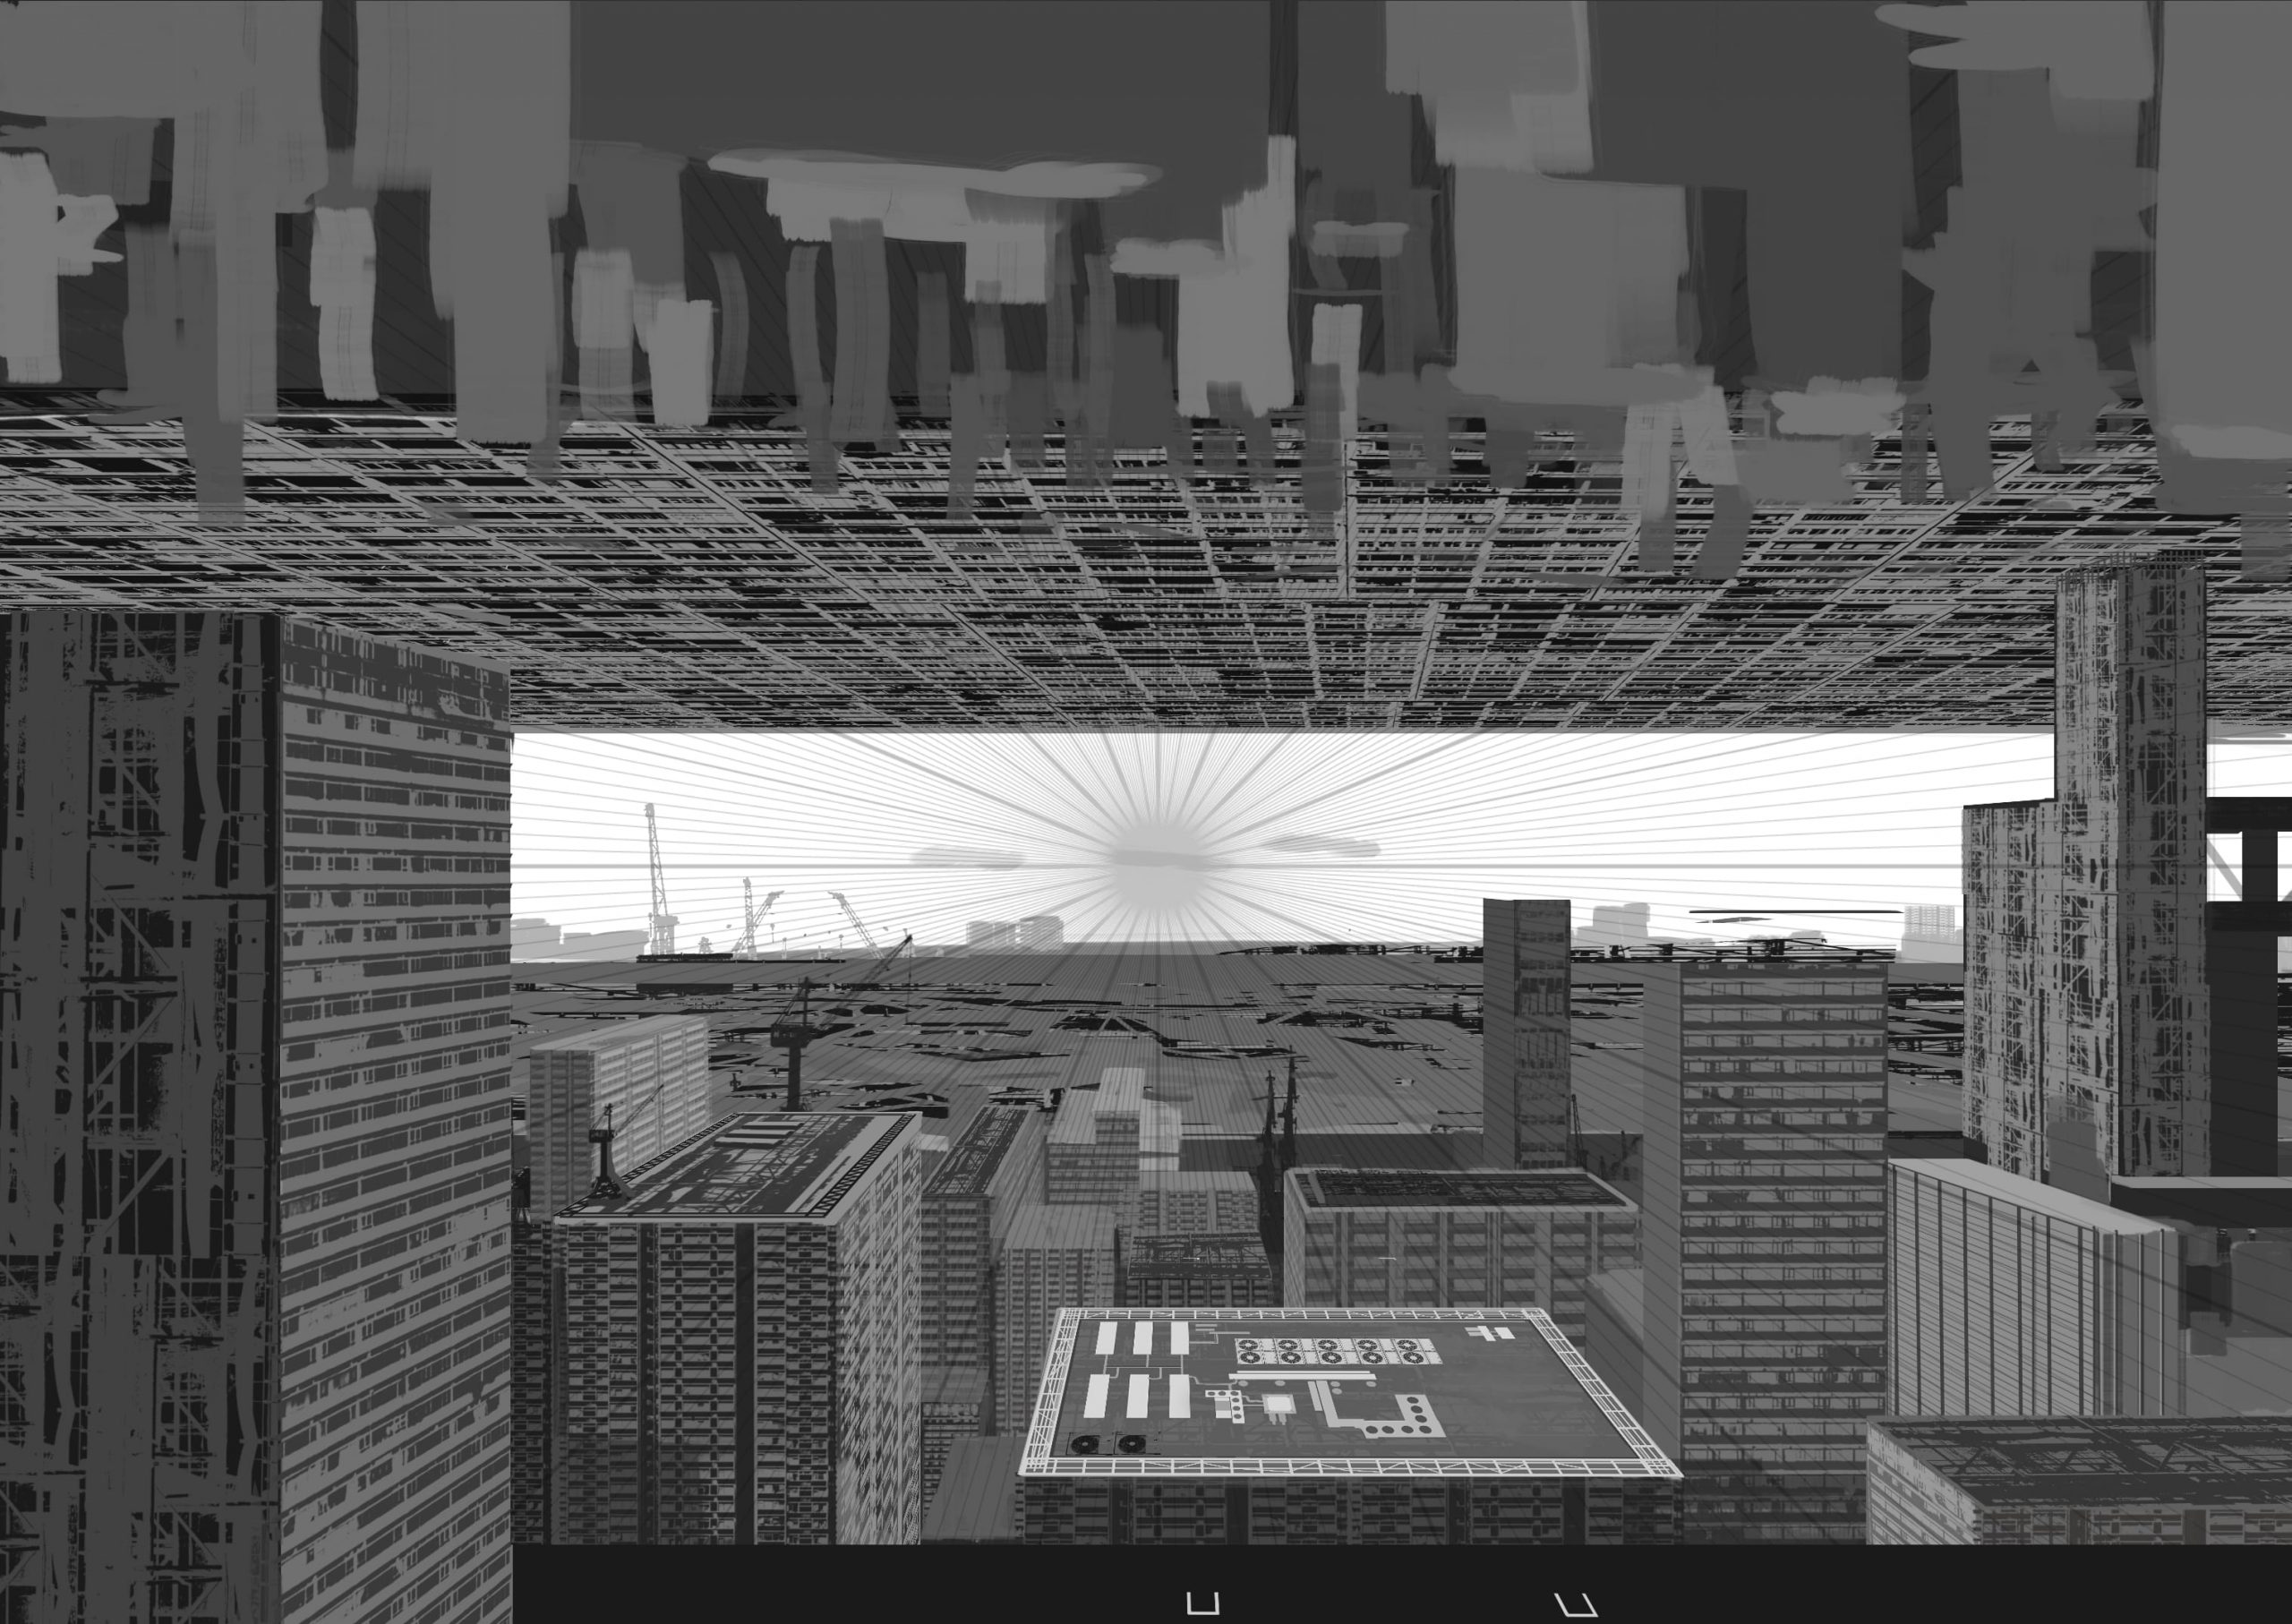
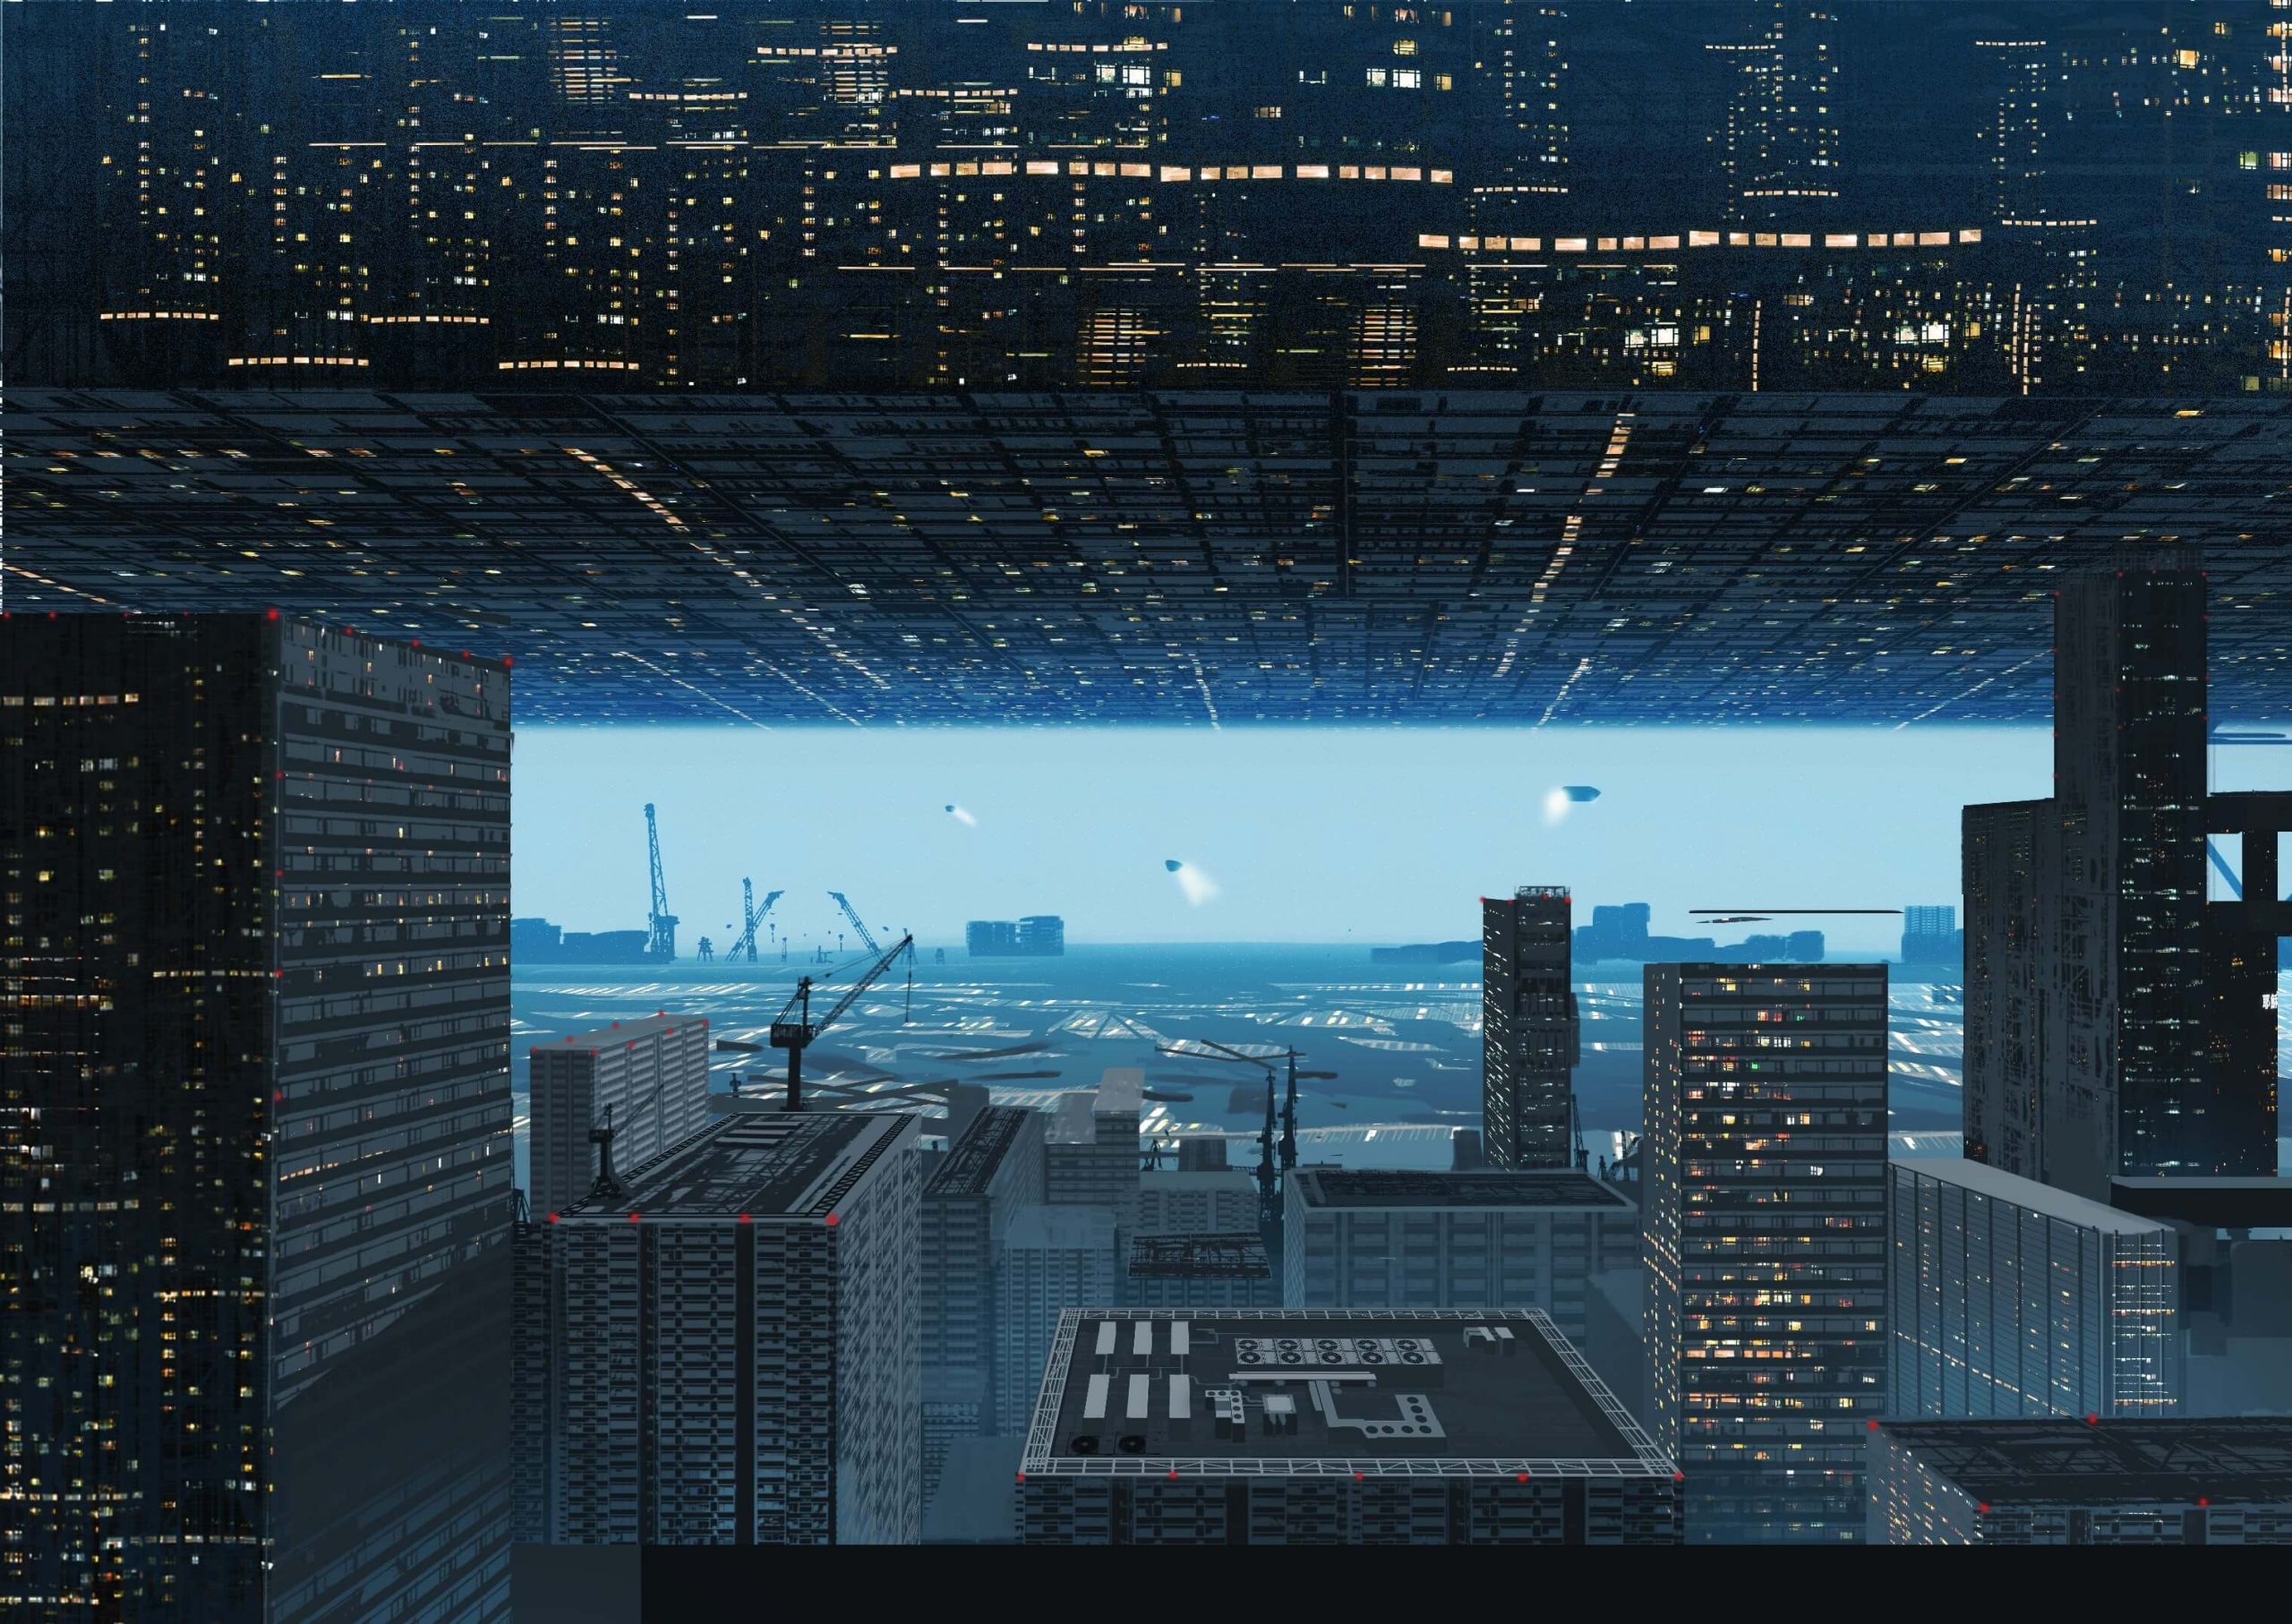
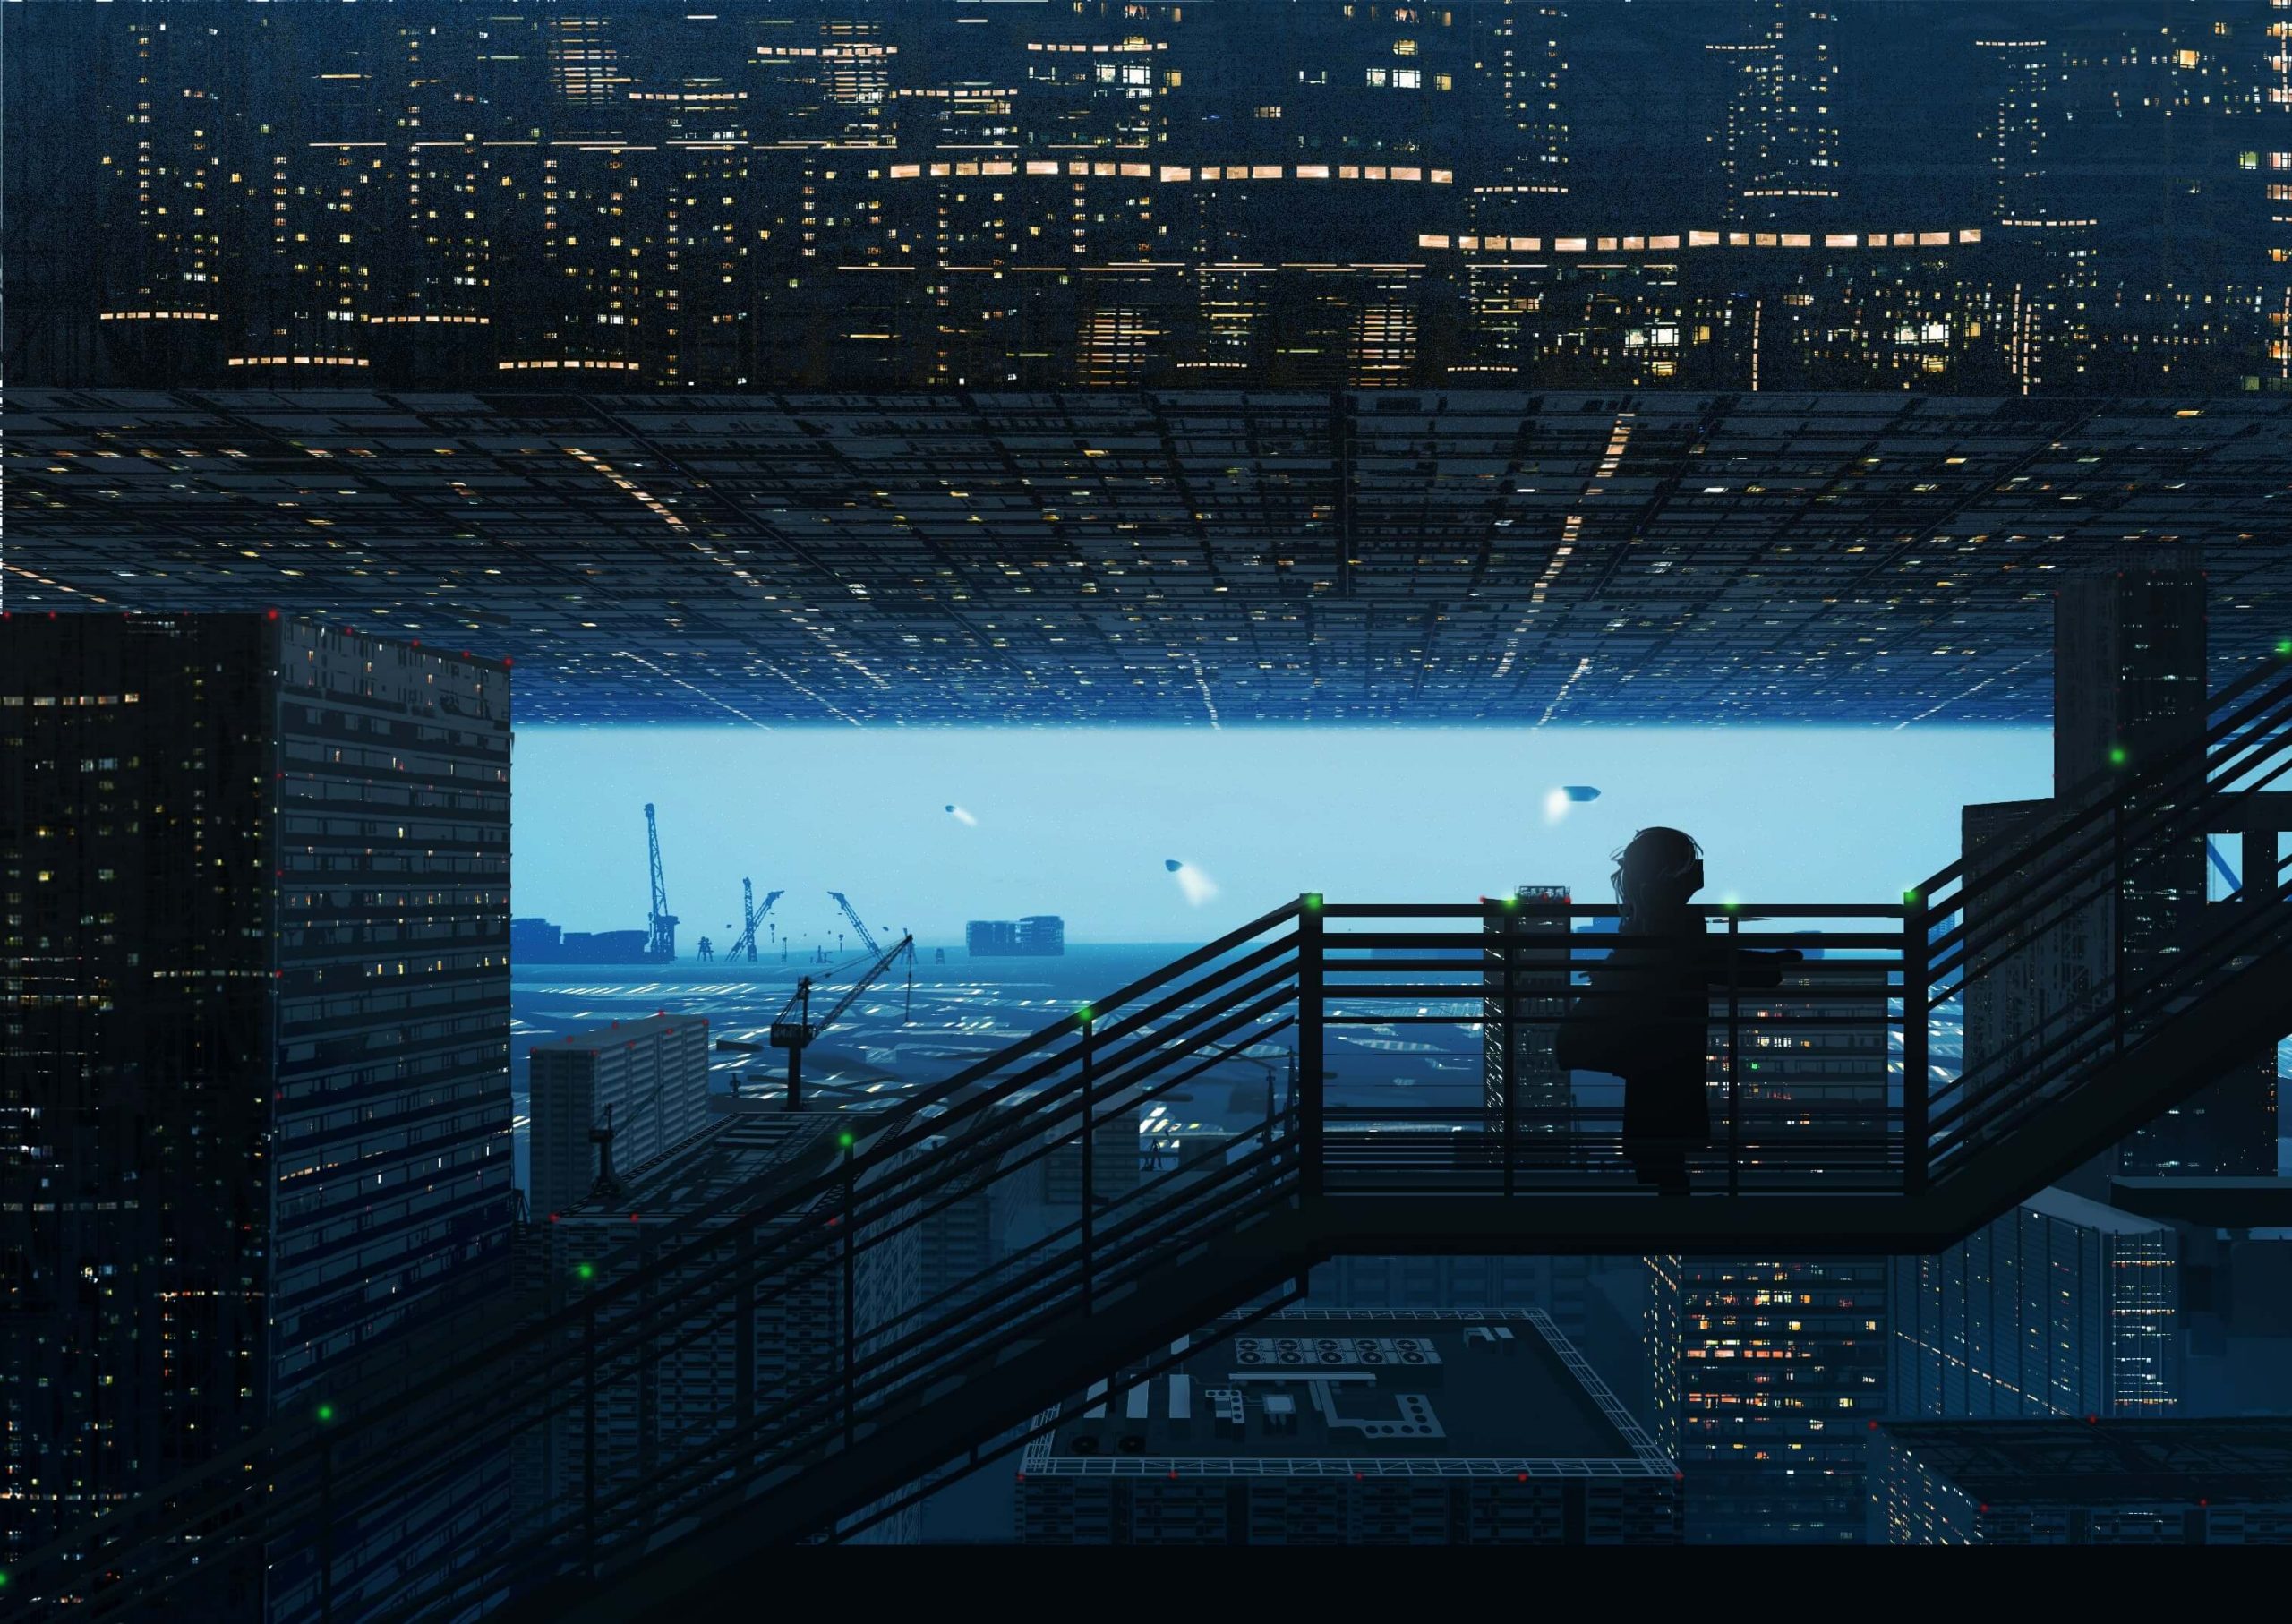
(1) The first step is to roughly lay out the silhouettes of the buildings in black and white. Don't worry nigh the details nonetheless, and draw out the paradigm you want to pigment in your mind. I wanted the lite in the groundwork to moderately brighten the metropolis, so I used a soft castor to create the platonic brightness. And so I placed the stairs in the foreground and painted them in black to analyze the human relationship betwixt the foreground and background. The paradigm is of a shadow of a girl quietly walking up the stairs.
2.Texture creation
If we create the texture at this stage, it will be easier to create the texture for the building wall.
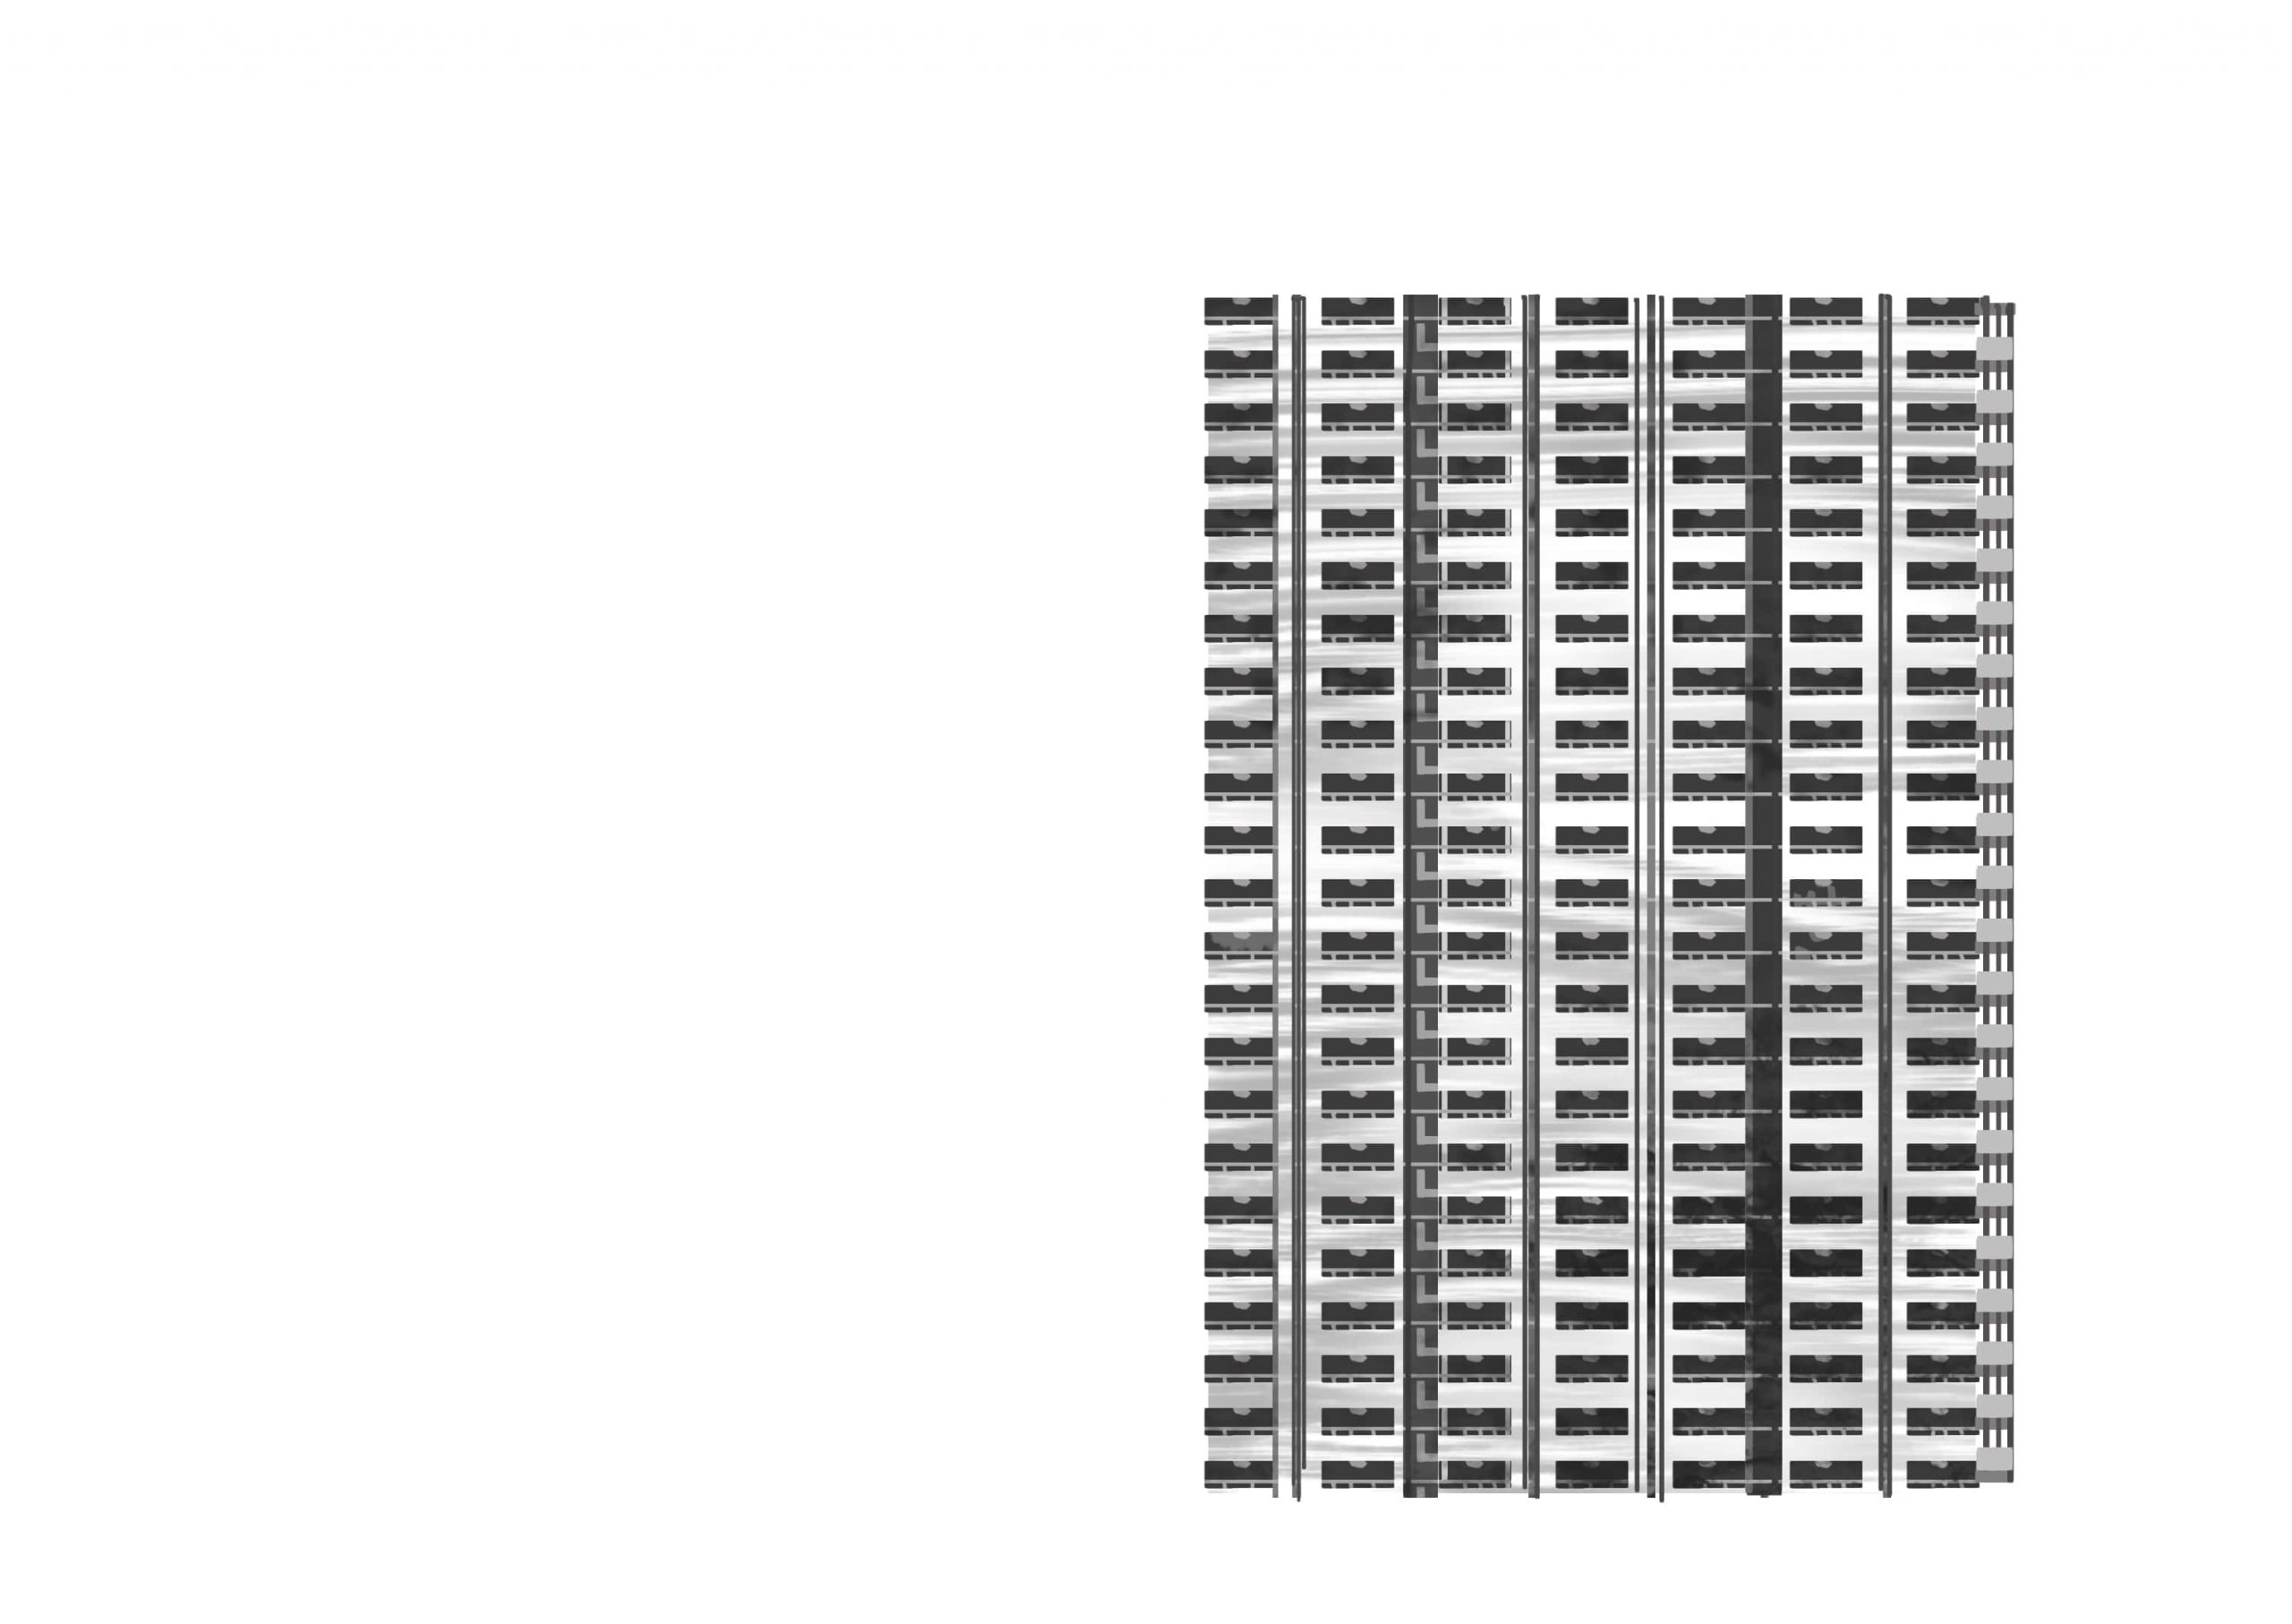
(1) The first footstep is to draw the steel parts that will be the window frames. Depict a line and so re-create and paste it repeatedly similar the epitome below.
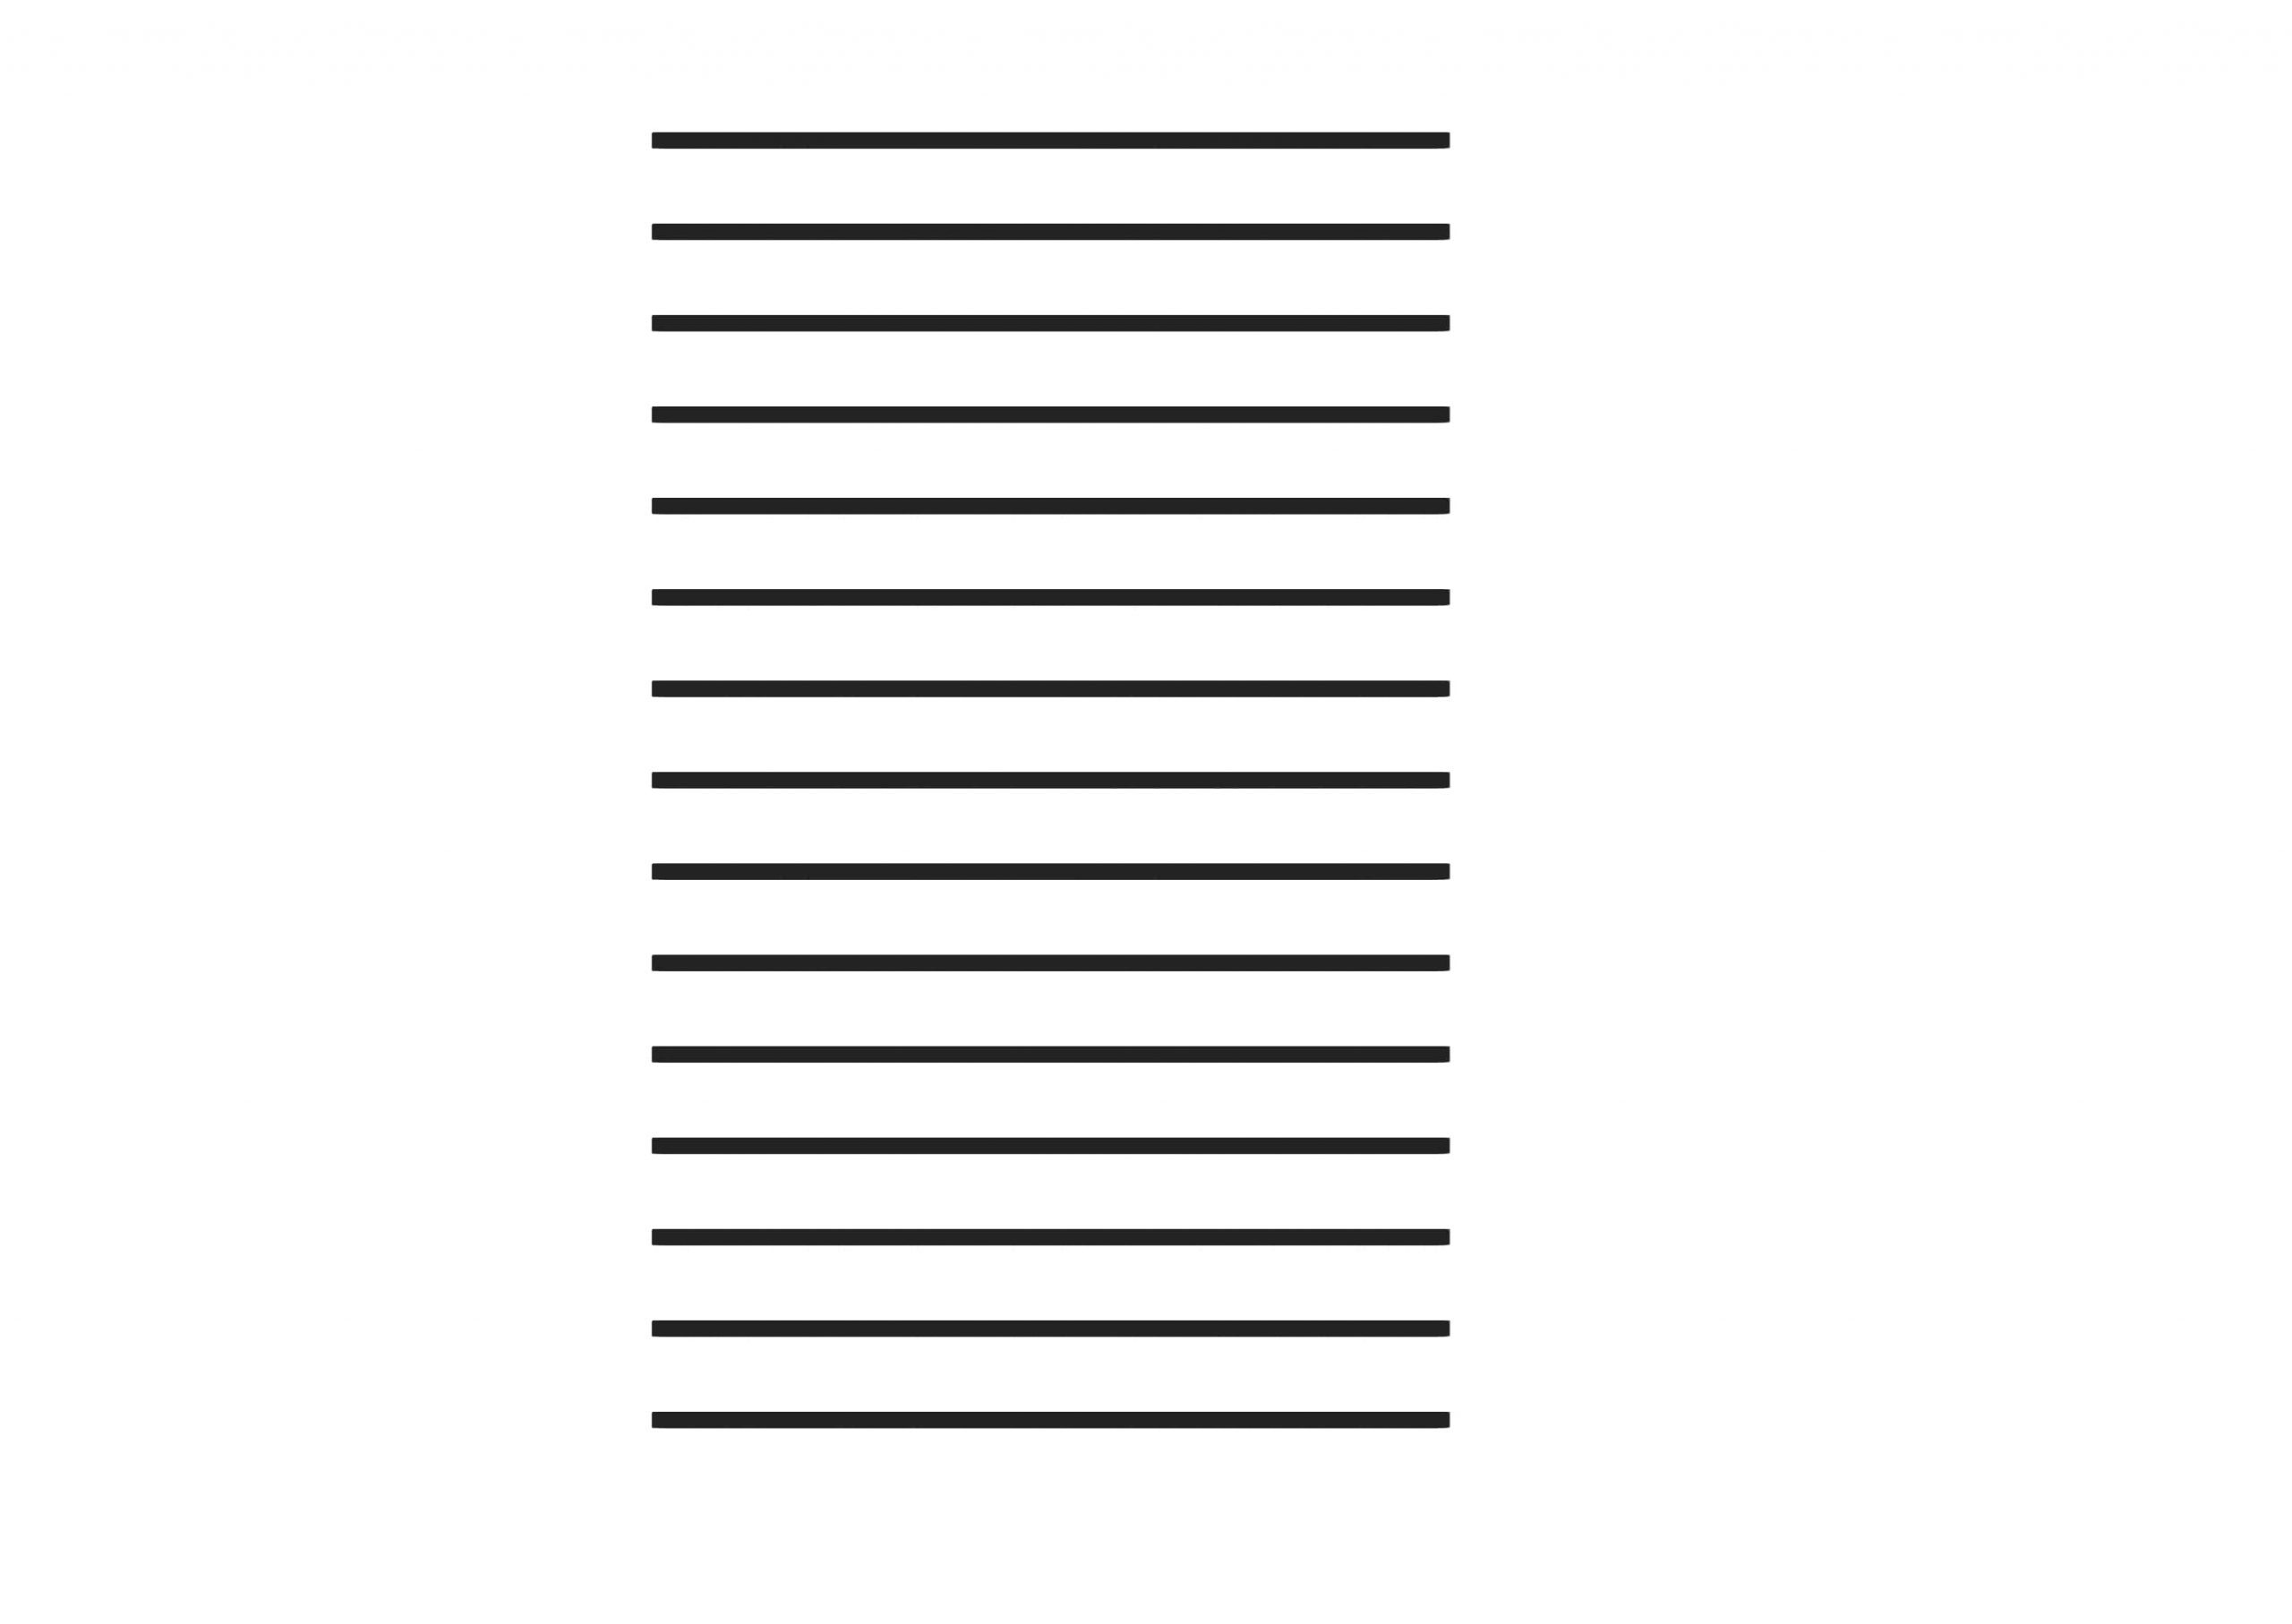
(ii) Side by side, draw the lines that are thinner than the previous lines, which will consummate the window frames. You can utilise the same lines, merely drawing sparse lines with narrower intervals will create a more realistic look.
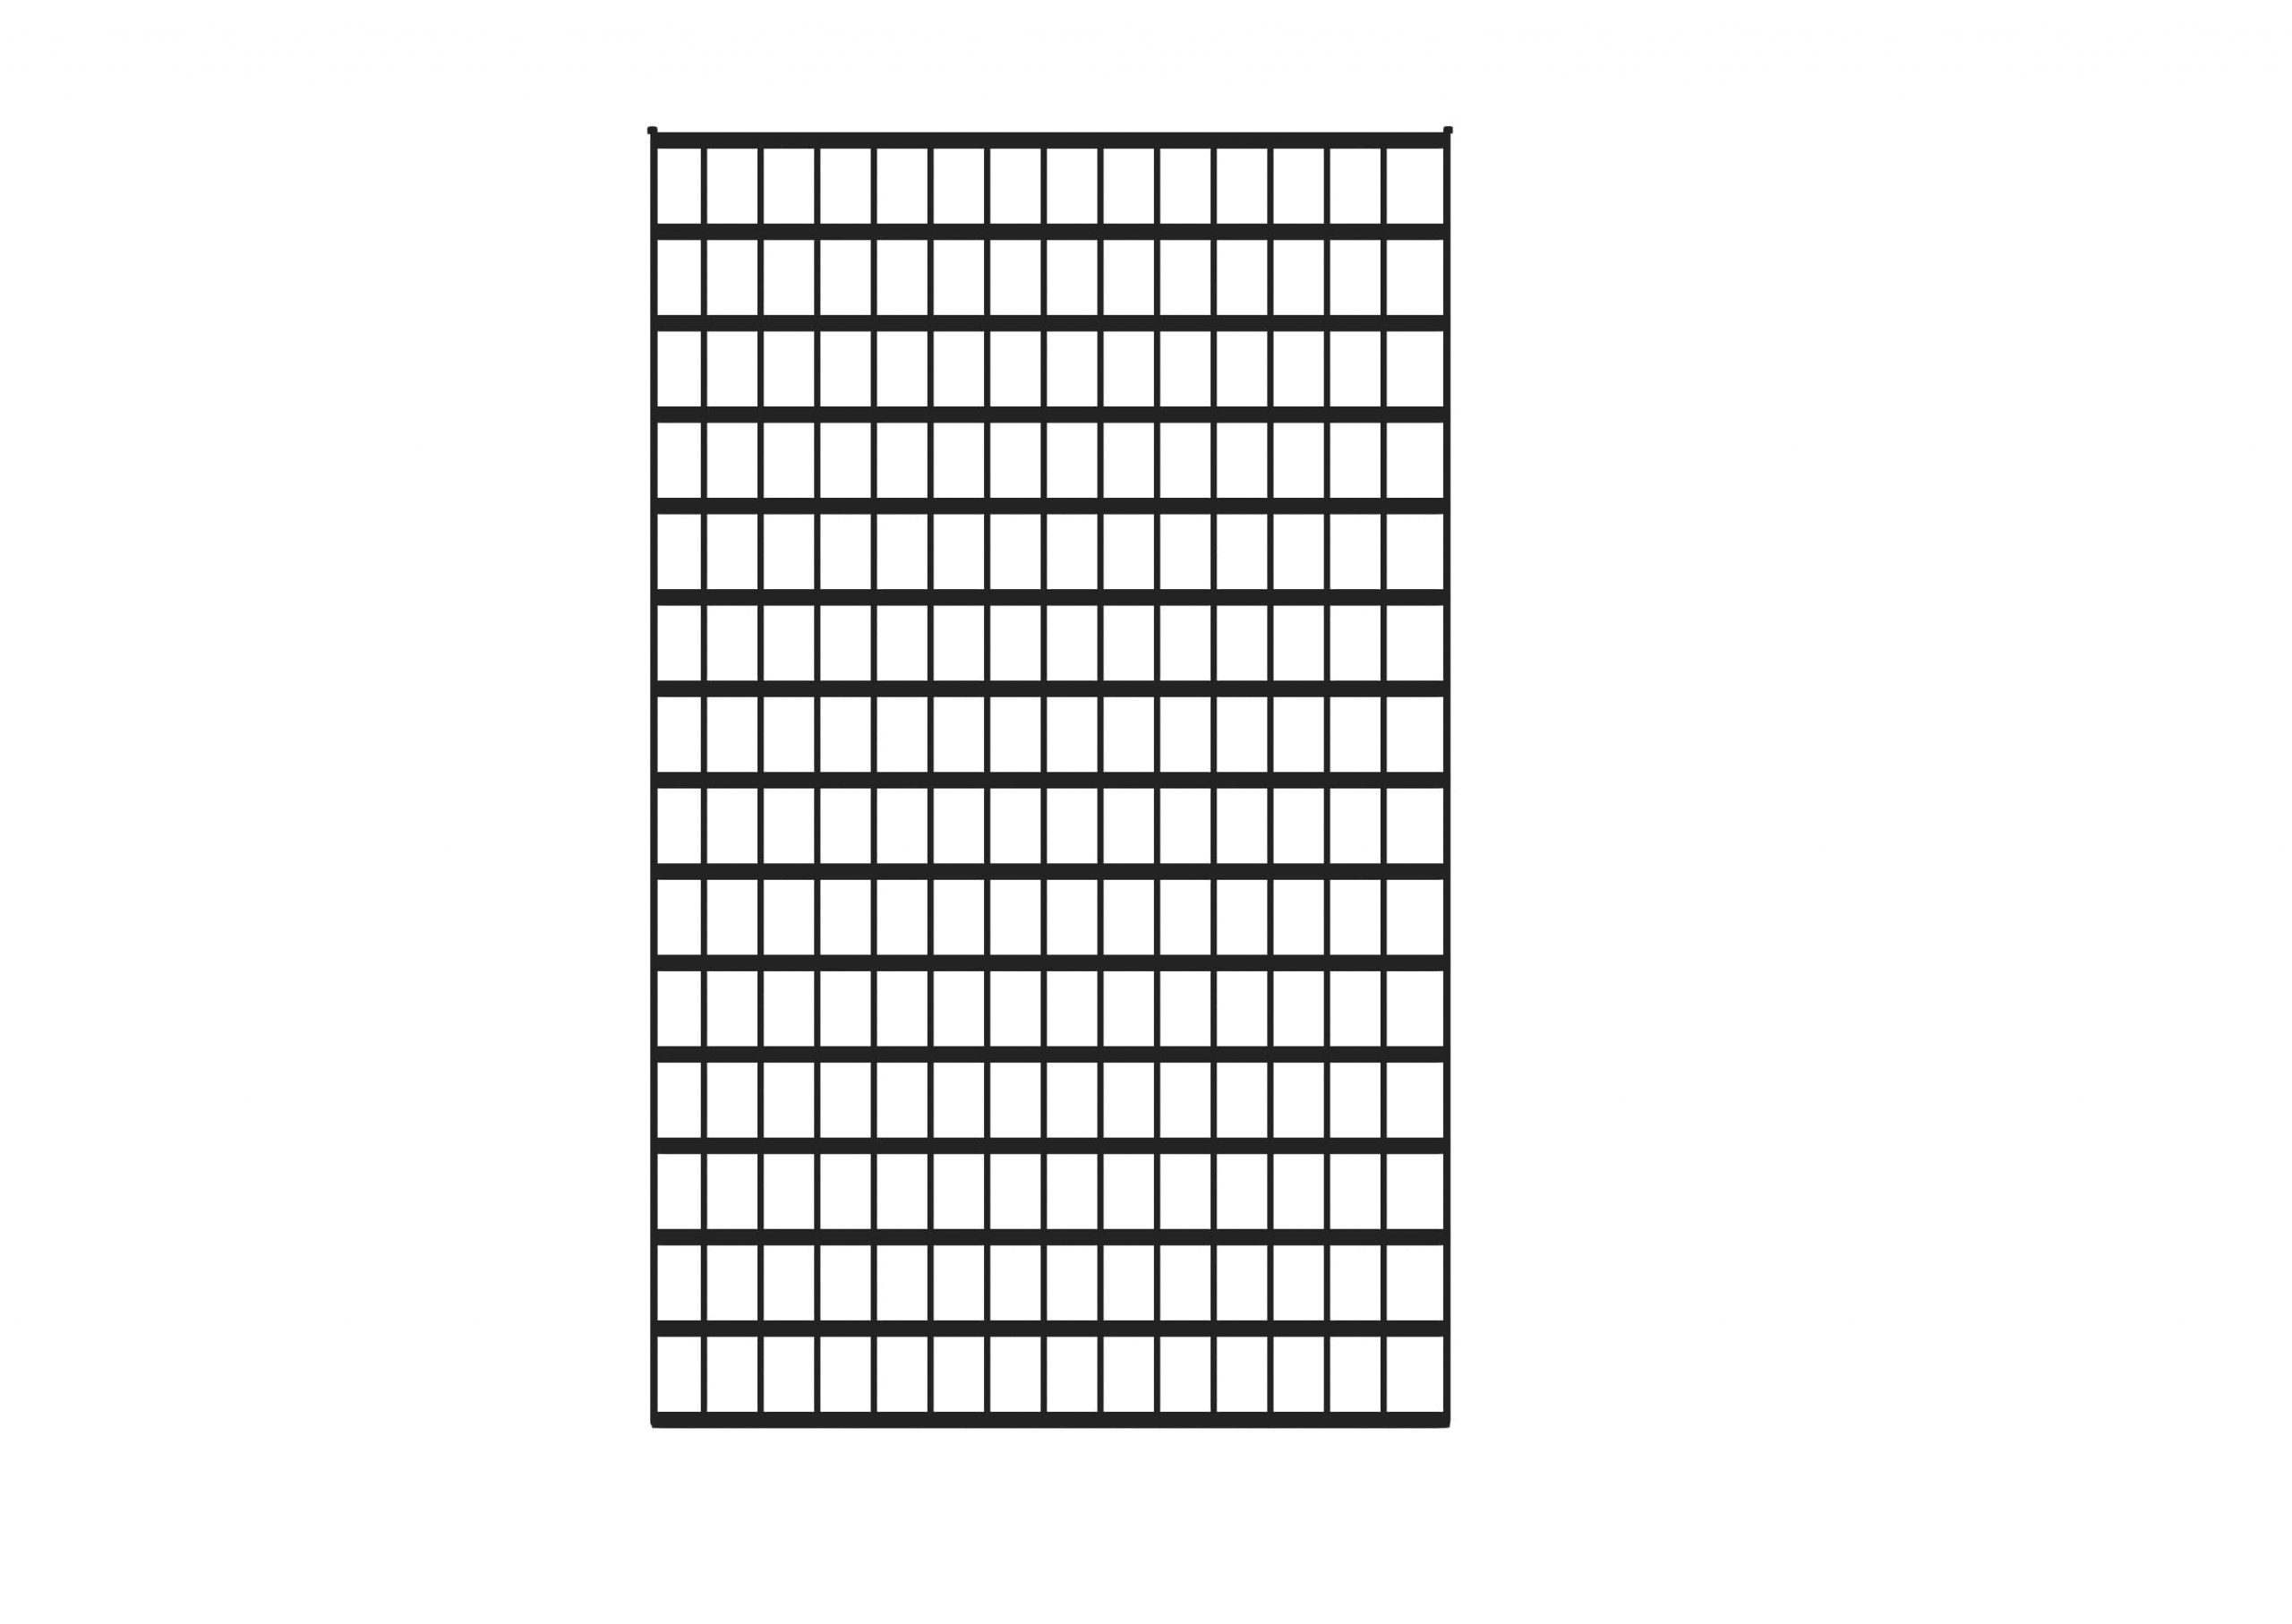
(3) Create a new layer below the layer where you drew the frame, and fill up it with blackness. This time we will depict the lighting roughly, as nosotros expect the picture to exist seen from a very low bending. This fourth dimension I'm going to draw the lighting roughly as if it were seen from a altitude.
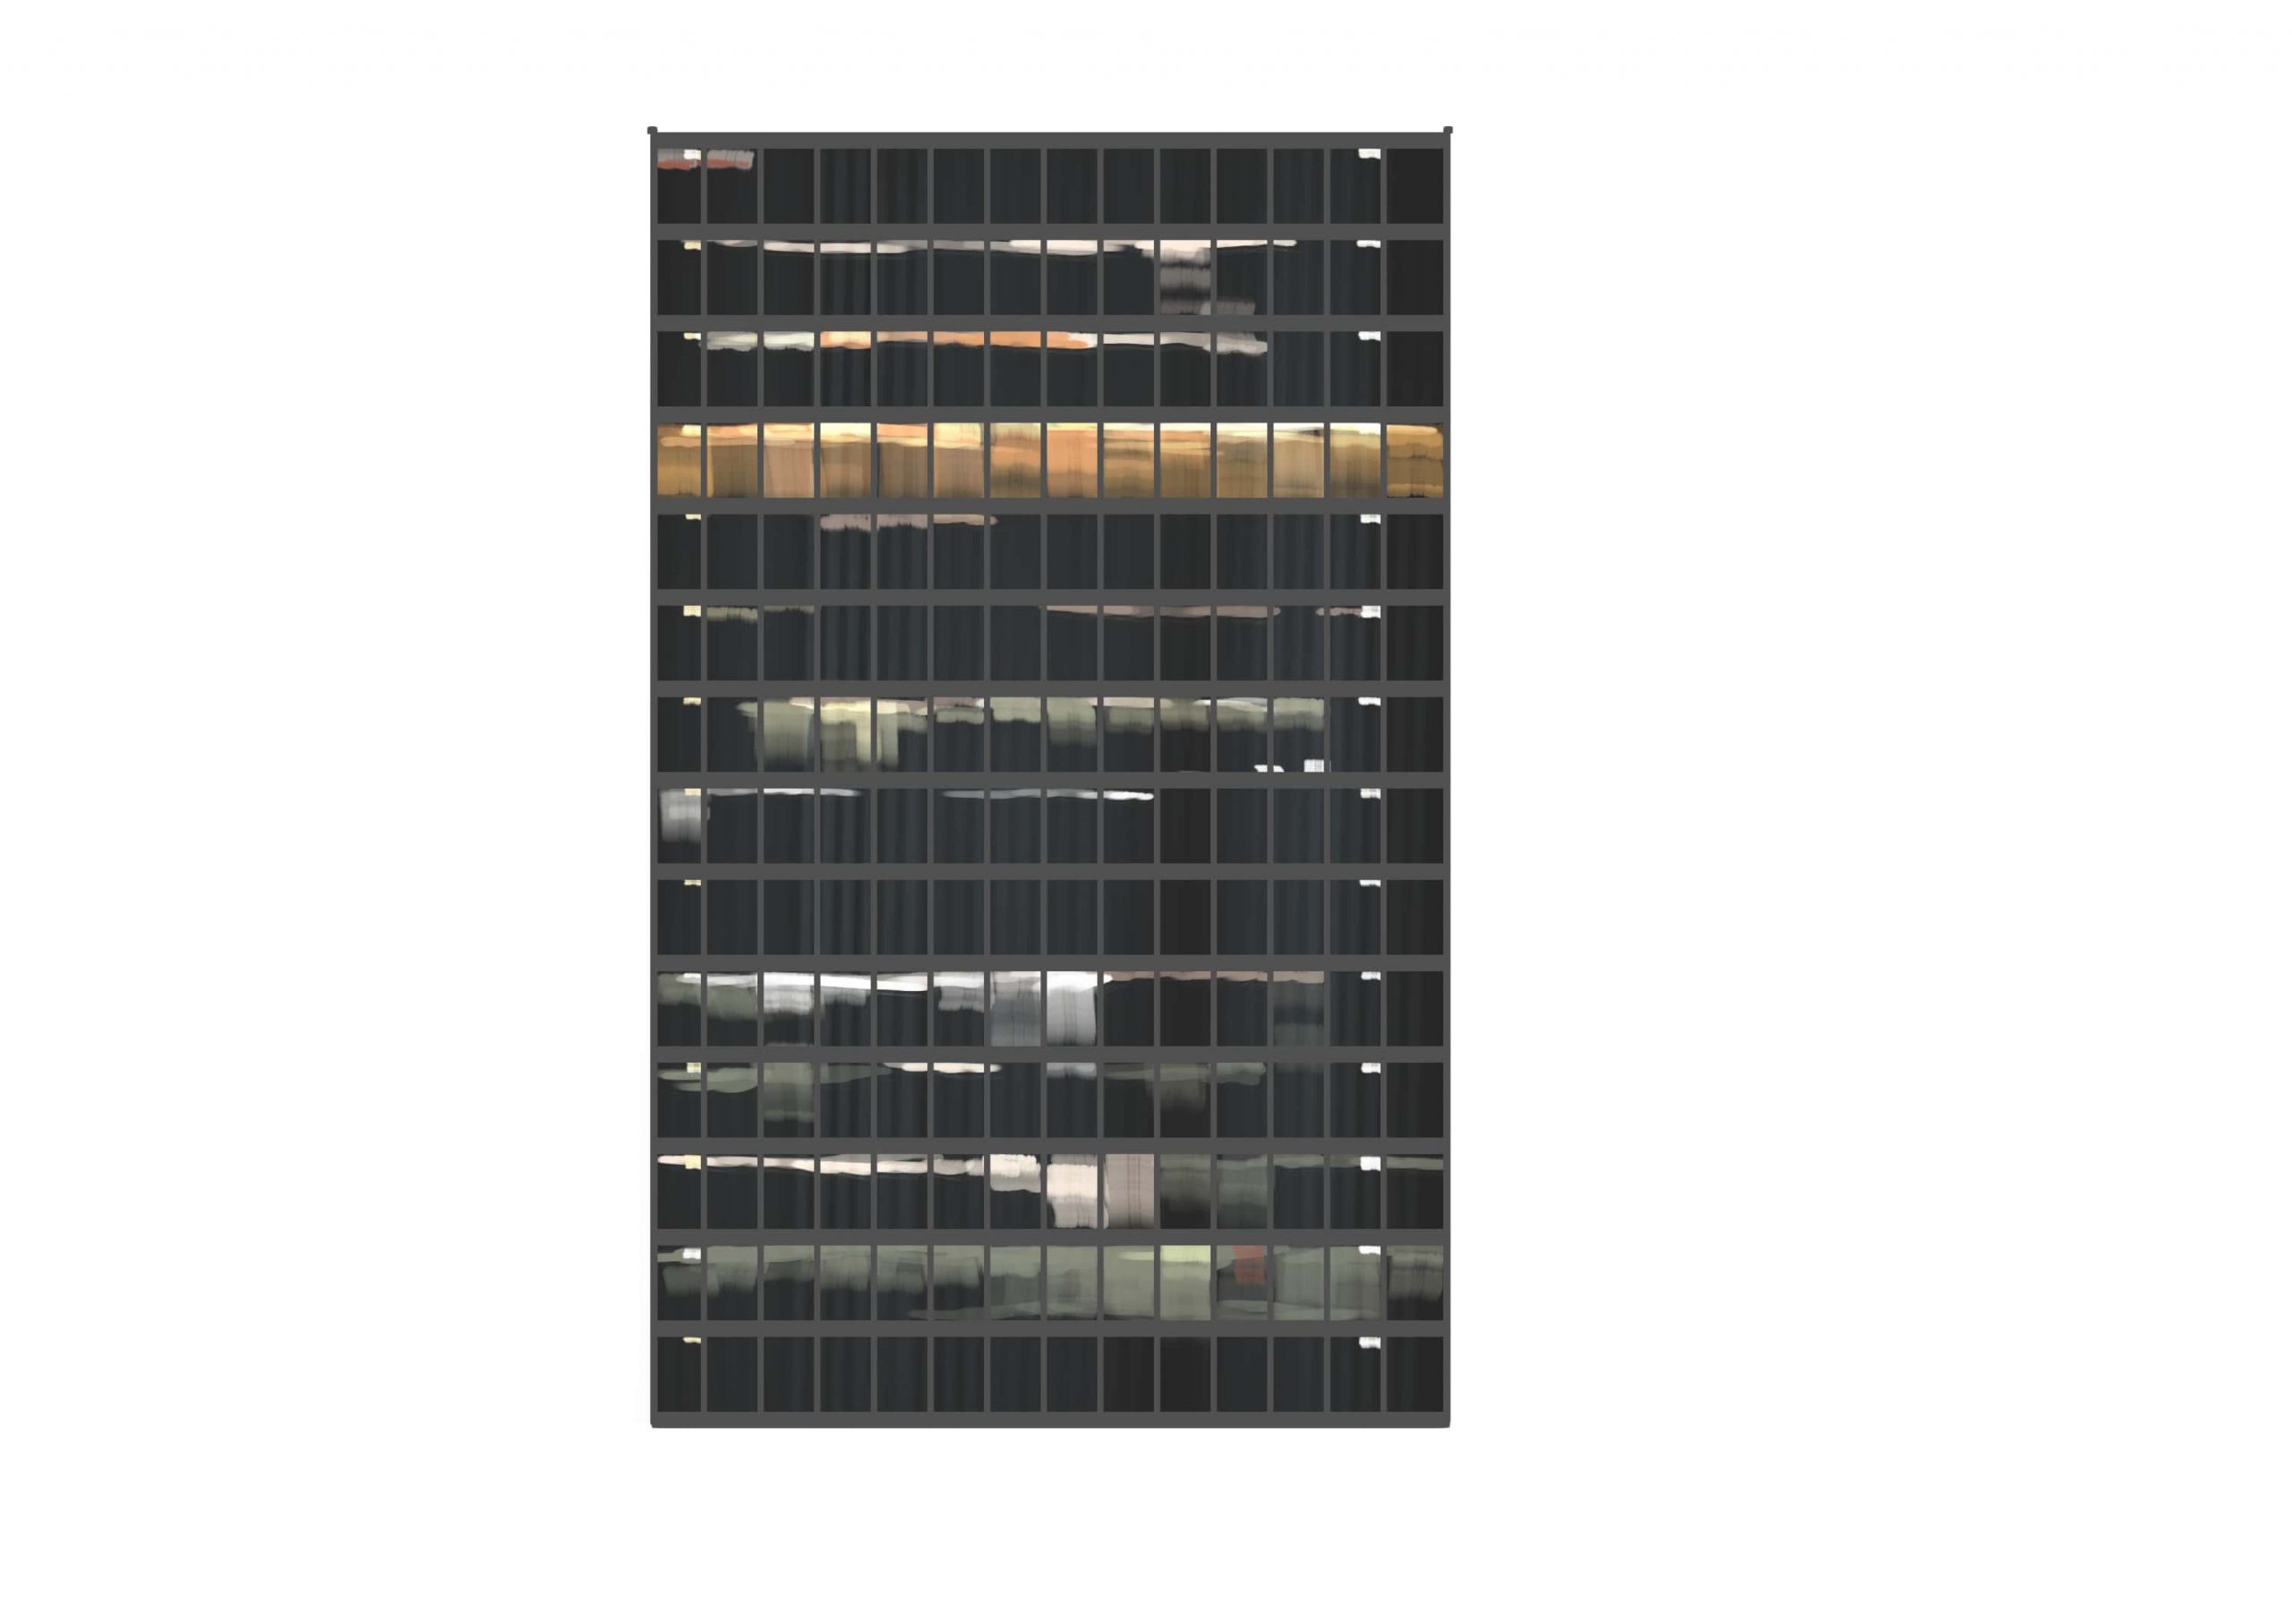
(4) Using the tone bend, adjust the dark areas to be darker and the bright areas to be lighter. Prepare several unlike textures from this 1 to create a sense of random or natural patterns.
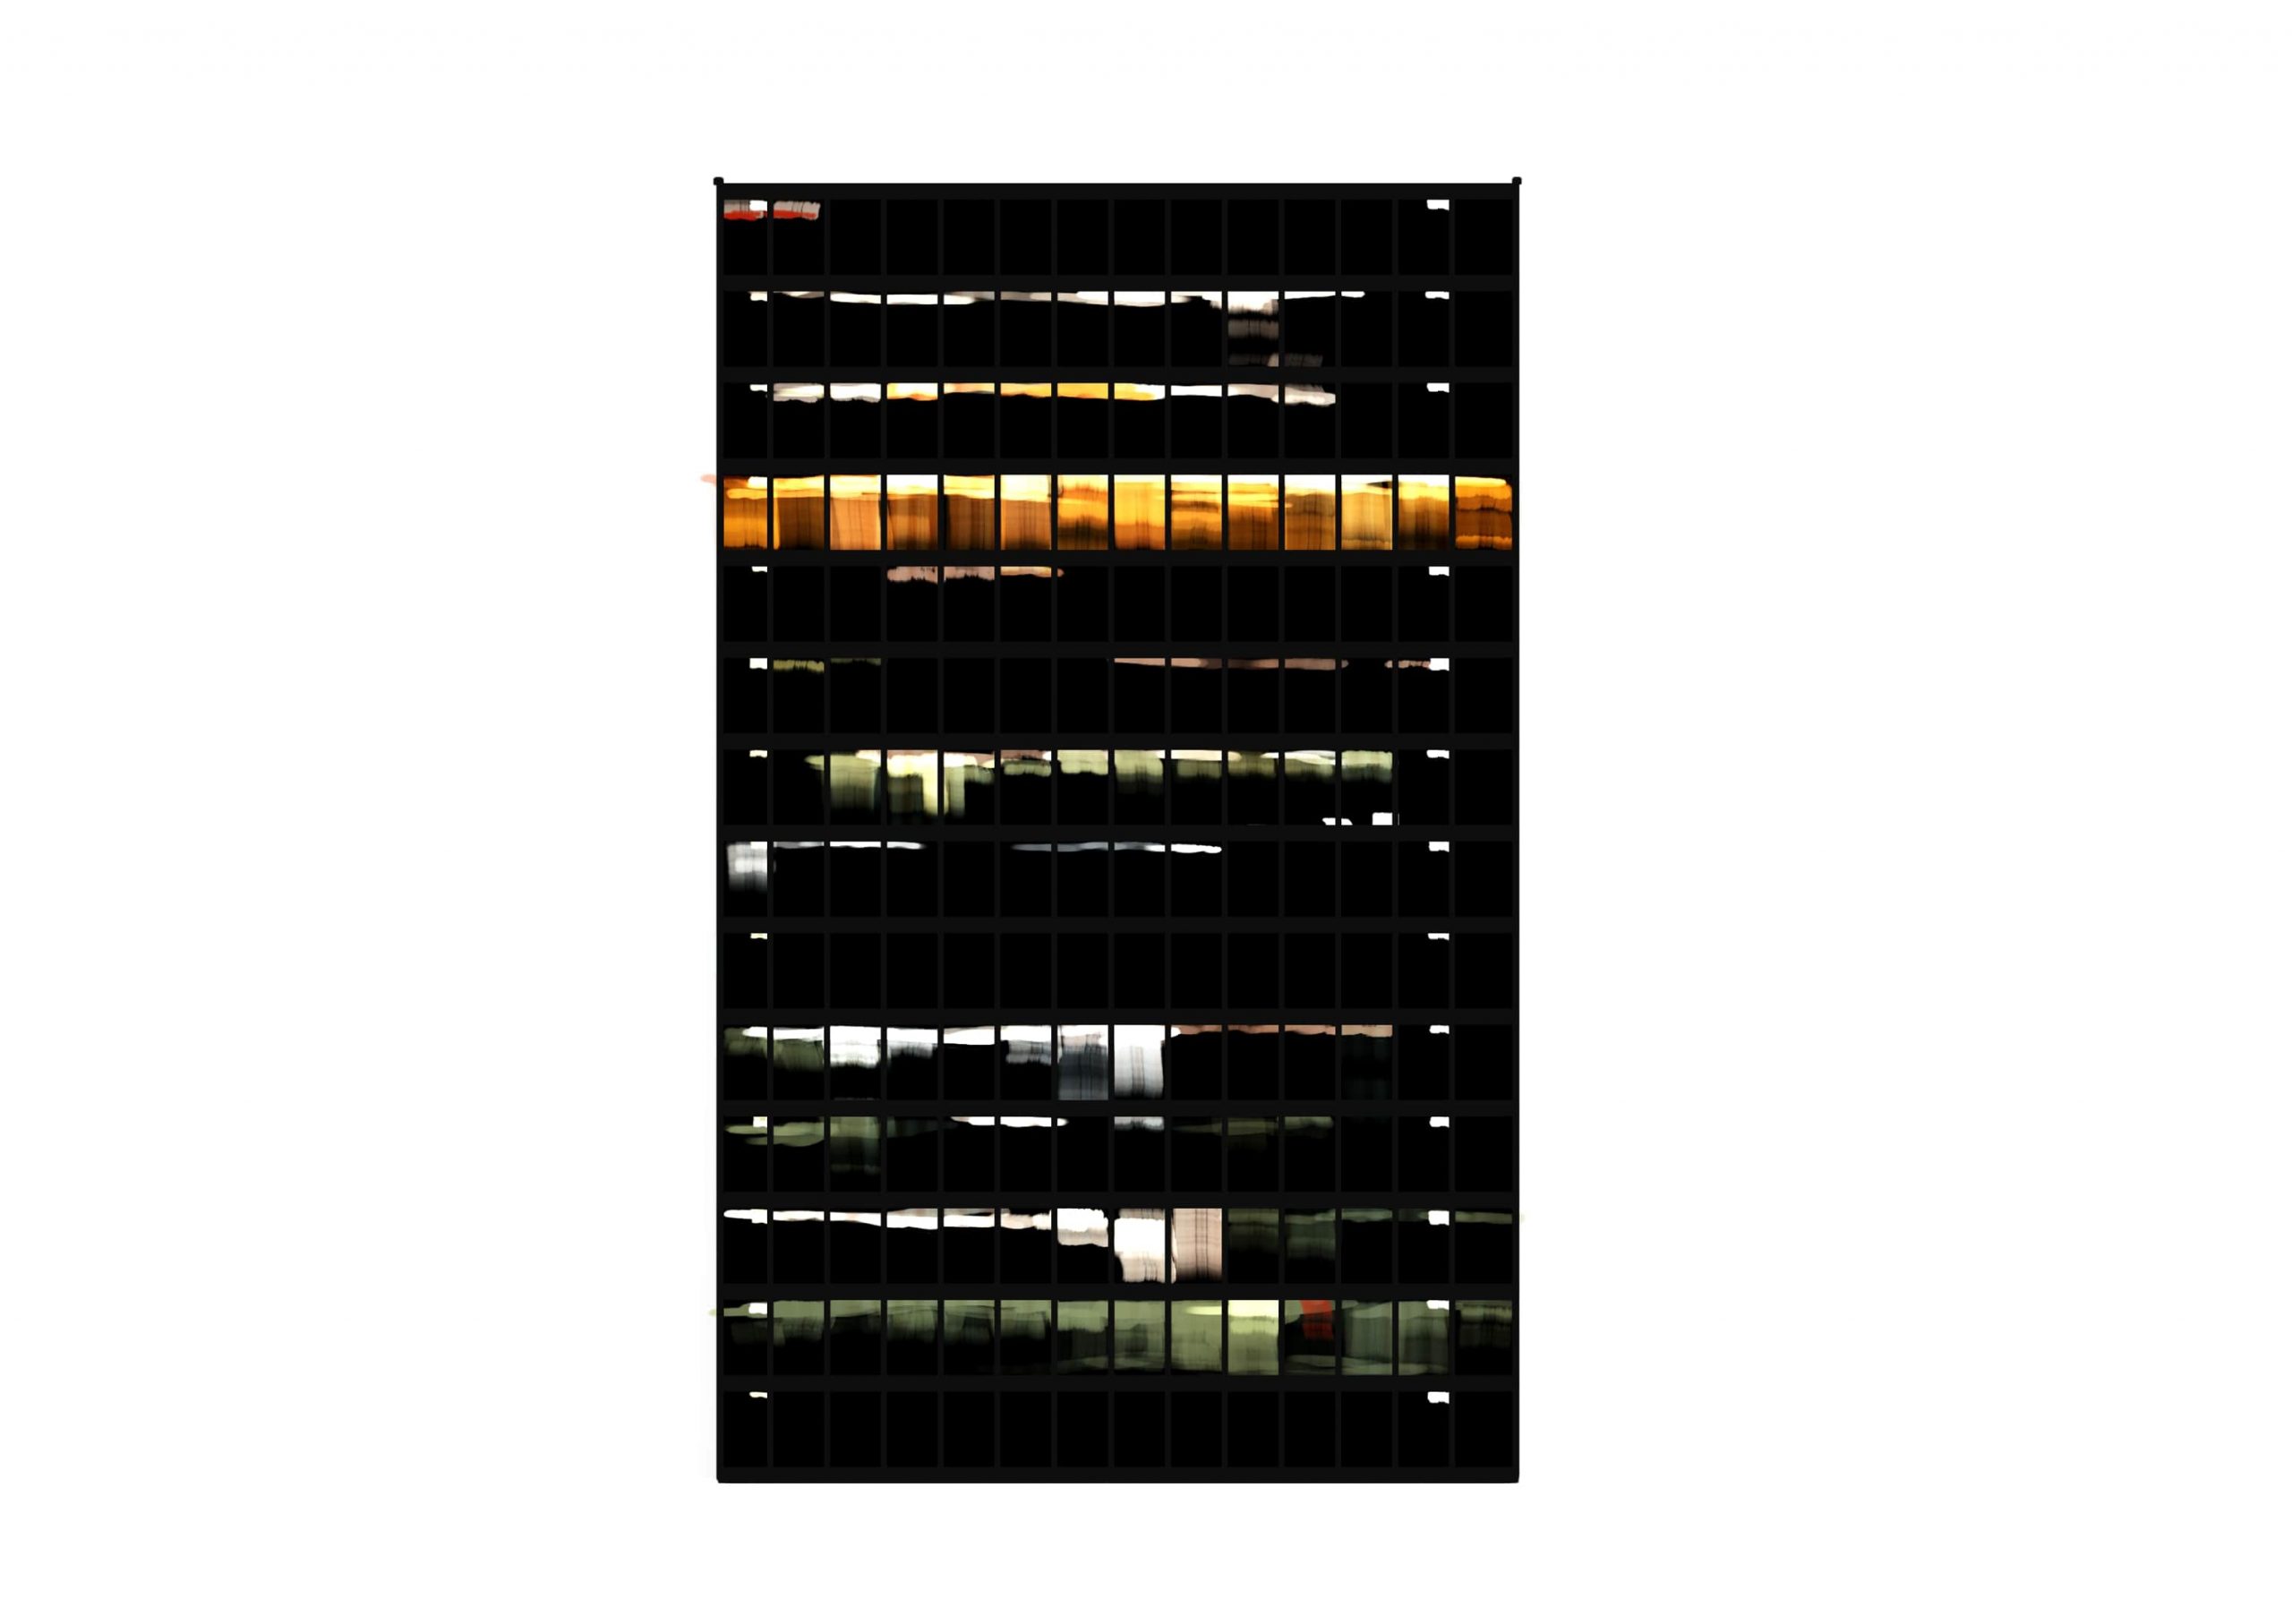
(5) Create some other texture for the building in the same way as before. It is the method used before, but the trick is to keep the lite and dark areas articulate. Make the wall slightly muddy to give it an flat-like appearance.
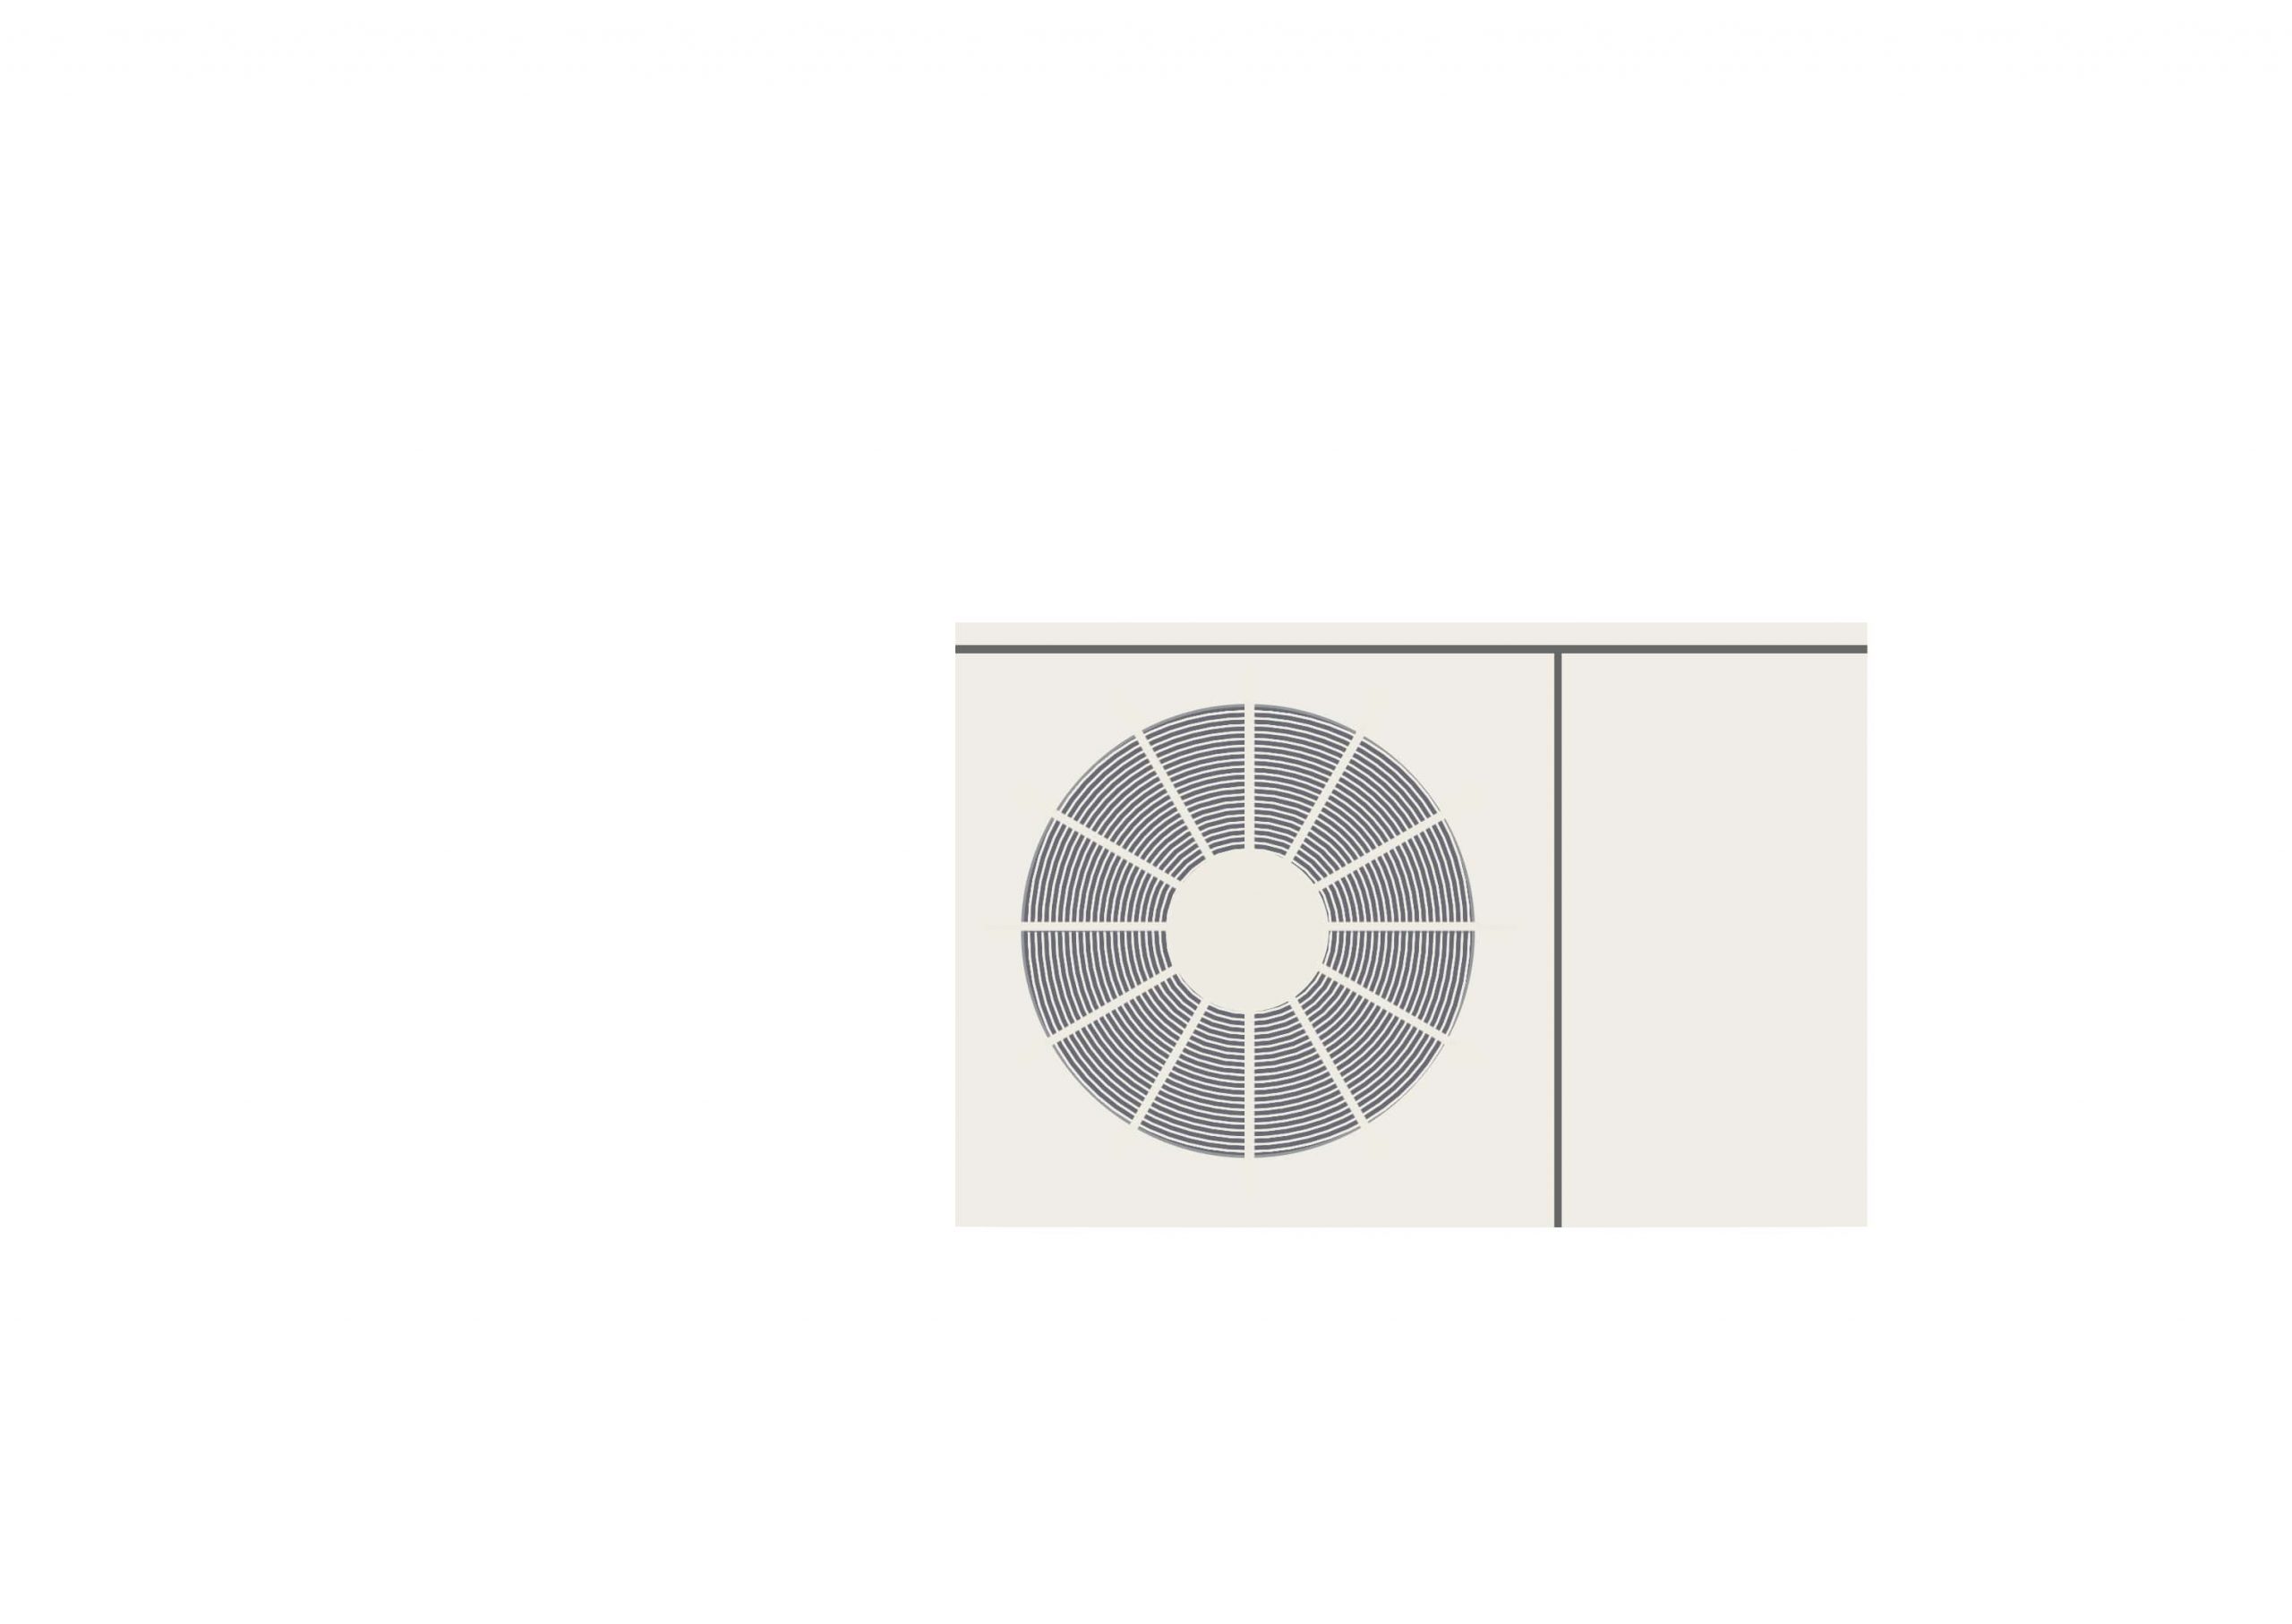
(half-dozen) Draw the front of the outdoor unit. The first affair to do is to capture the silhouette of the outdoor unit. Bank check the ratio of length and width while observing the actual product.

(seven) Draw the function that will be the fan. Later on drawing the framework, create a new layer and draw a circle.
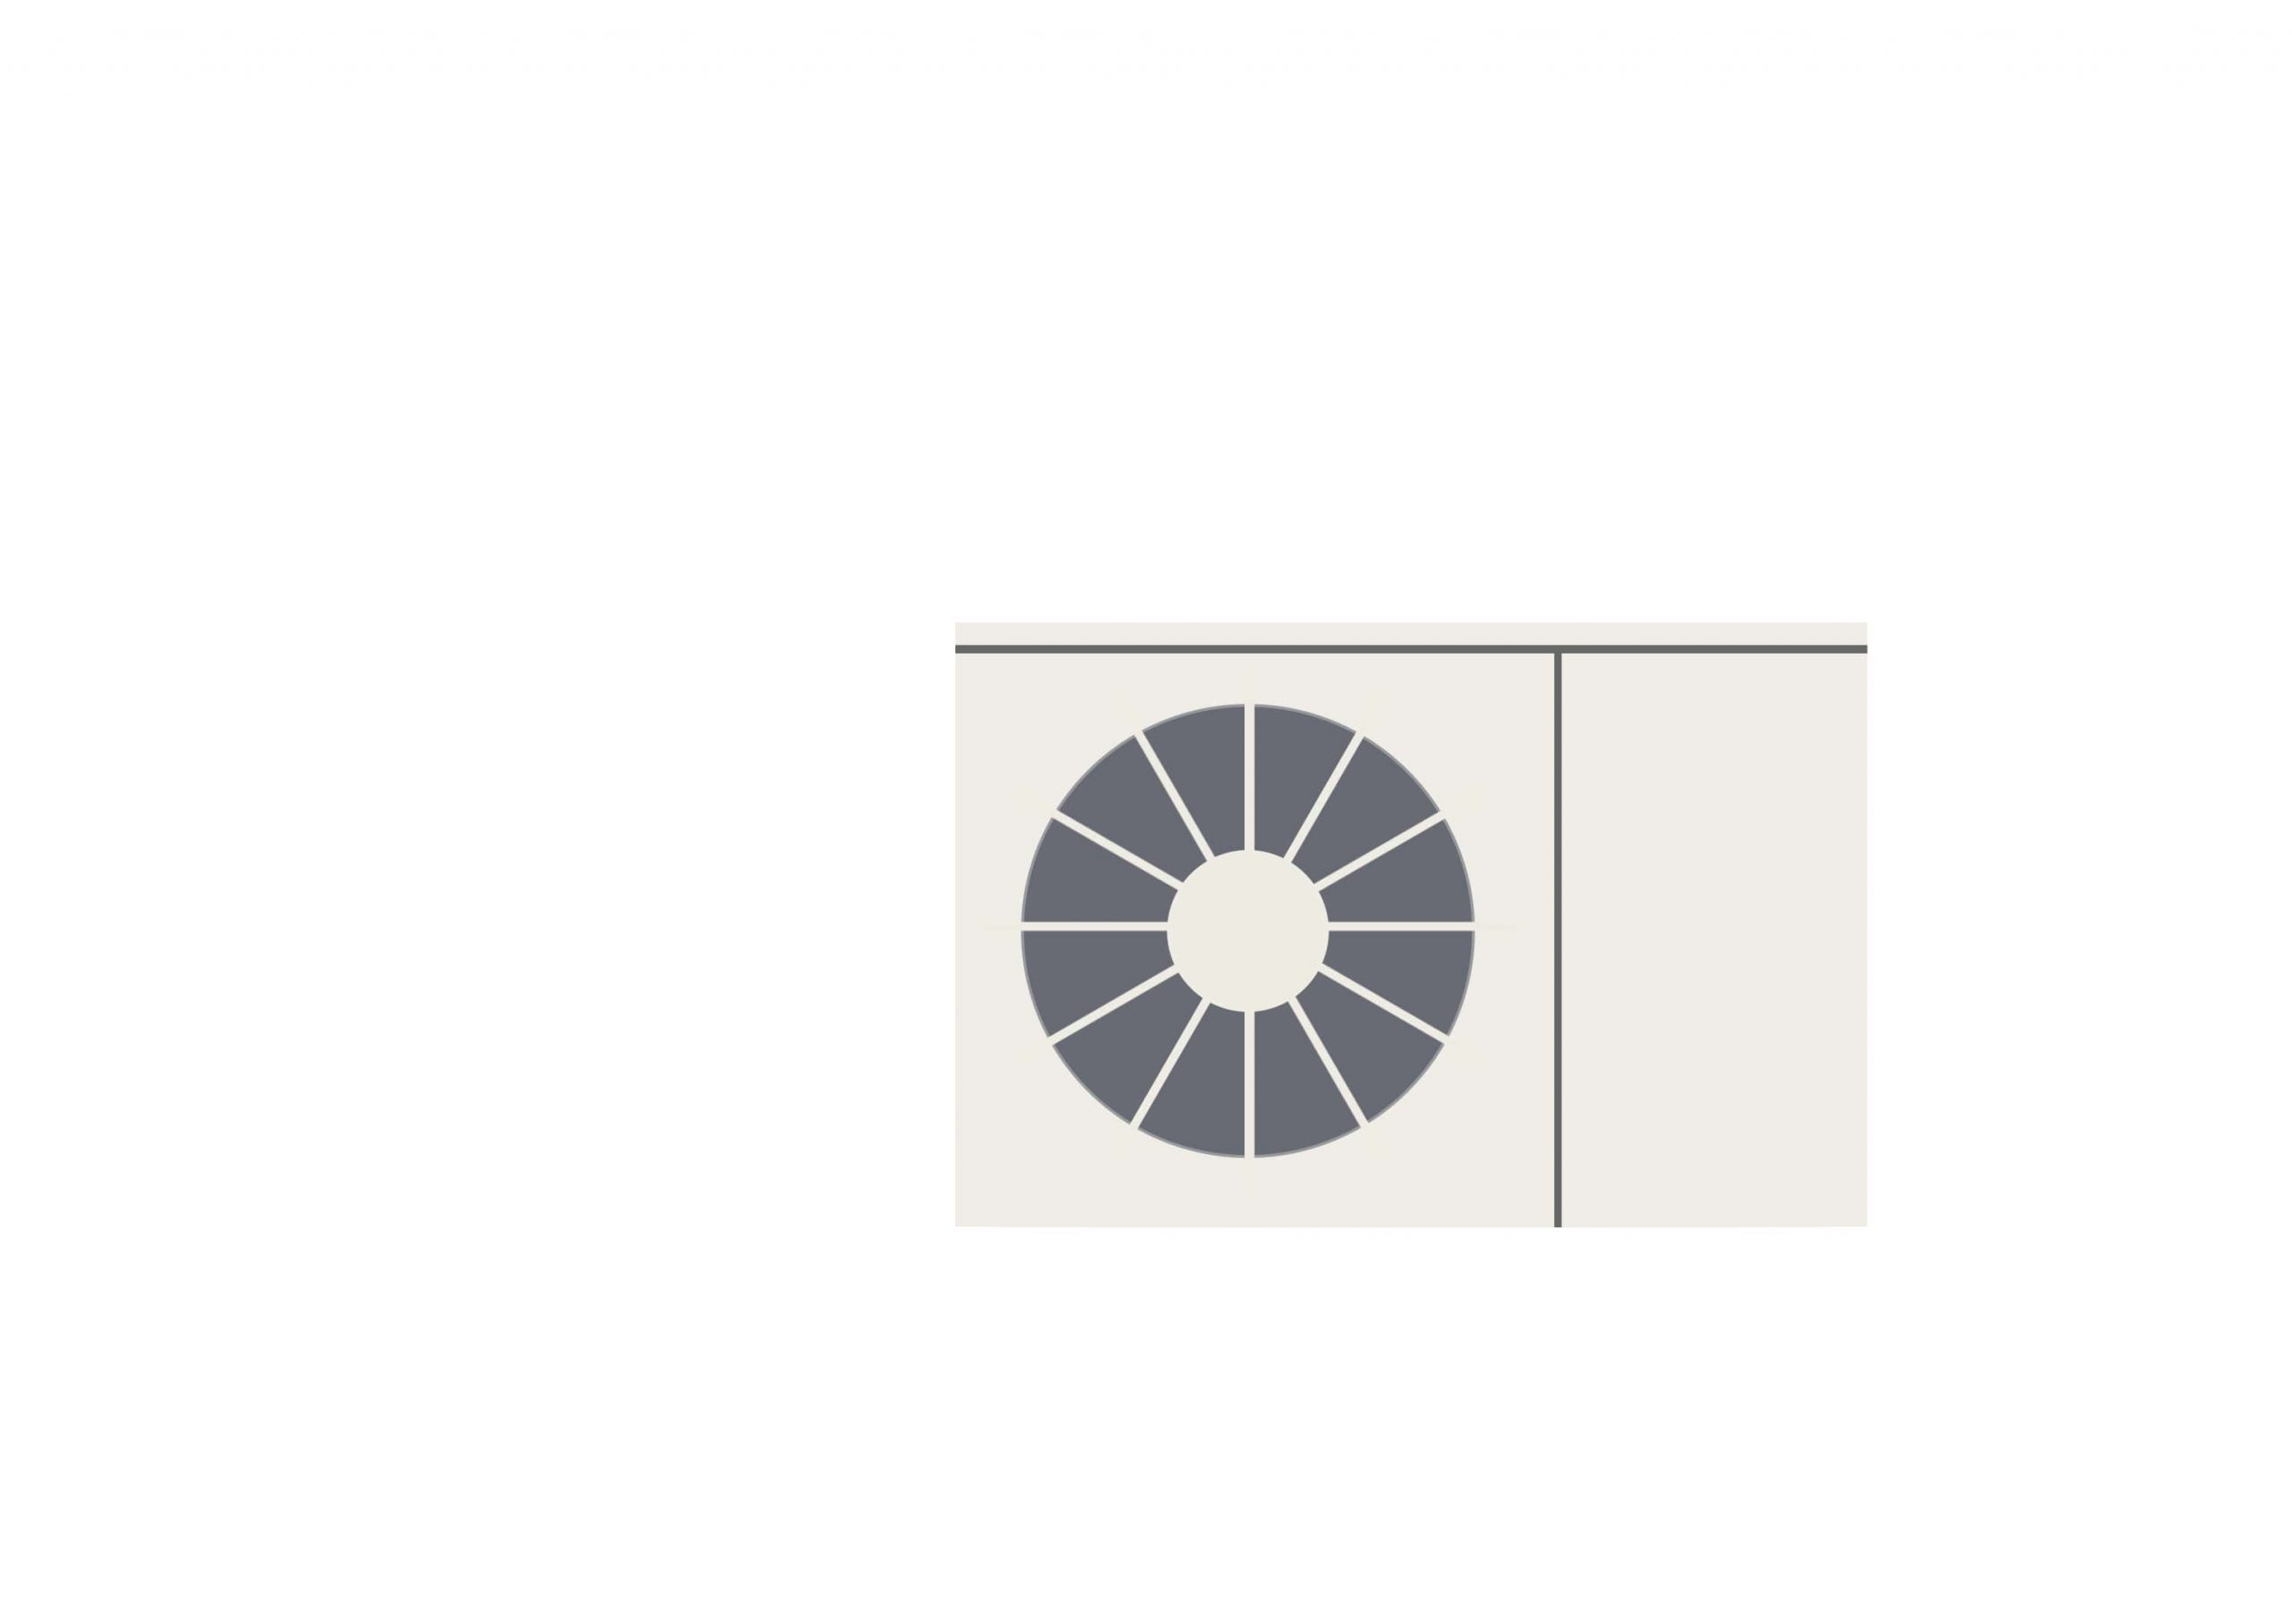
(8) Depict the lattice part. Make sure that the number of lattices is not too many or too few.
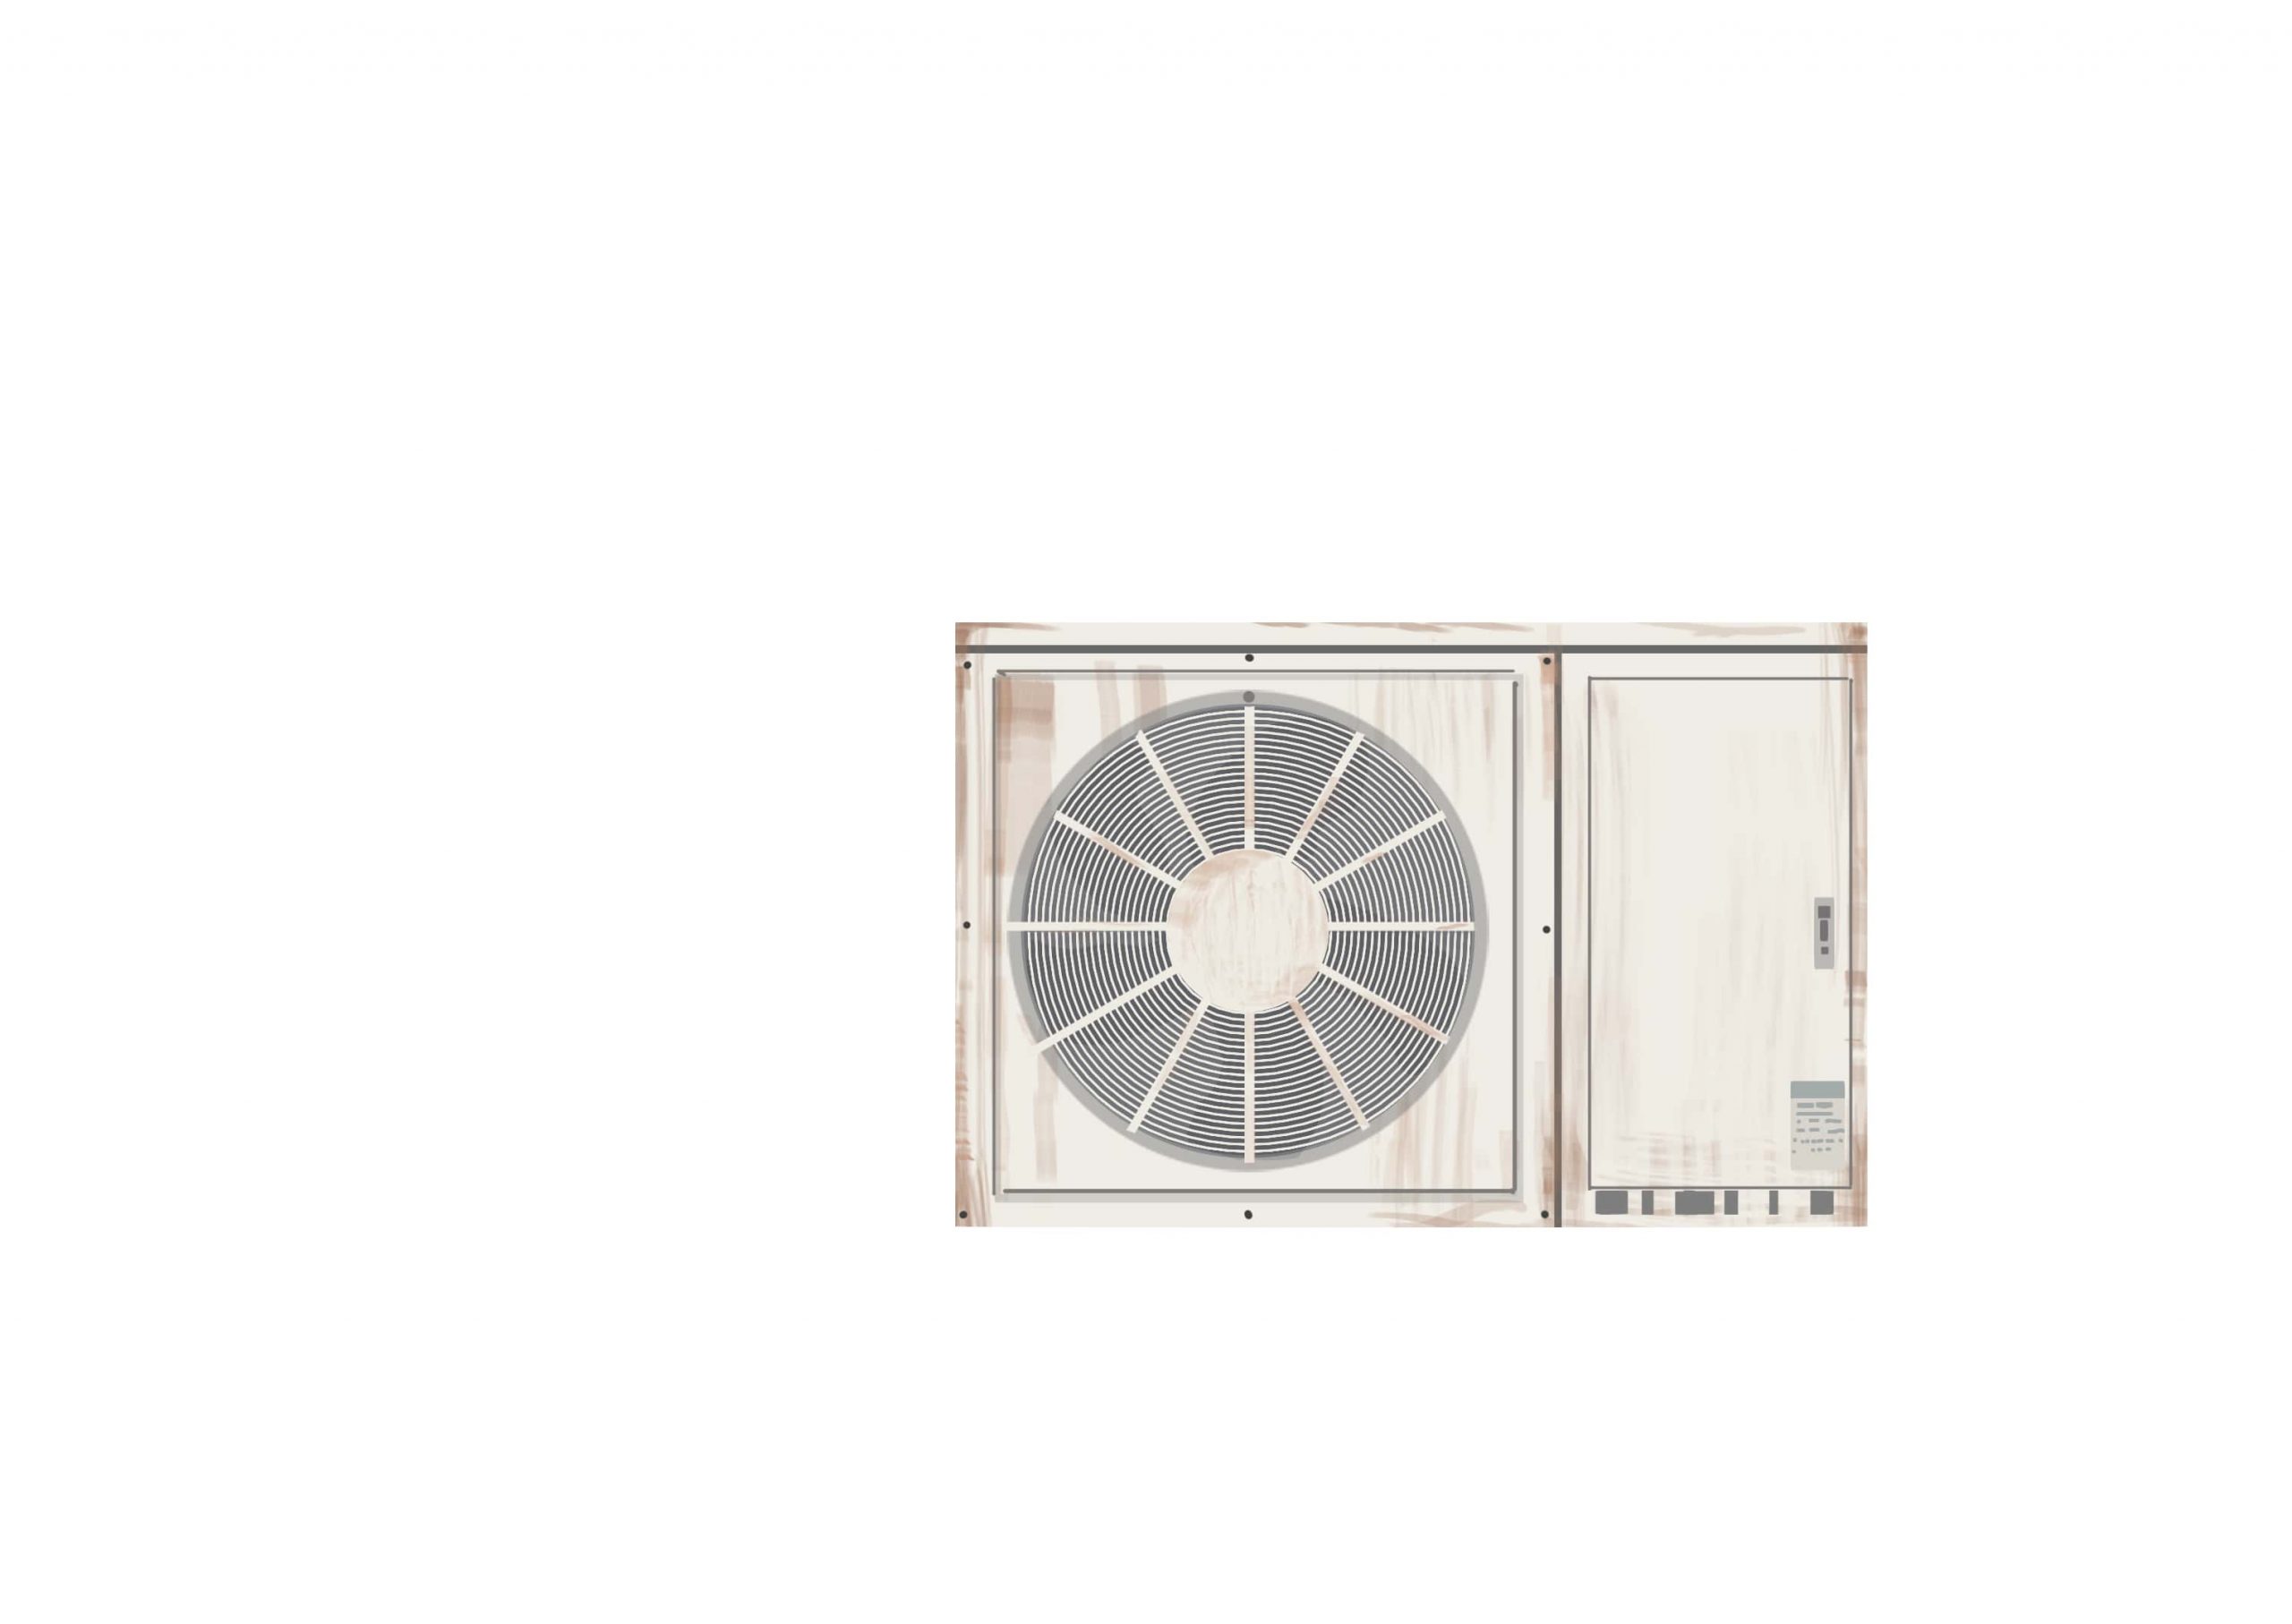
(9) Draw in the rust areas. Since corrosion starts from the edges, pigment the edges with a brush with reduced opacity. Advisedly observe the position of the plate and bolts.
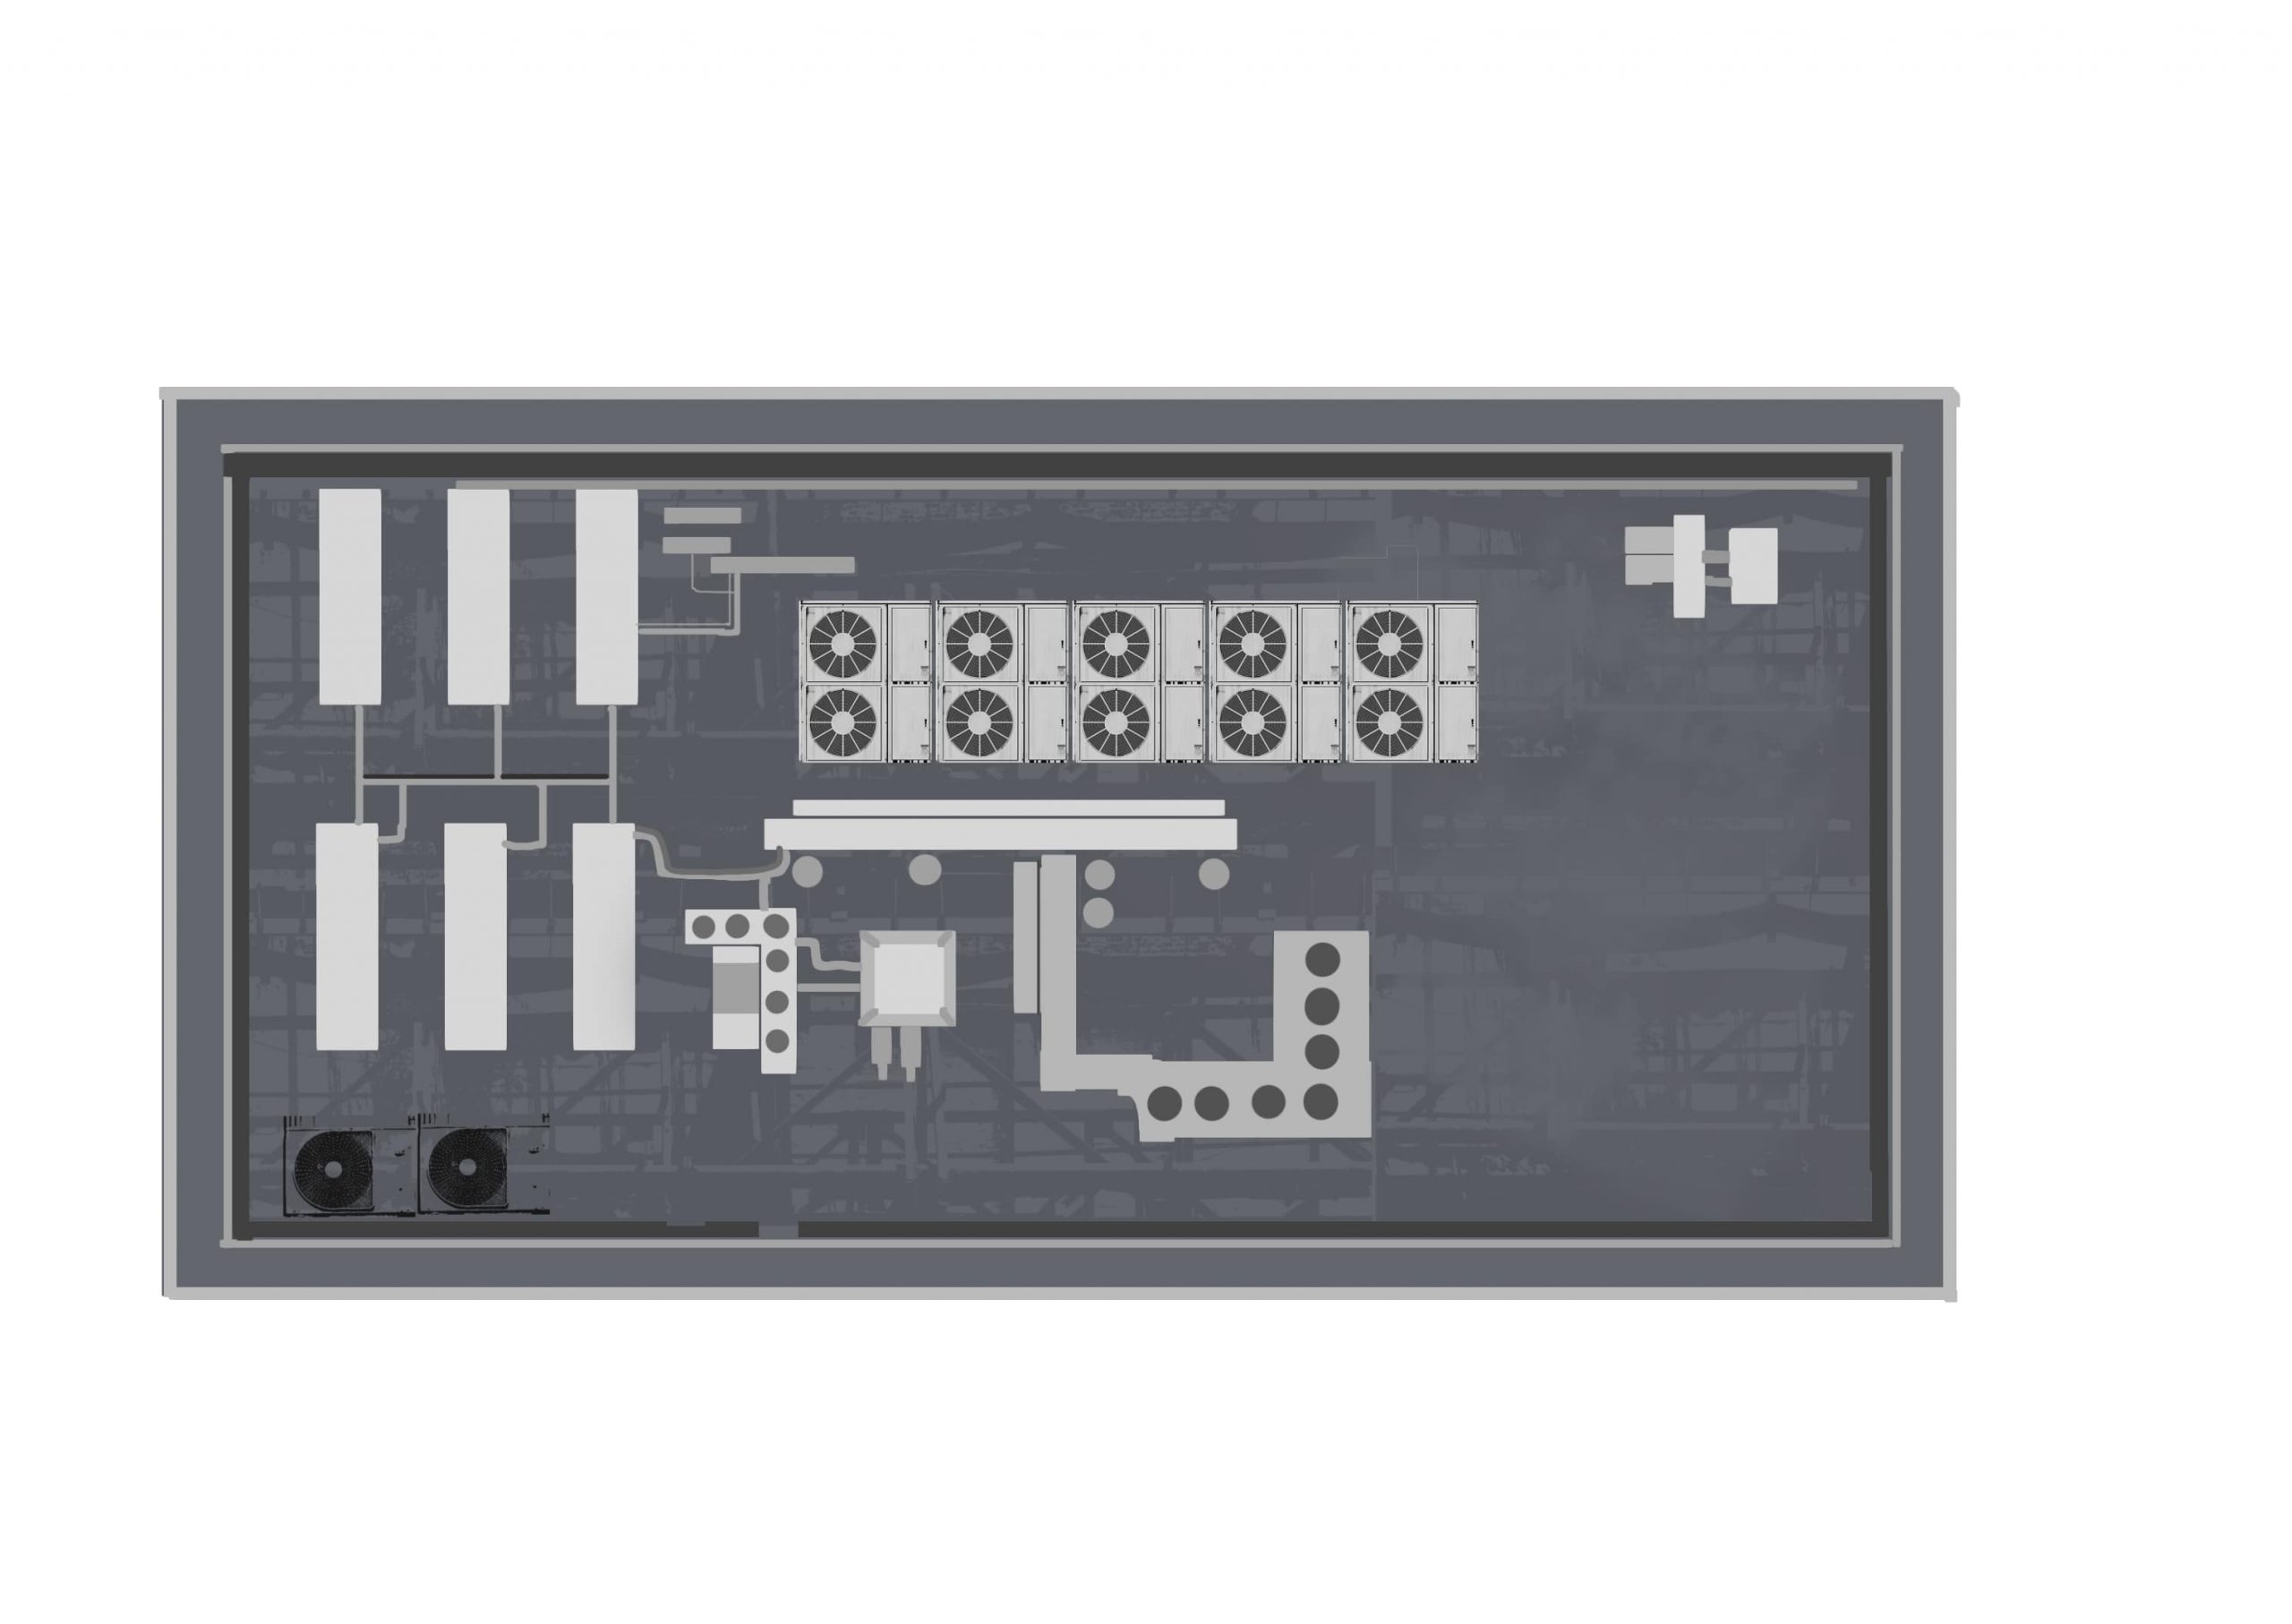
(10) Combine the layers of the outdoor unit created earlier and copy them to create the equipment texture for the rooftop area. As well, draw the exhaust ducts and pipes at the same time.
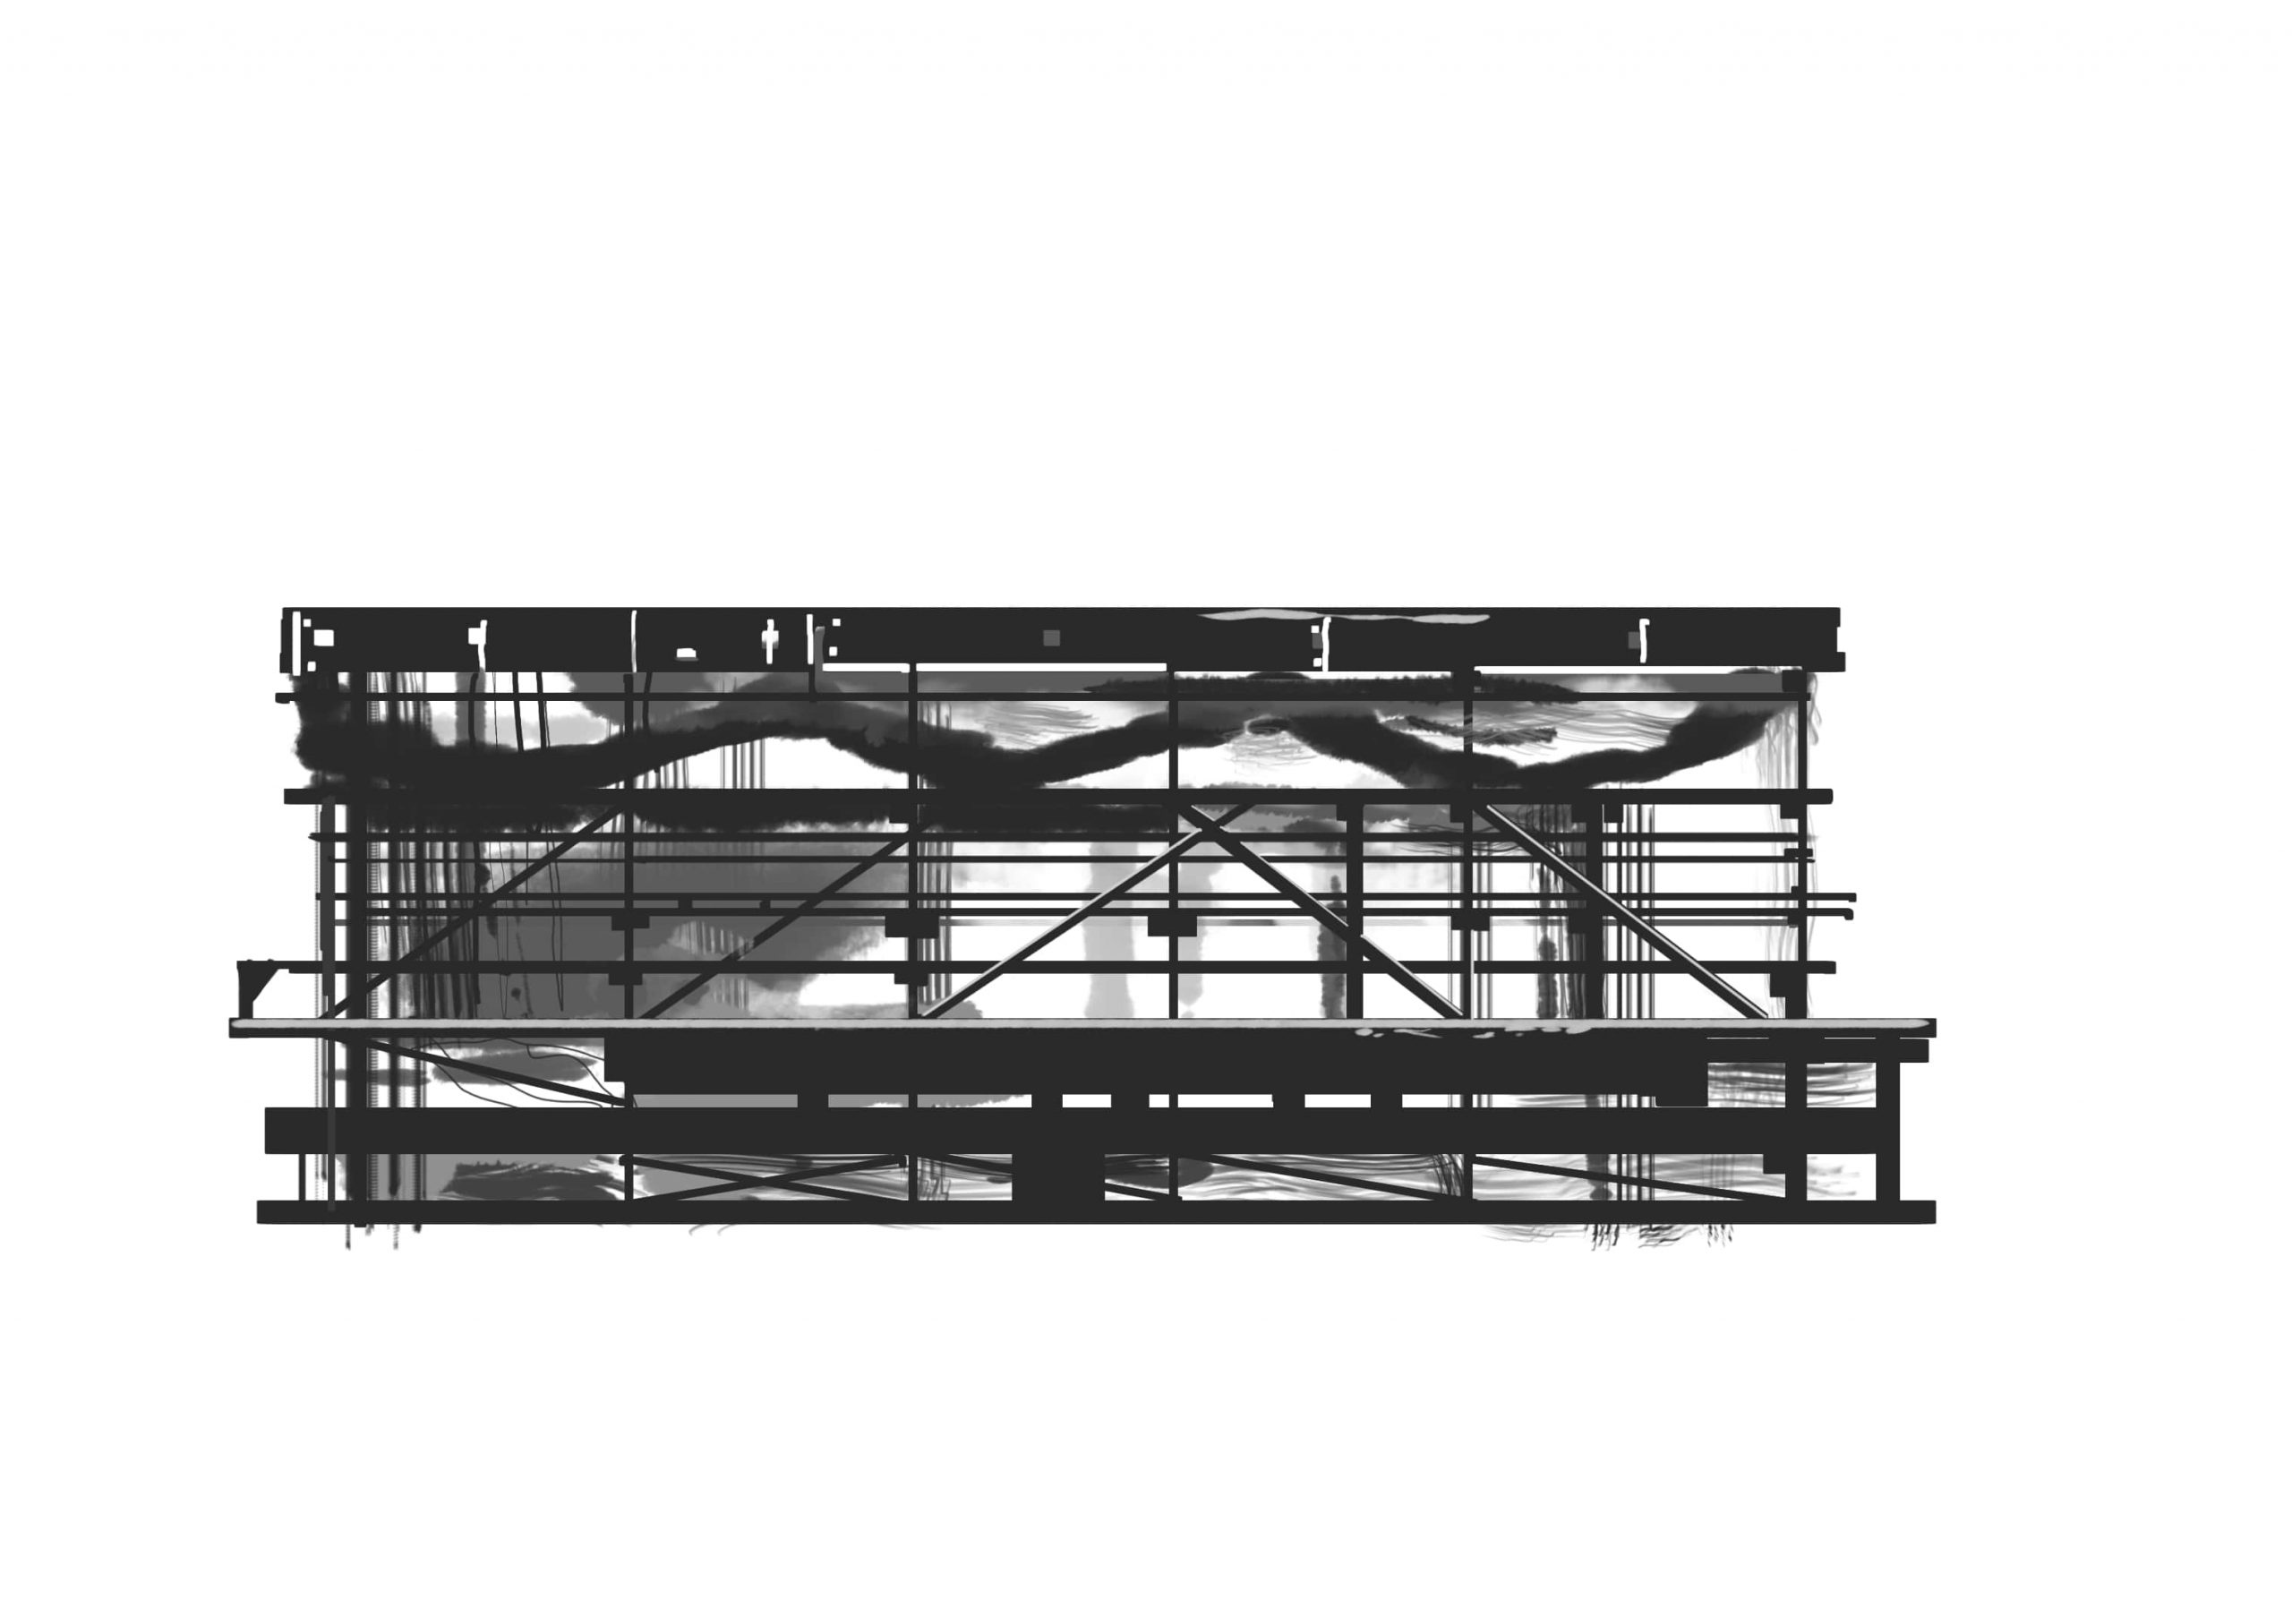
(11) Create the material for the steel frame in accelerate. Utilise an uneven brush or a apartment castor as shown in the image to make it more realistic.
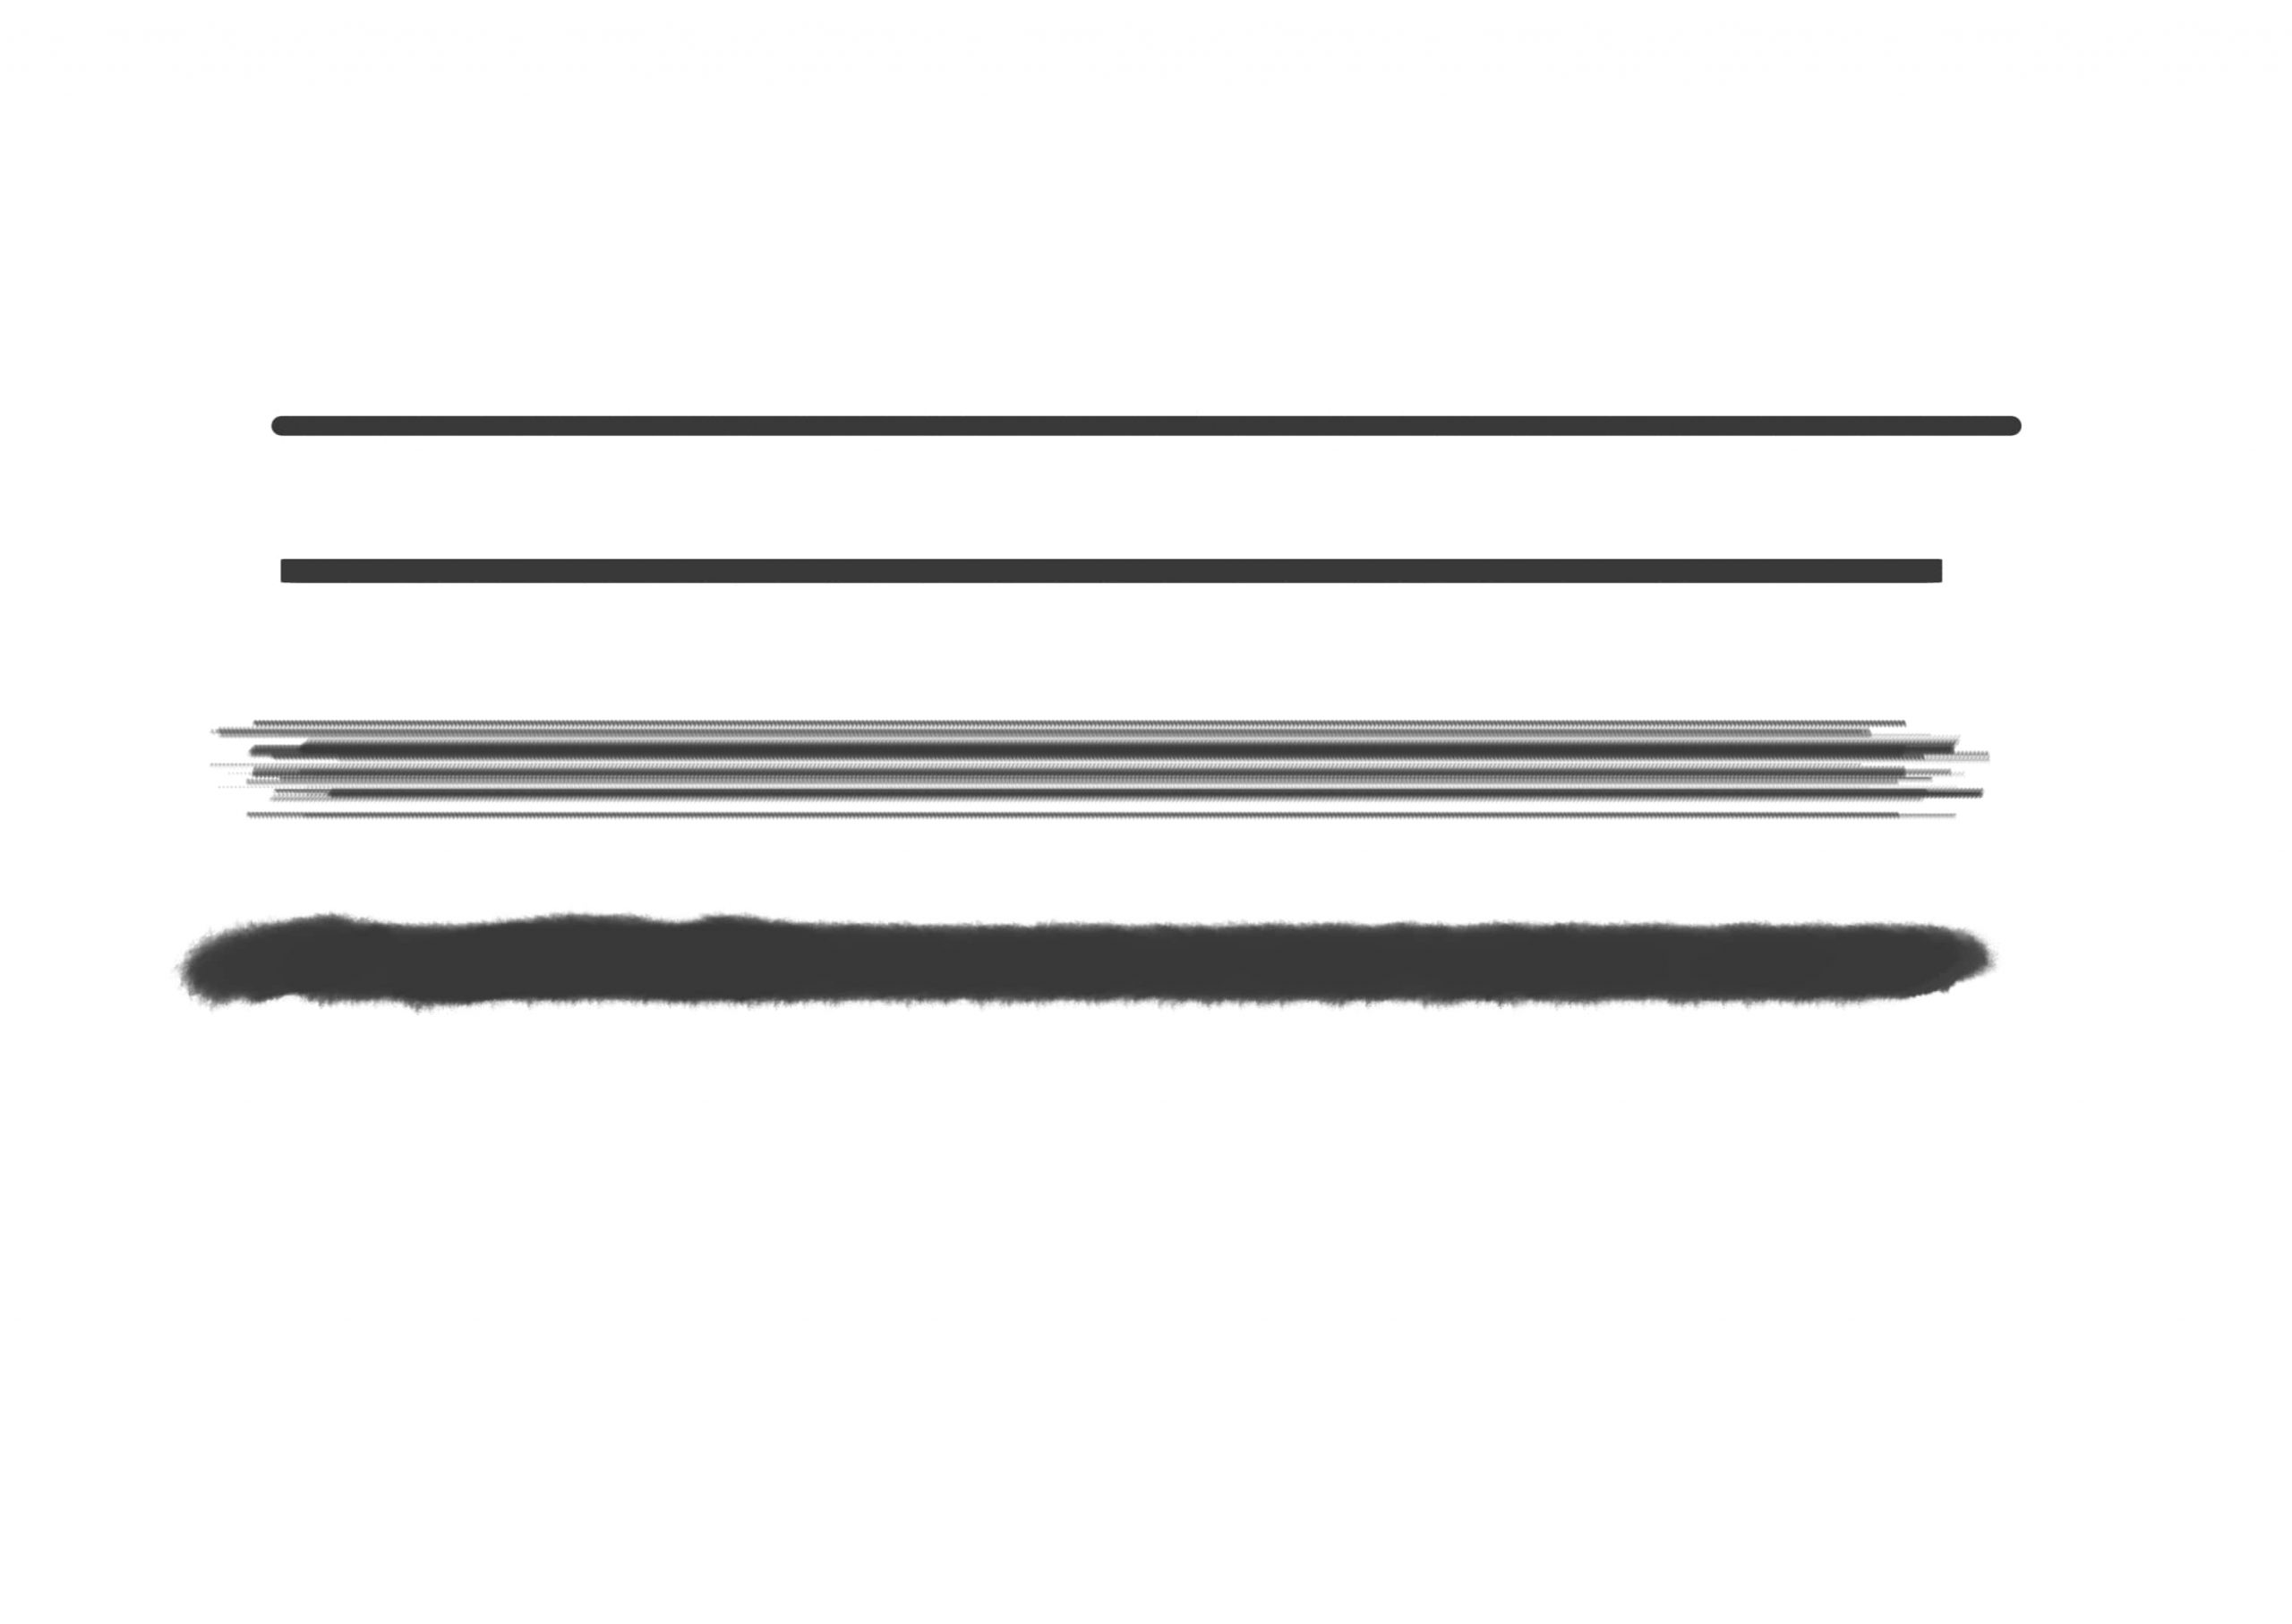
(12) Create a texture for the steel frame using the brushes you lot just used. The color will be overlaid later, and then we will utilize monochrome to create the texture.
3.Paste the texture
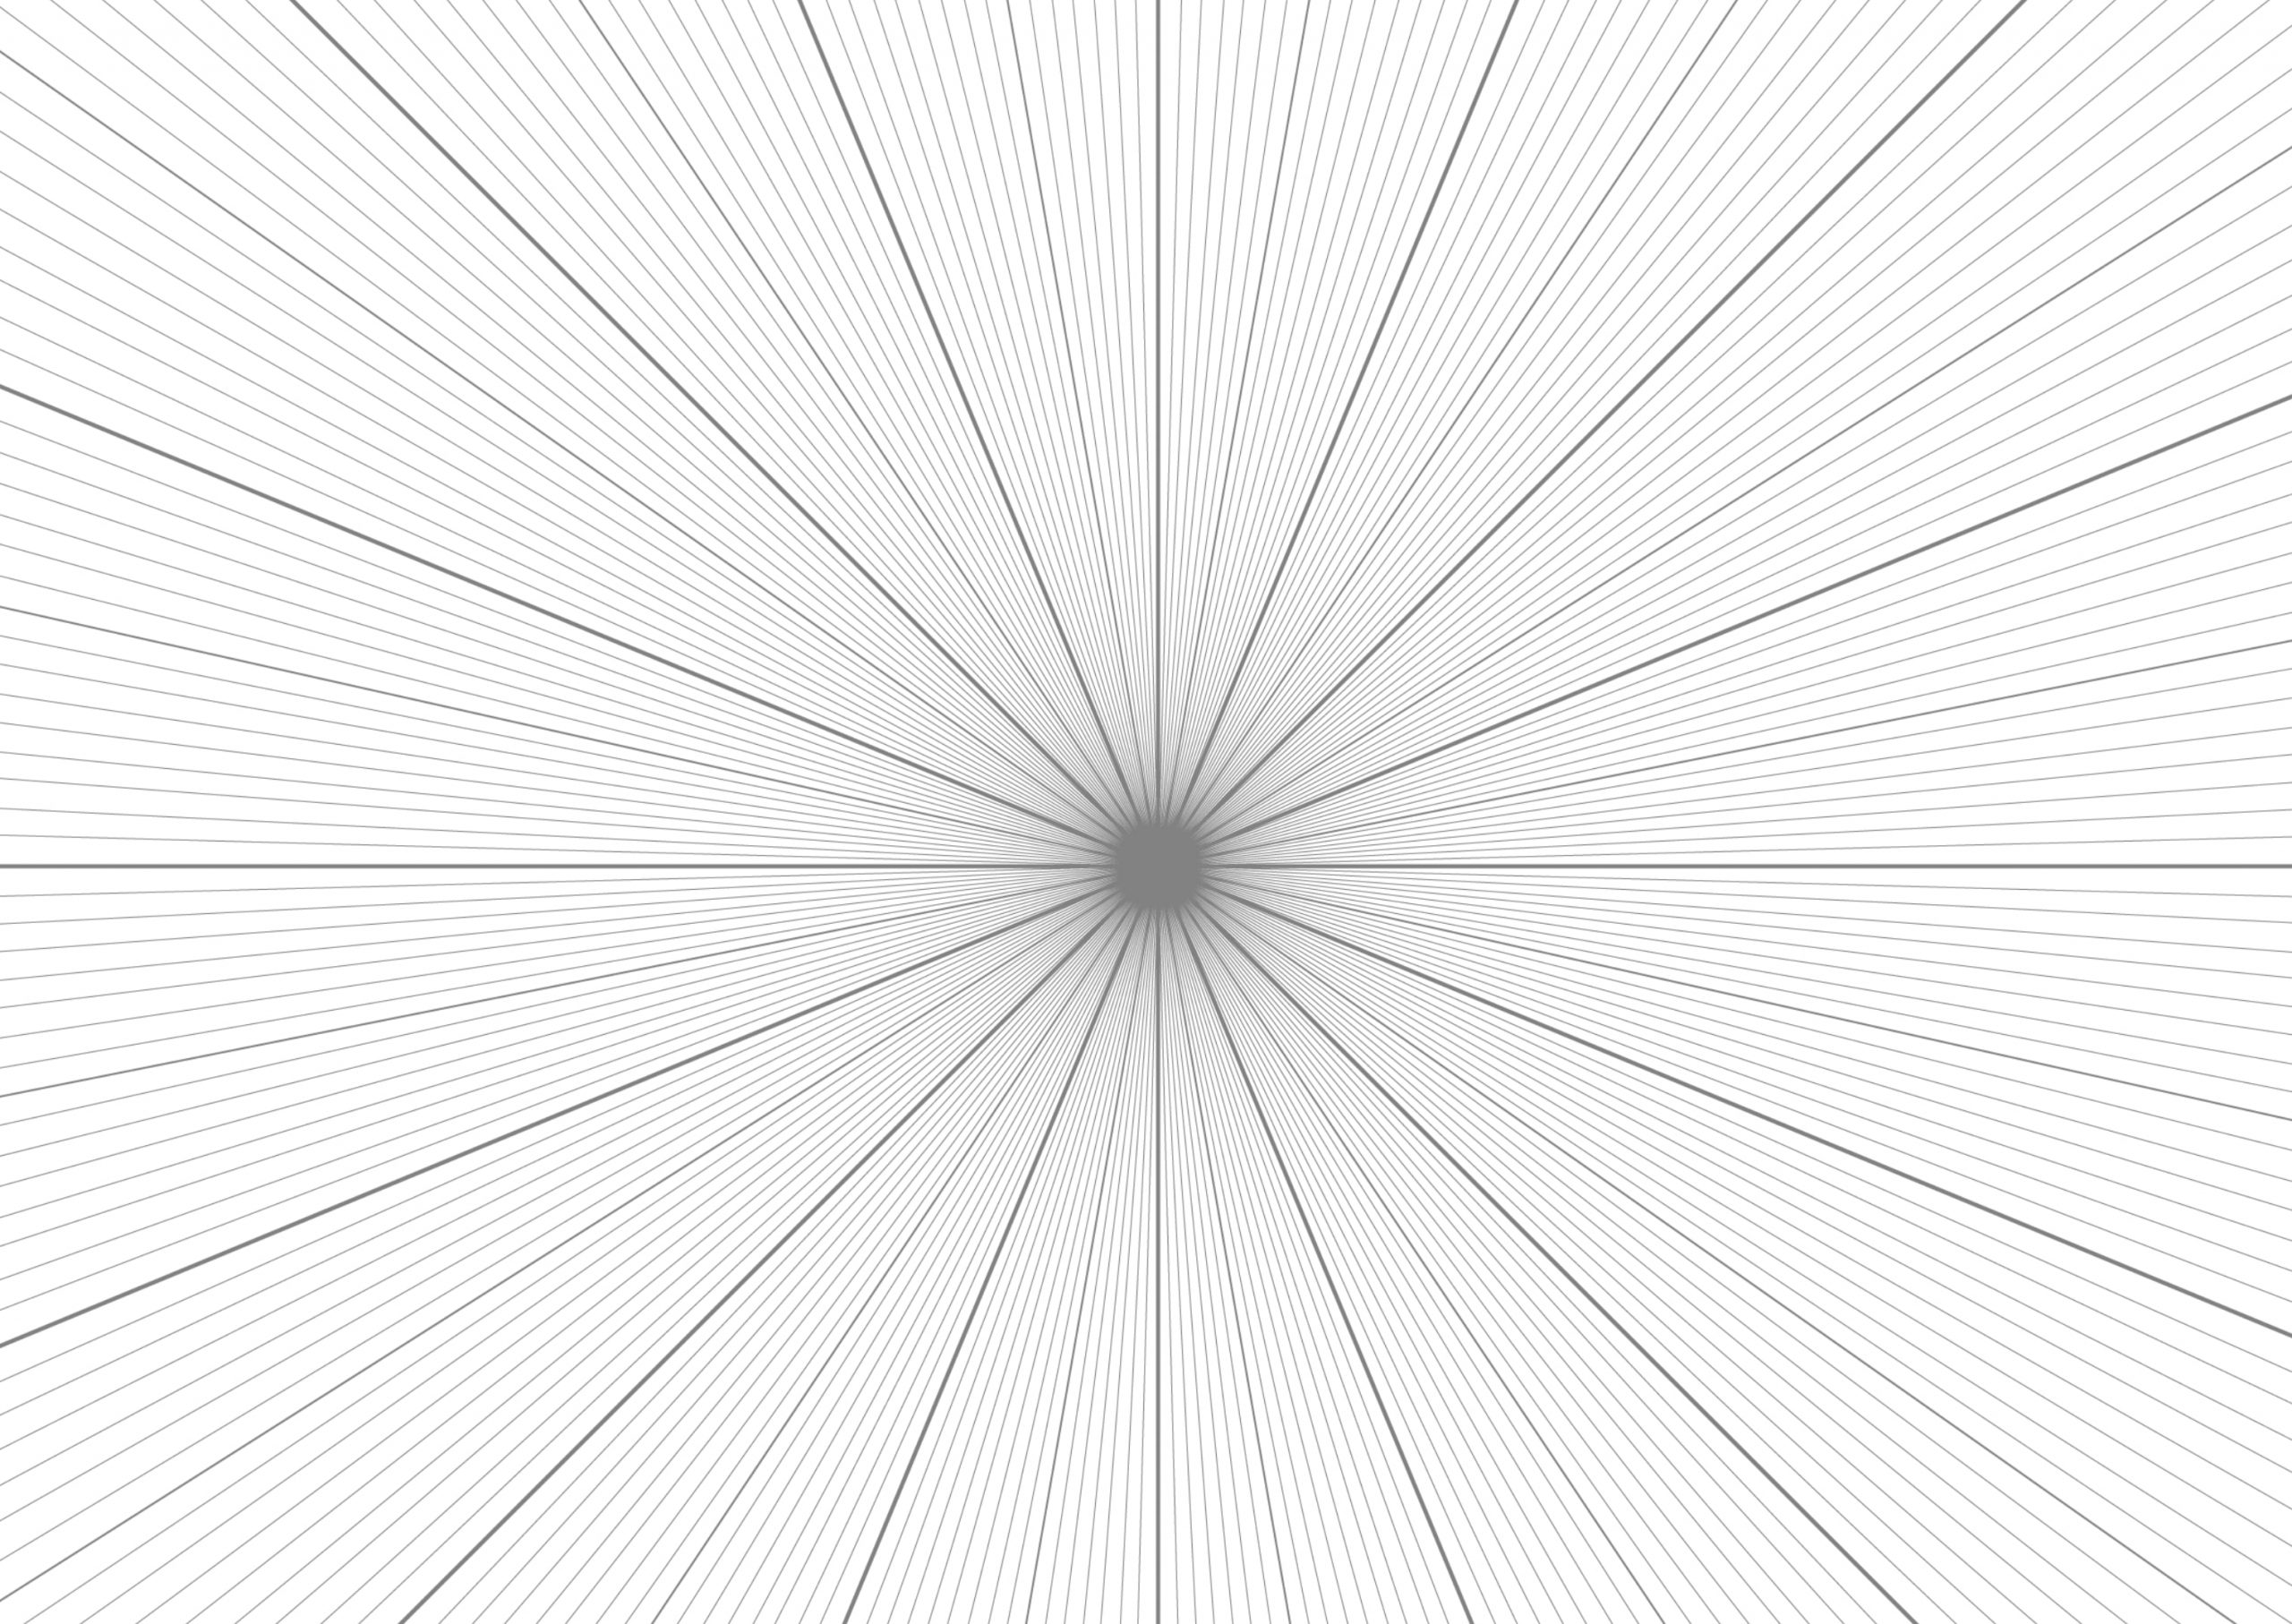
(one) Firstly, decide the vanishing point. In this case, I chose a shape that would fit in the heart. Information technology is convenient to prepare a visual guide beforehand.
(2) Earlier attaching the texture, separate the light and dark areas of the building. I used the rough sketch as a reference to pigment the building so that the front side would be darker to catch the calorie-free at the back.
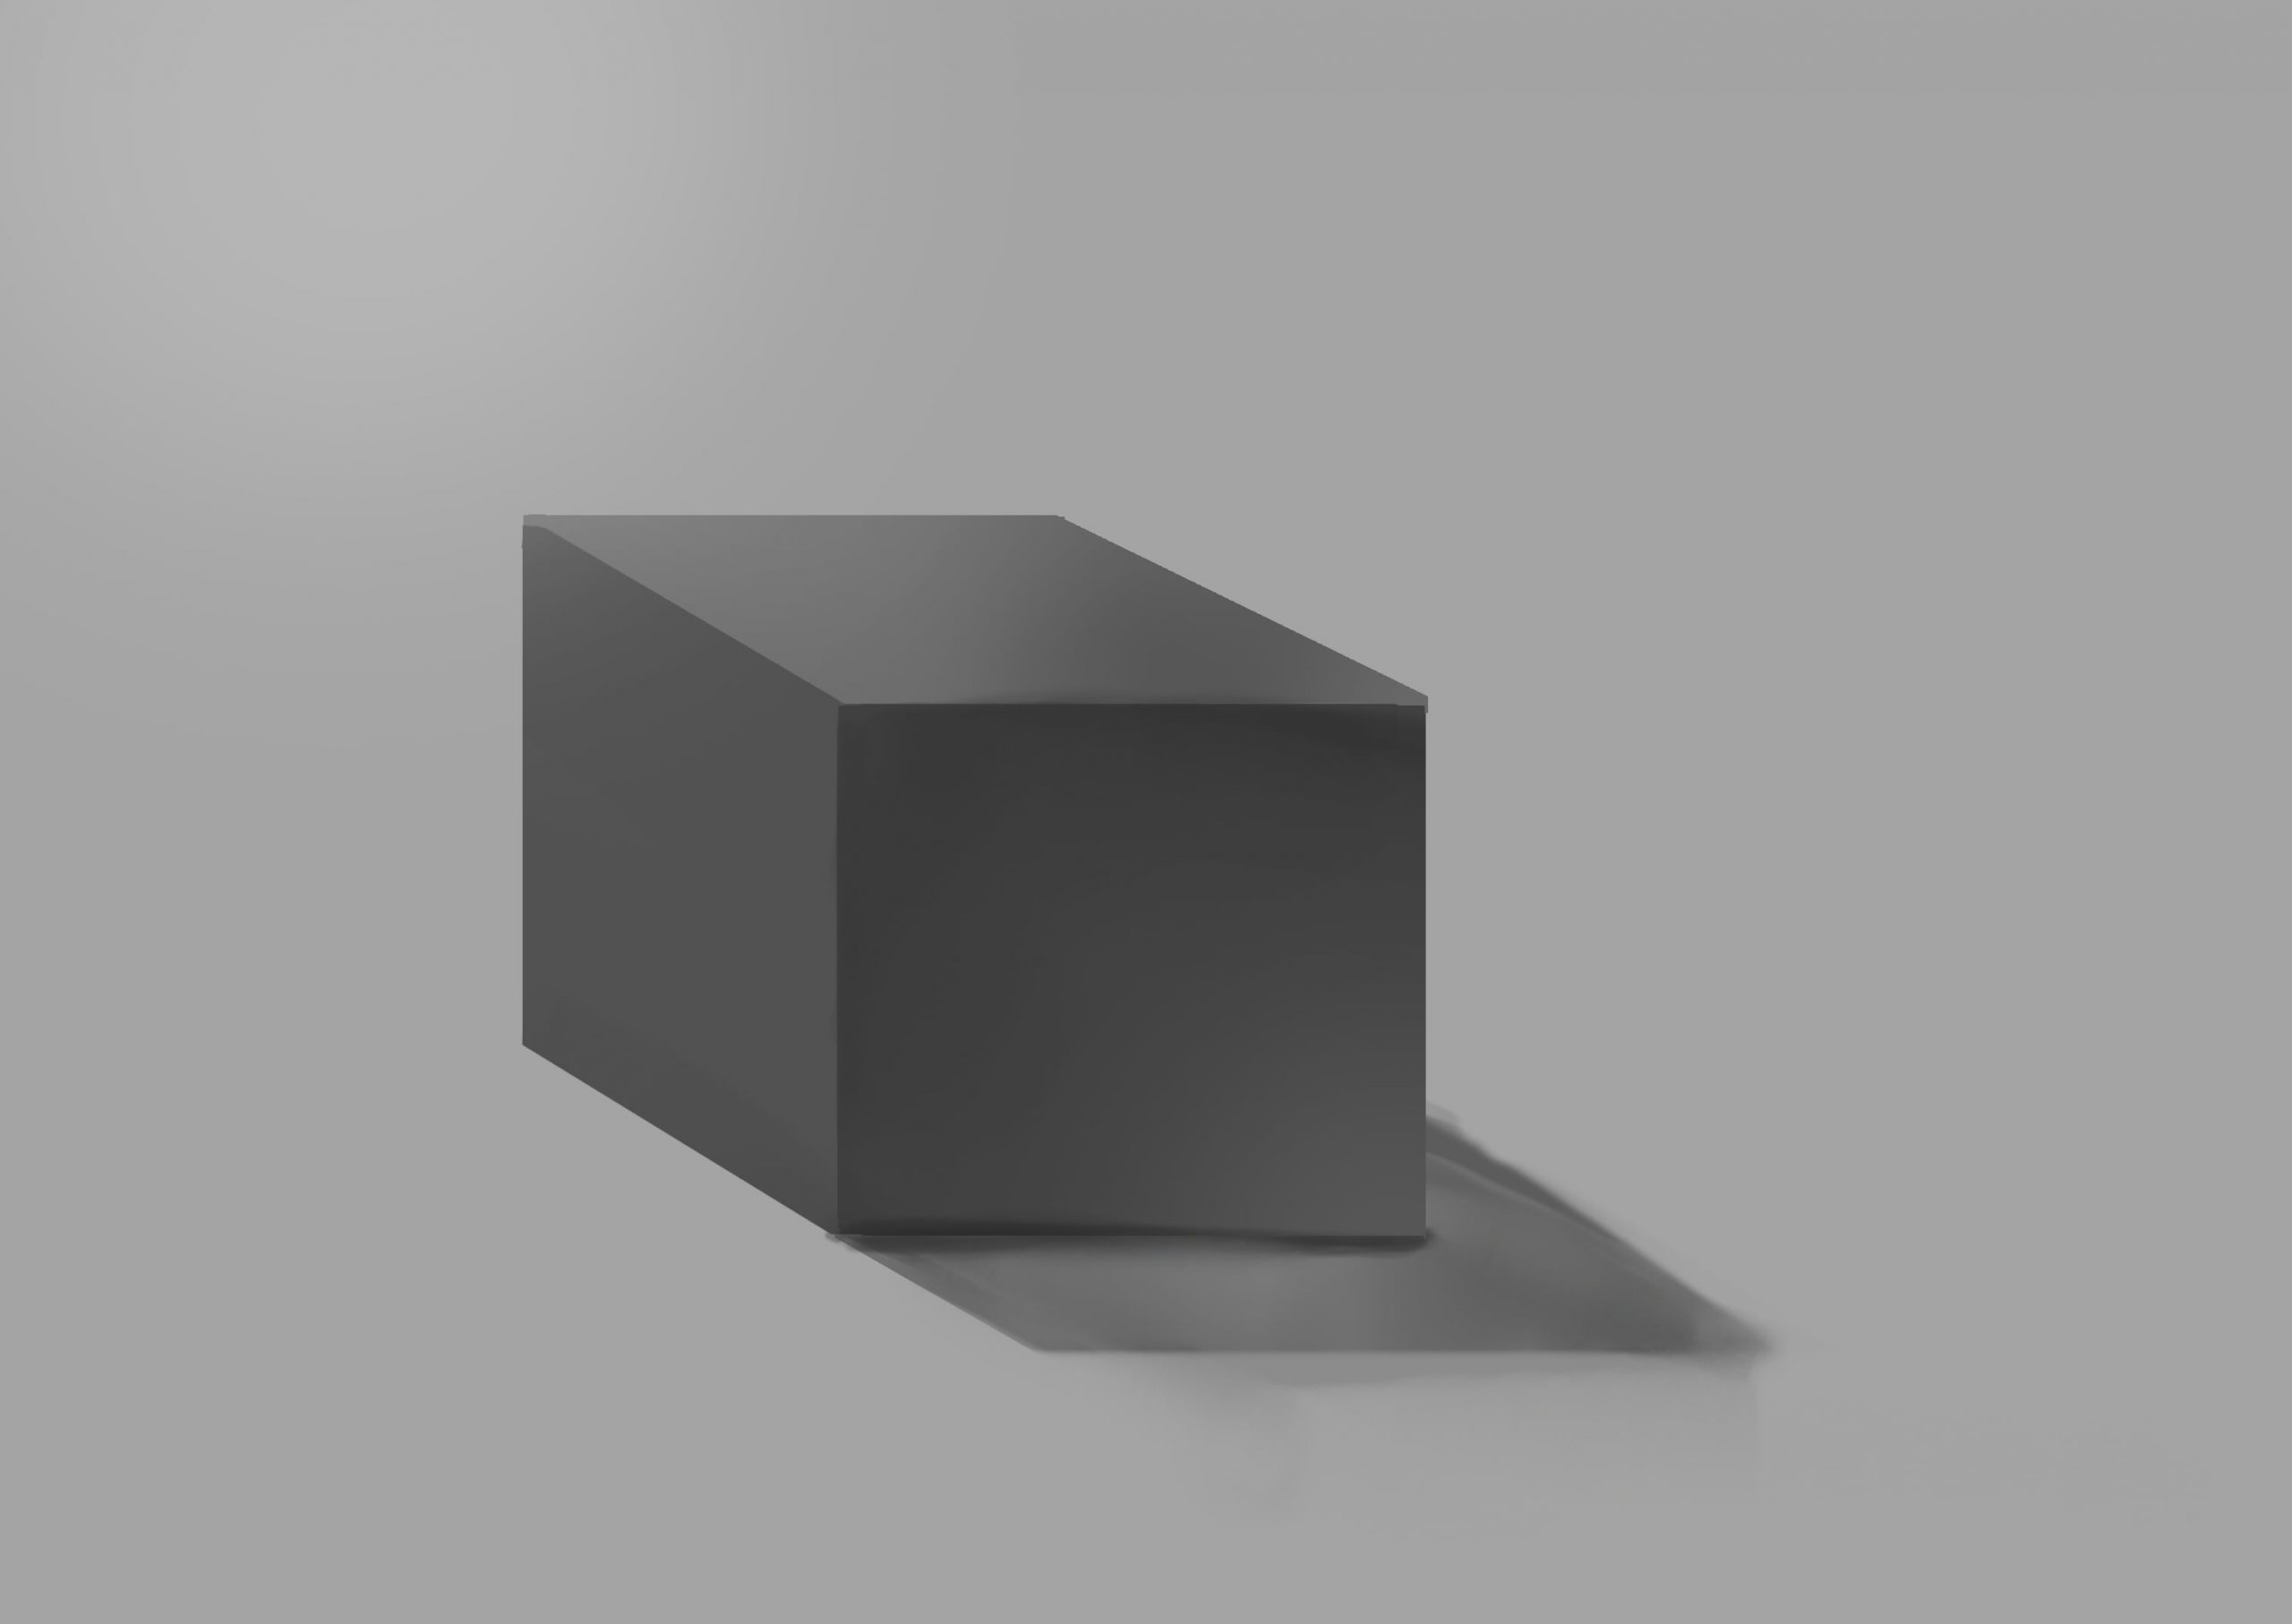
(3) Also, as shown in the prototype, when y'all think of the building shapes as cubes, you lot tin can simply see three sides of the building no thing where you look from, so be conscious of painting light areas that are lit and nighttime areas that are in shadow.
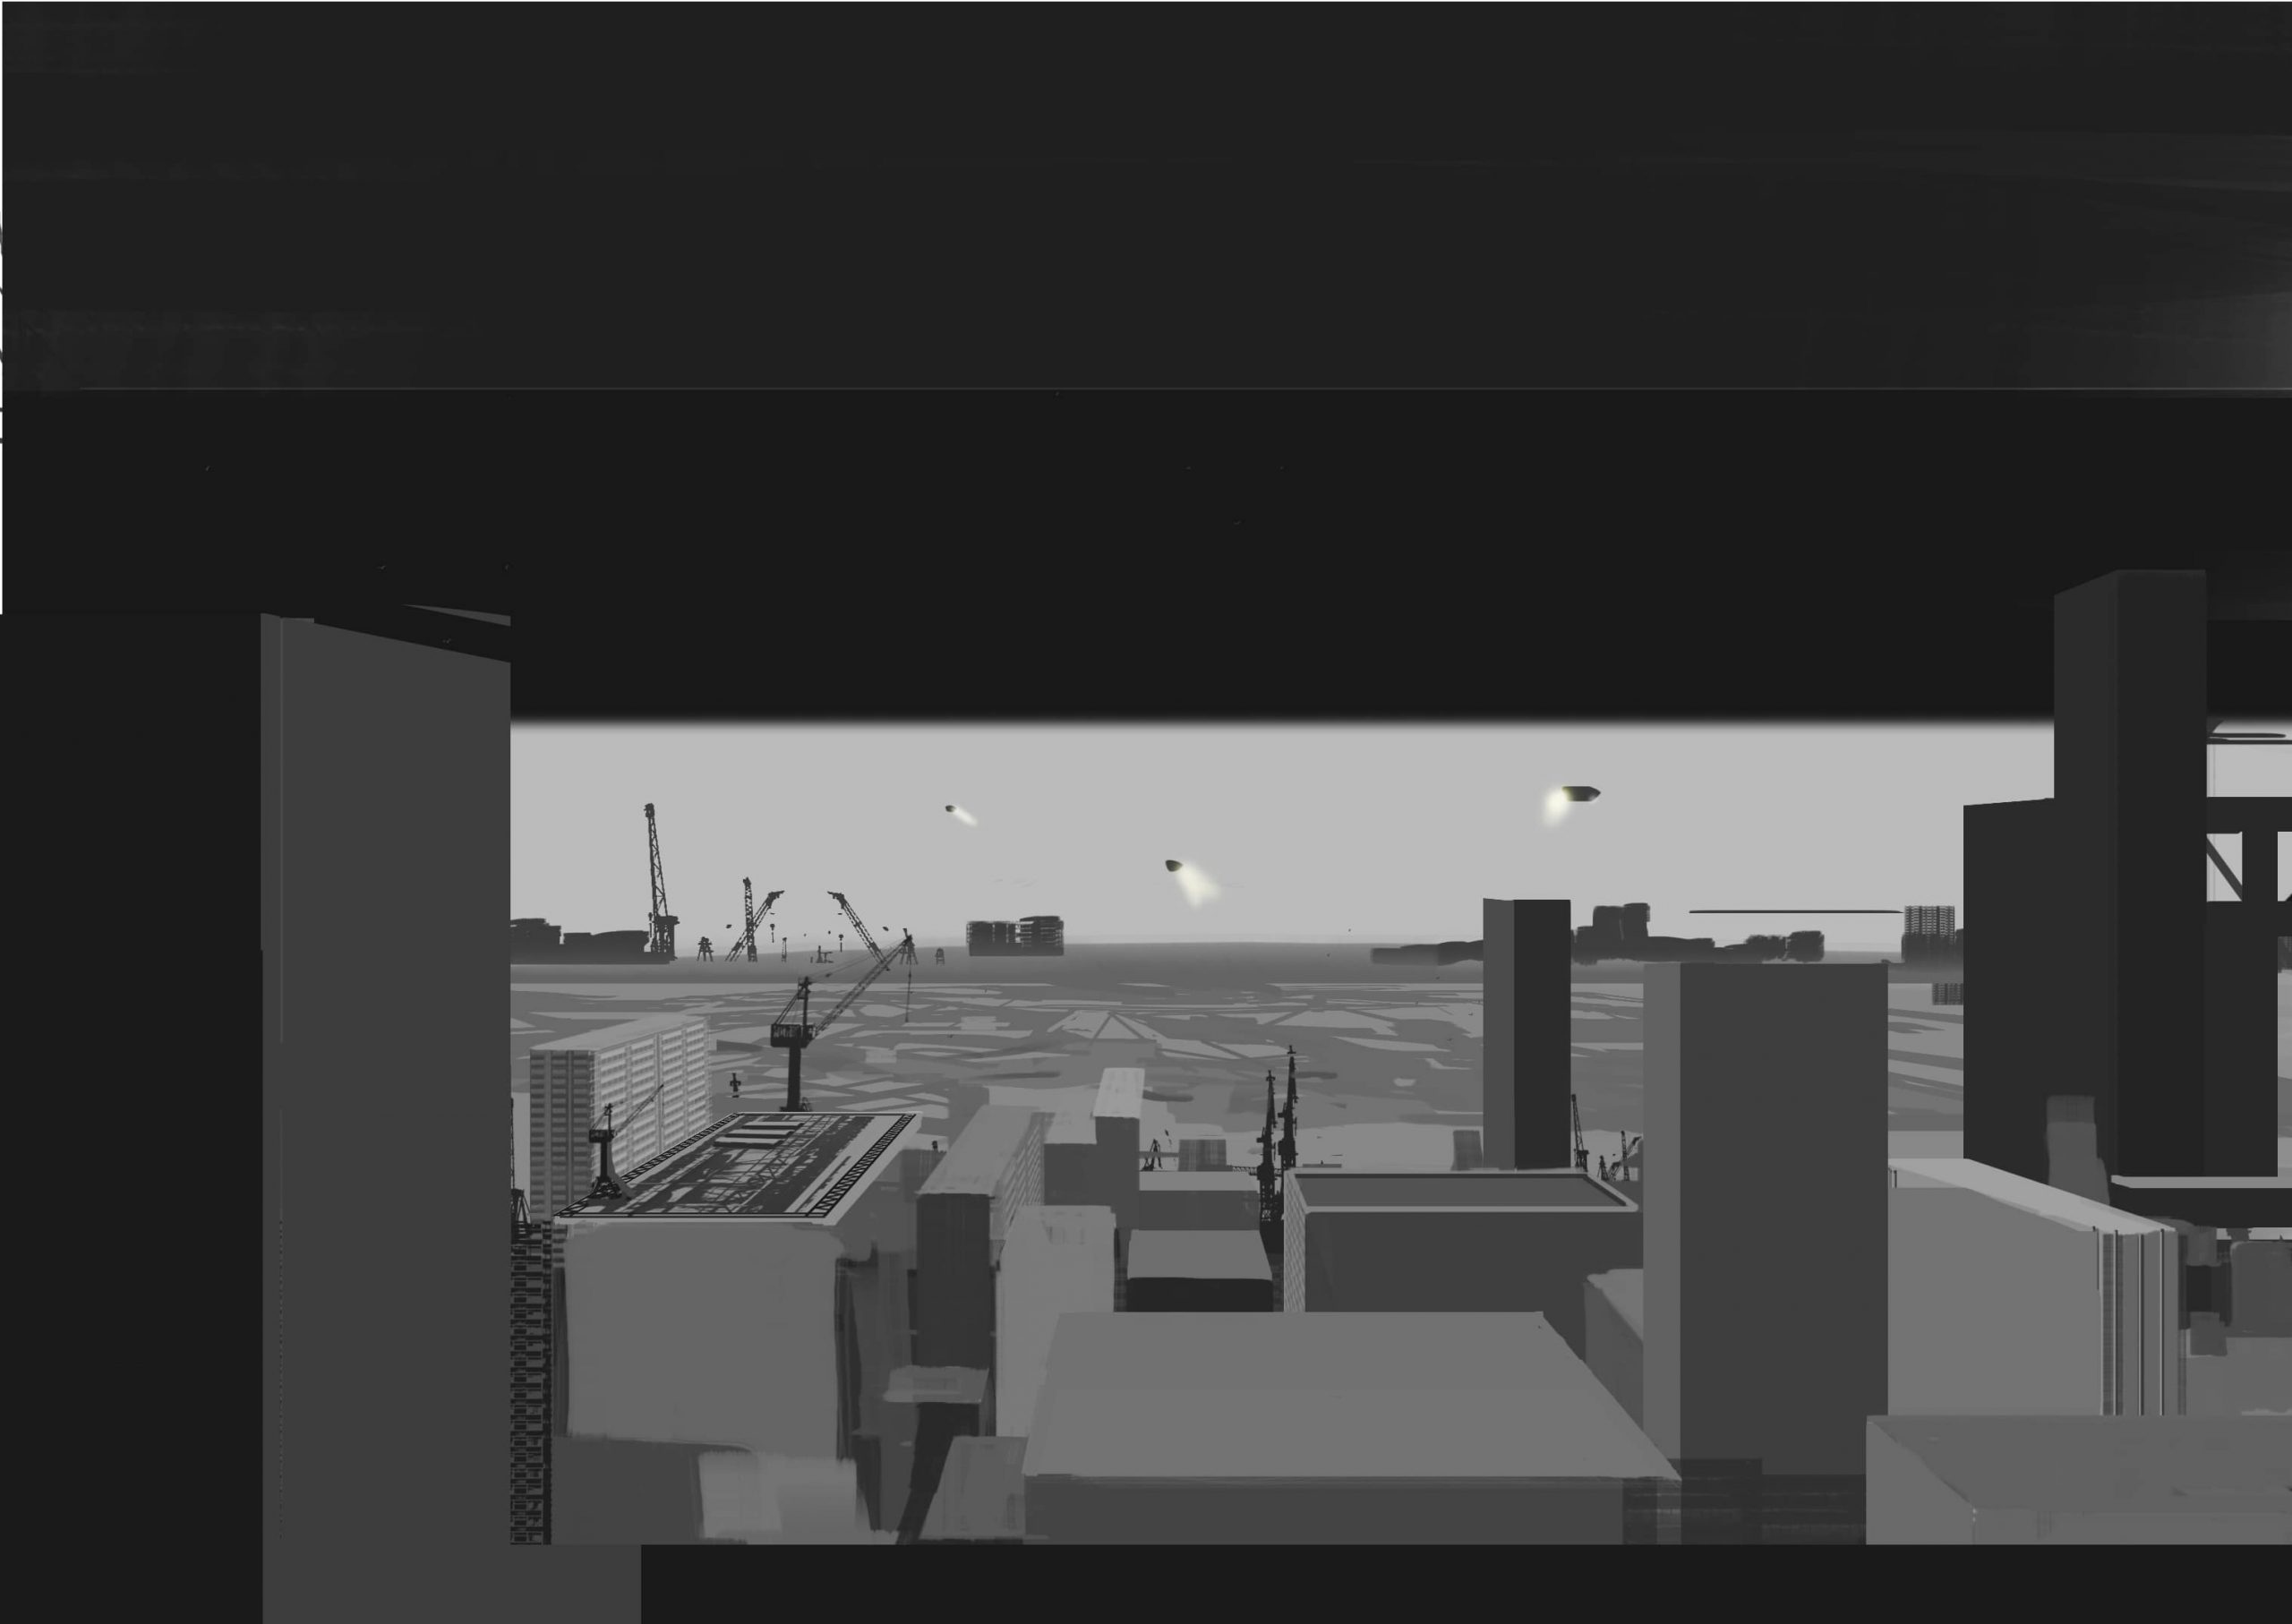
(four) While following the perspective guide, attach the previously created texture. The reason why I chose to create an eerie urban center where all the buildings are facing the vanishing signal is considering I wanted to create a suspicious atmosphere, including the color of the motion-picture show.
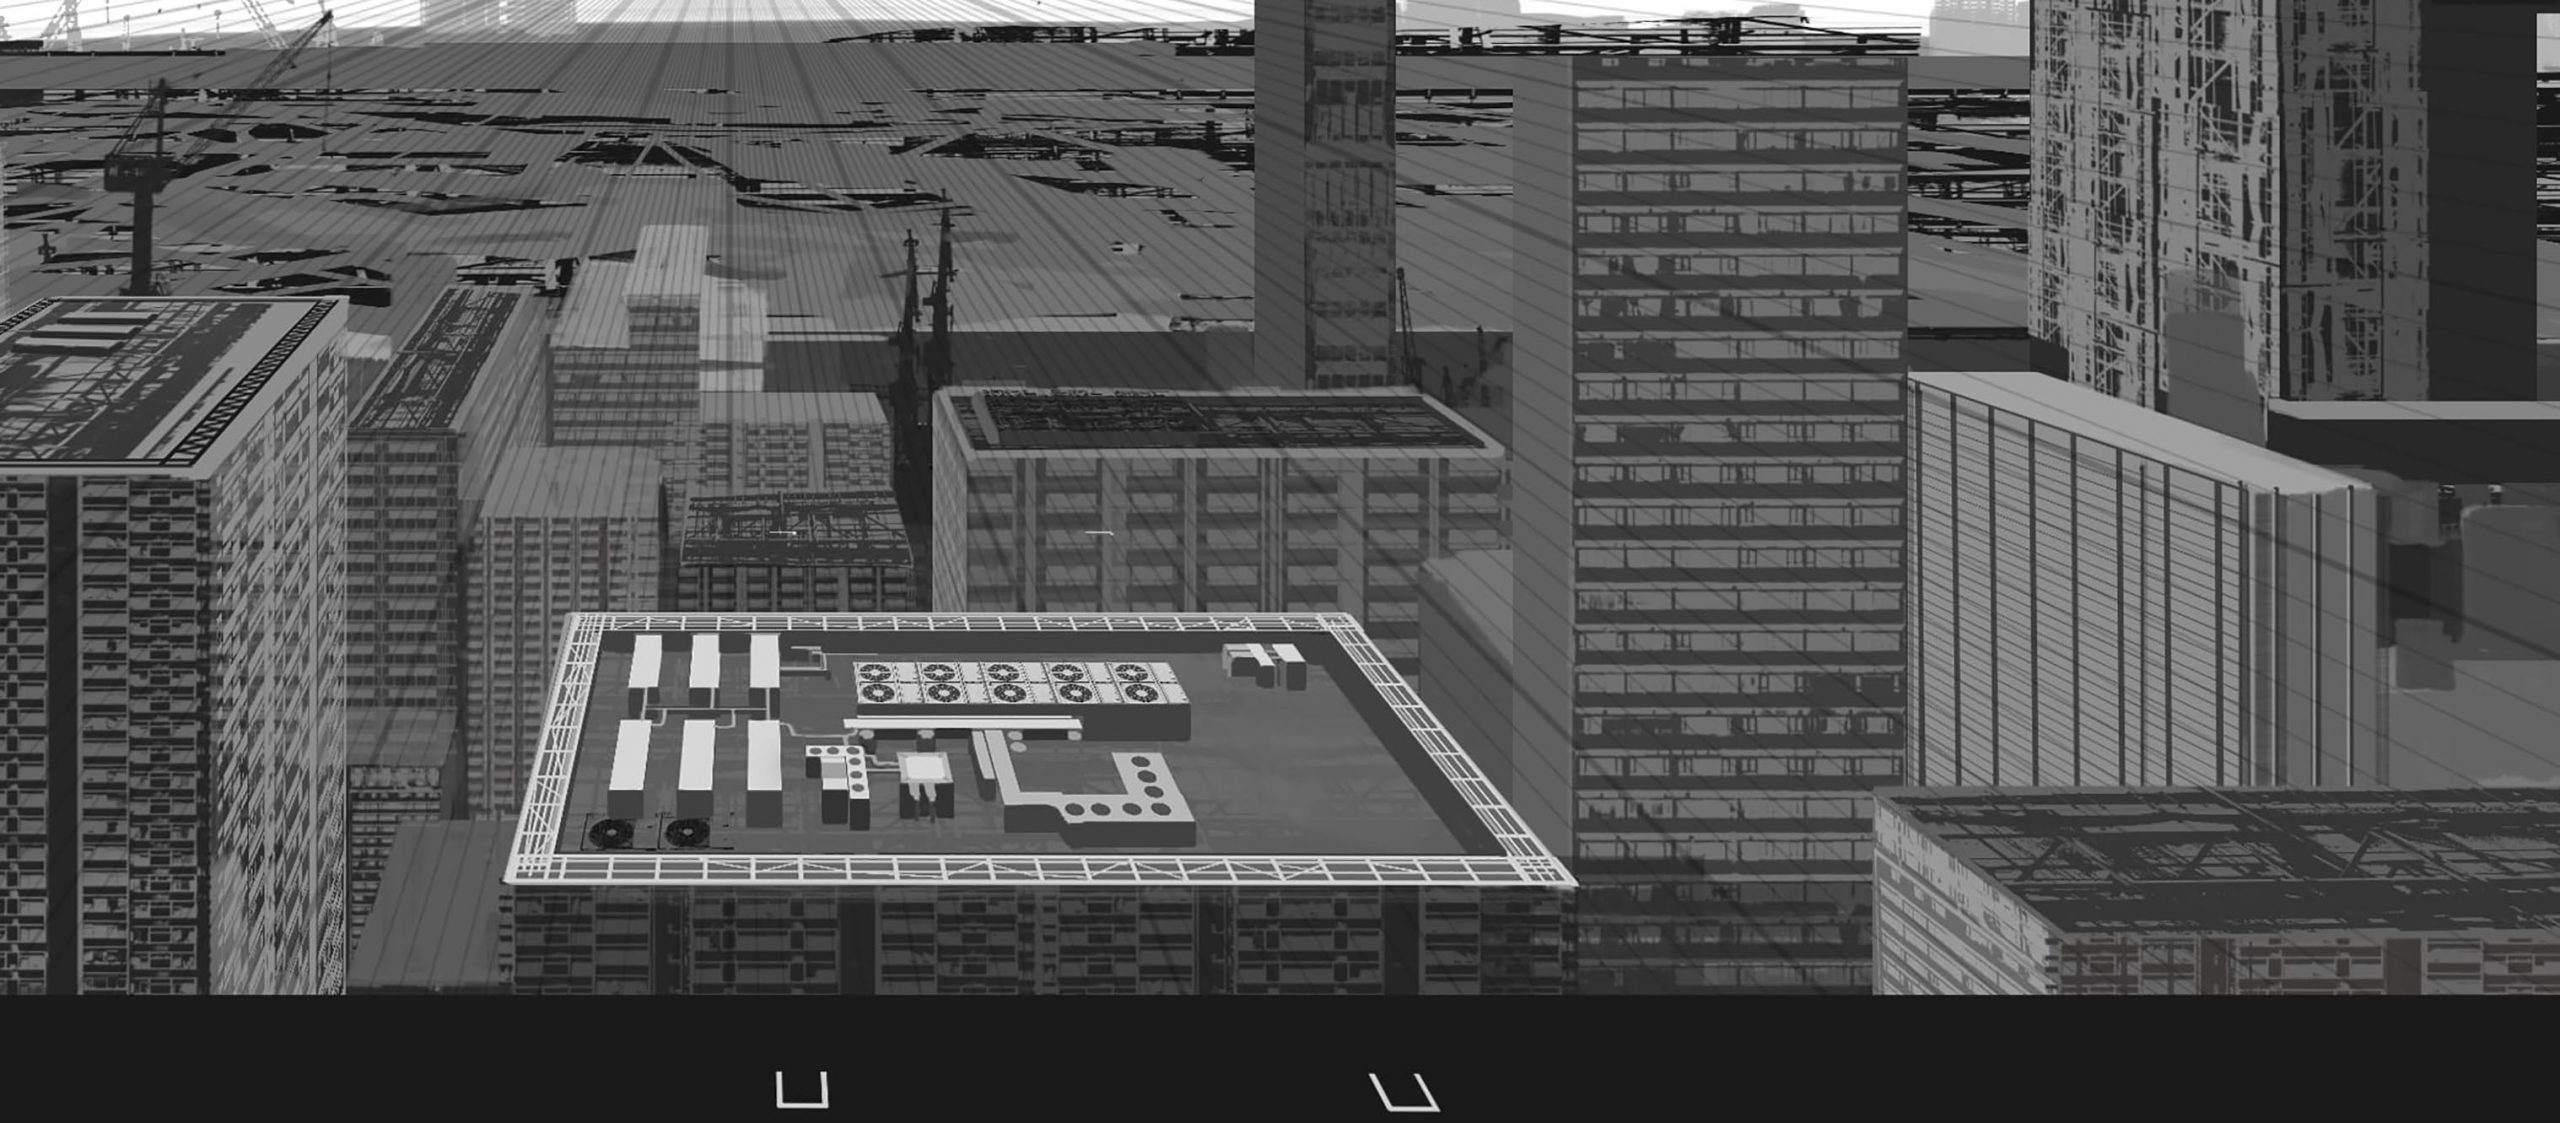
(5) Equally the current country is only the texture of the rooftop equipment, I will depict in the sides of the equipment. While looking at the real thing, I adjust the height of the equipment making sure it's non out of place.
4.Painting
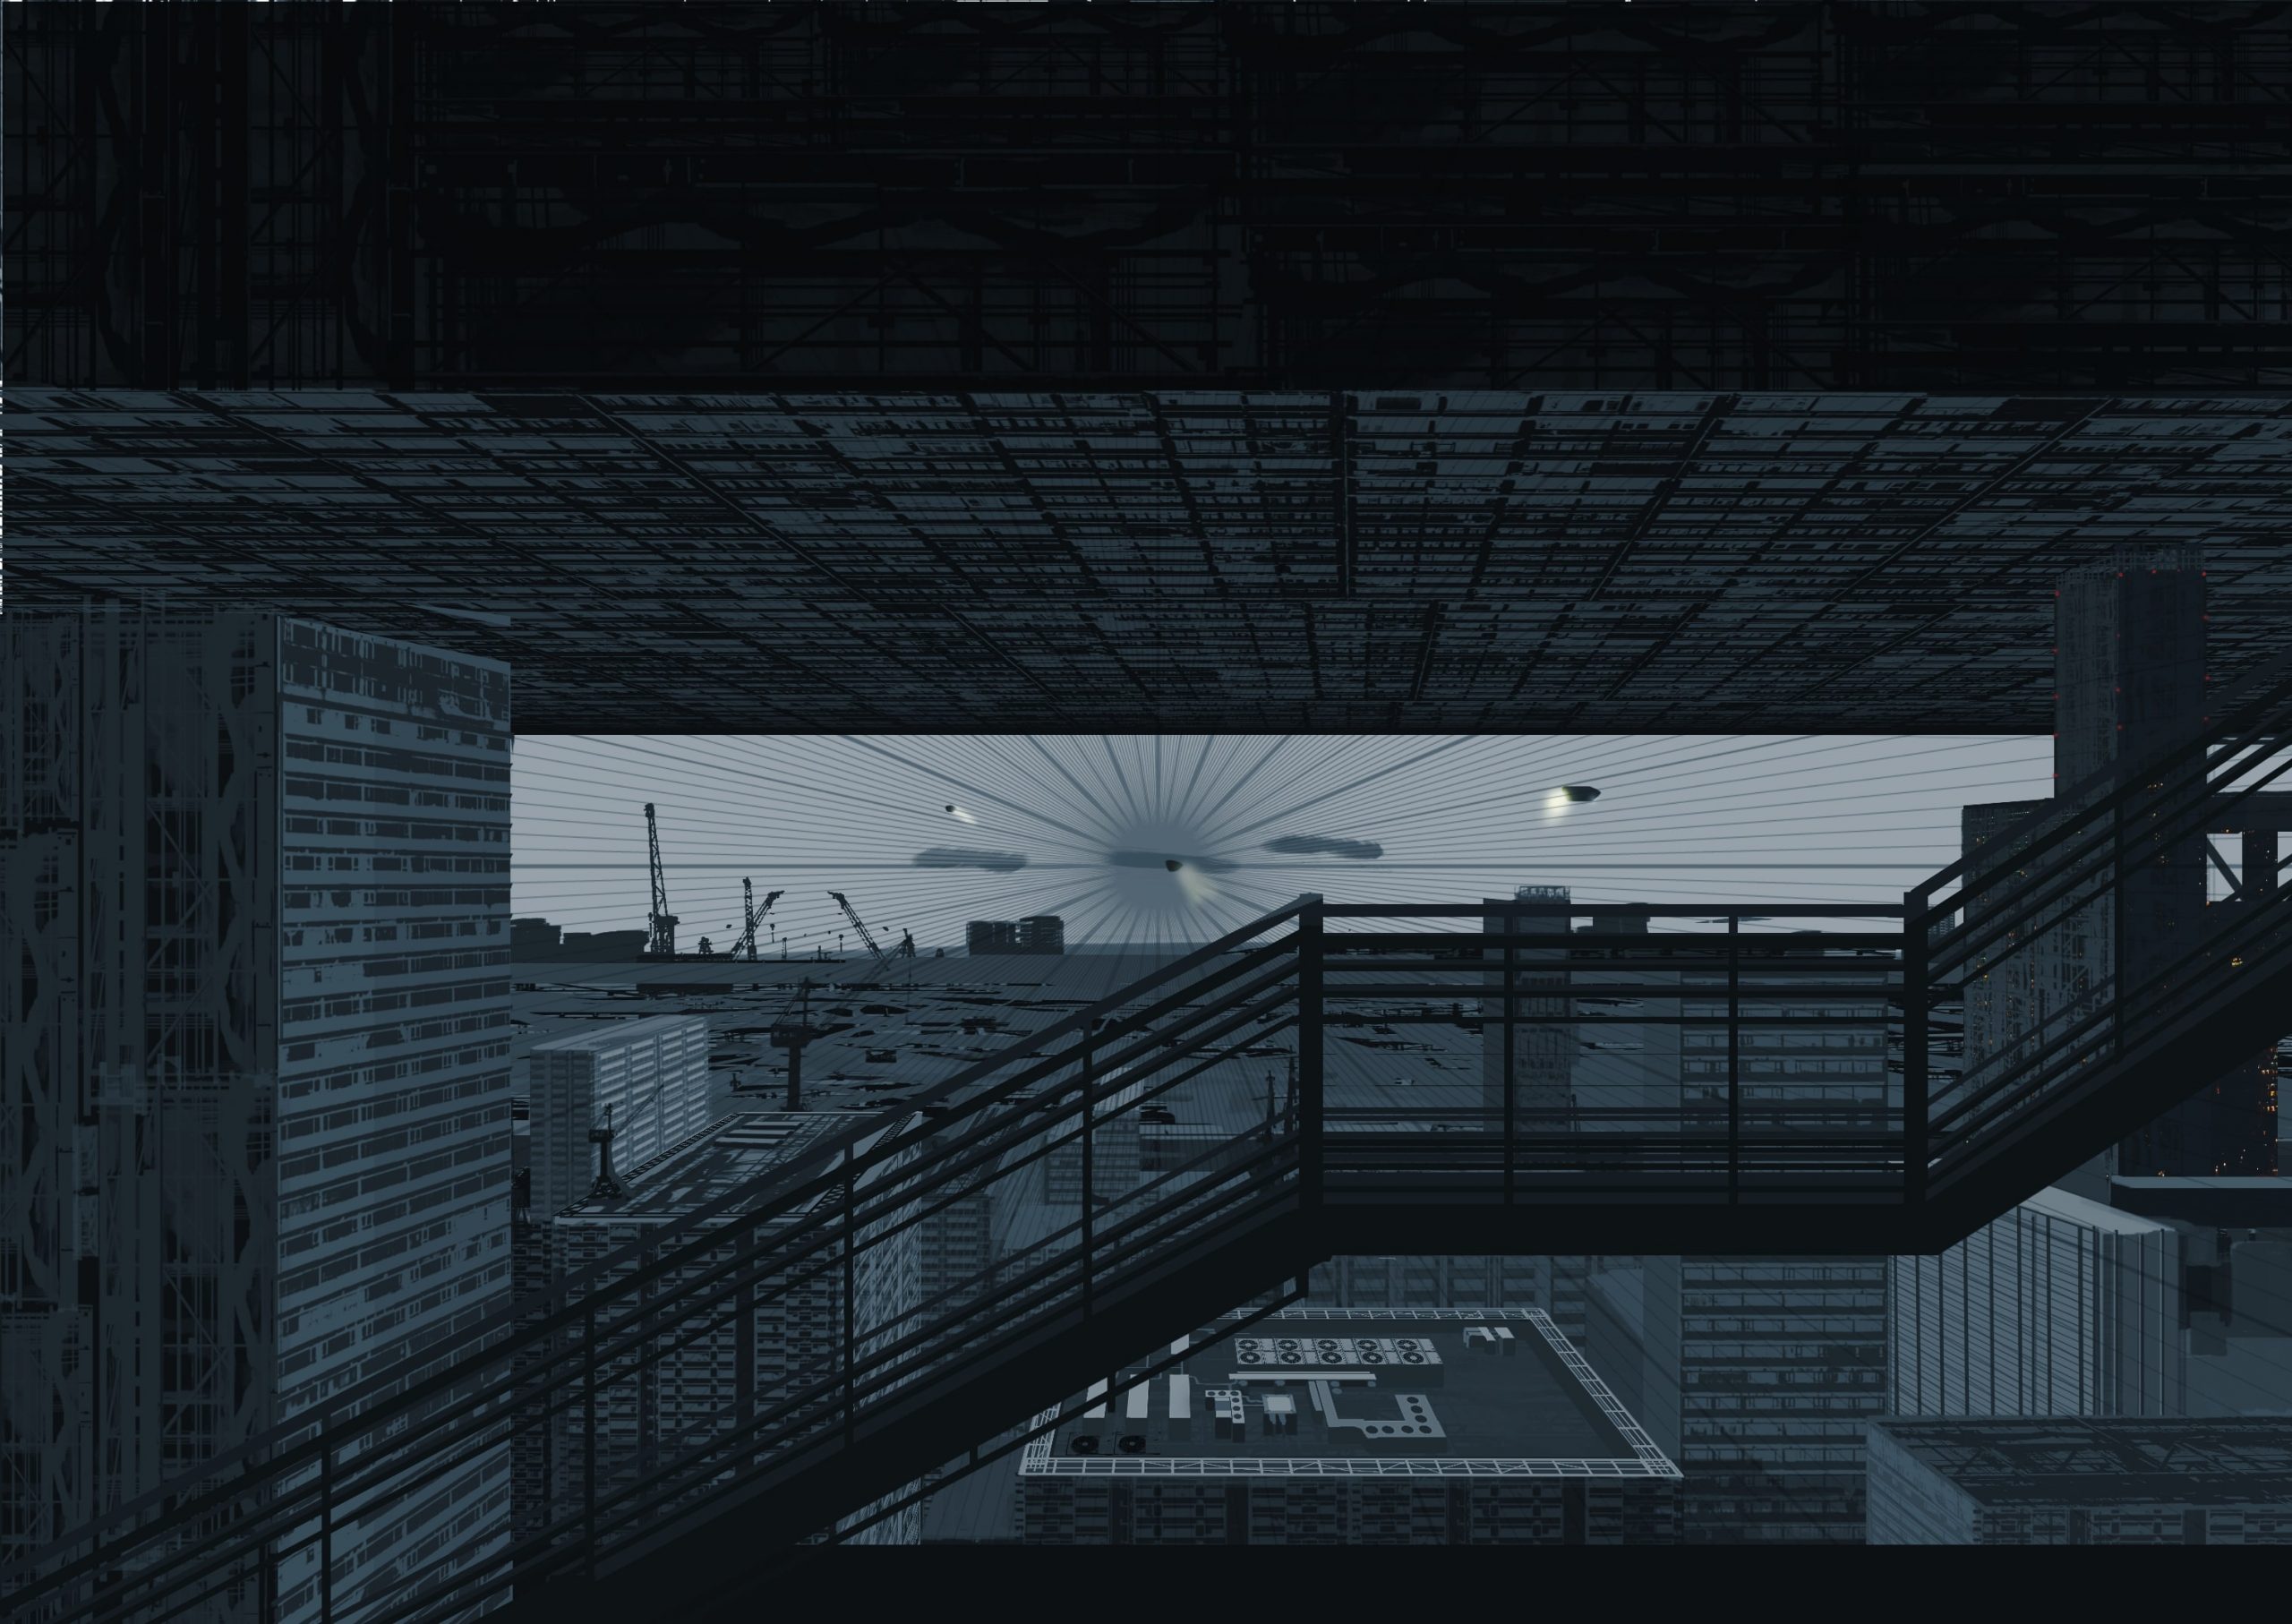
(1) Create a new overlay layer on top of the monochrome layer. I besides added a sci-fi feel by drawing an airship and searchlight in the back. For each size, draw a large, medium, and small object for a skillful remainder. The placement of the stairs in the foreground are temporary at this indicate.
(2) Attach the texture of the lighting office of the building that you created earlier to the building part. Create a new layer and modify the layer to Compare (Low-cal). Make sure that the size of the window and the size of the low-cal do not deviate. We will also use Gratuitous Transform to stretch the areas that will be subject to the perspective. Draw an aviation obstacle calorie-free (red lamp) in the corner of the building to make it look similar that.
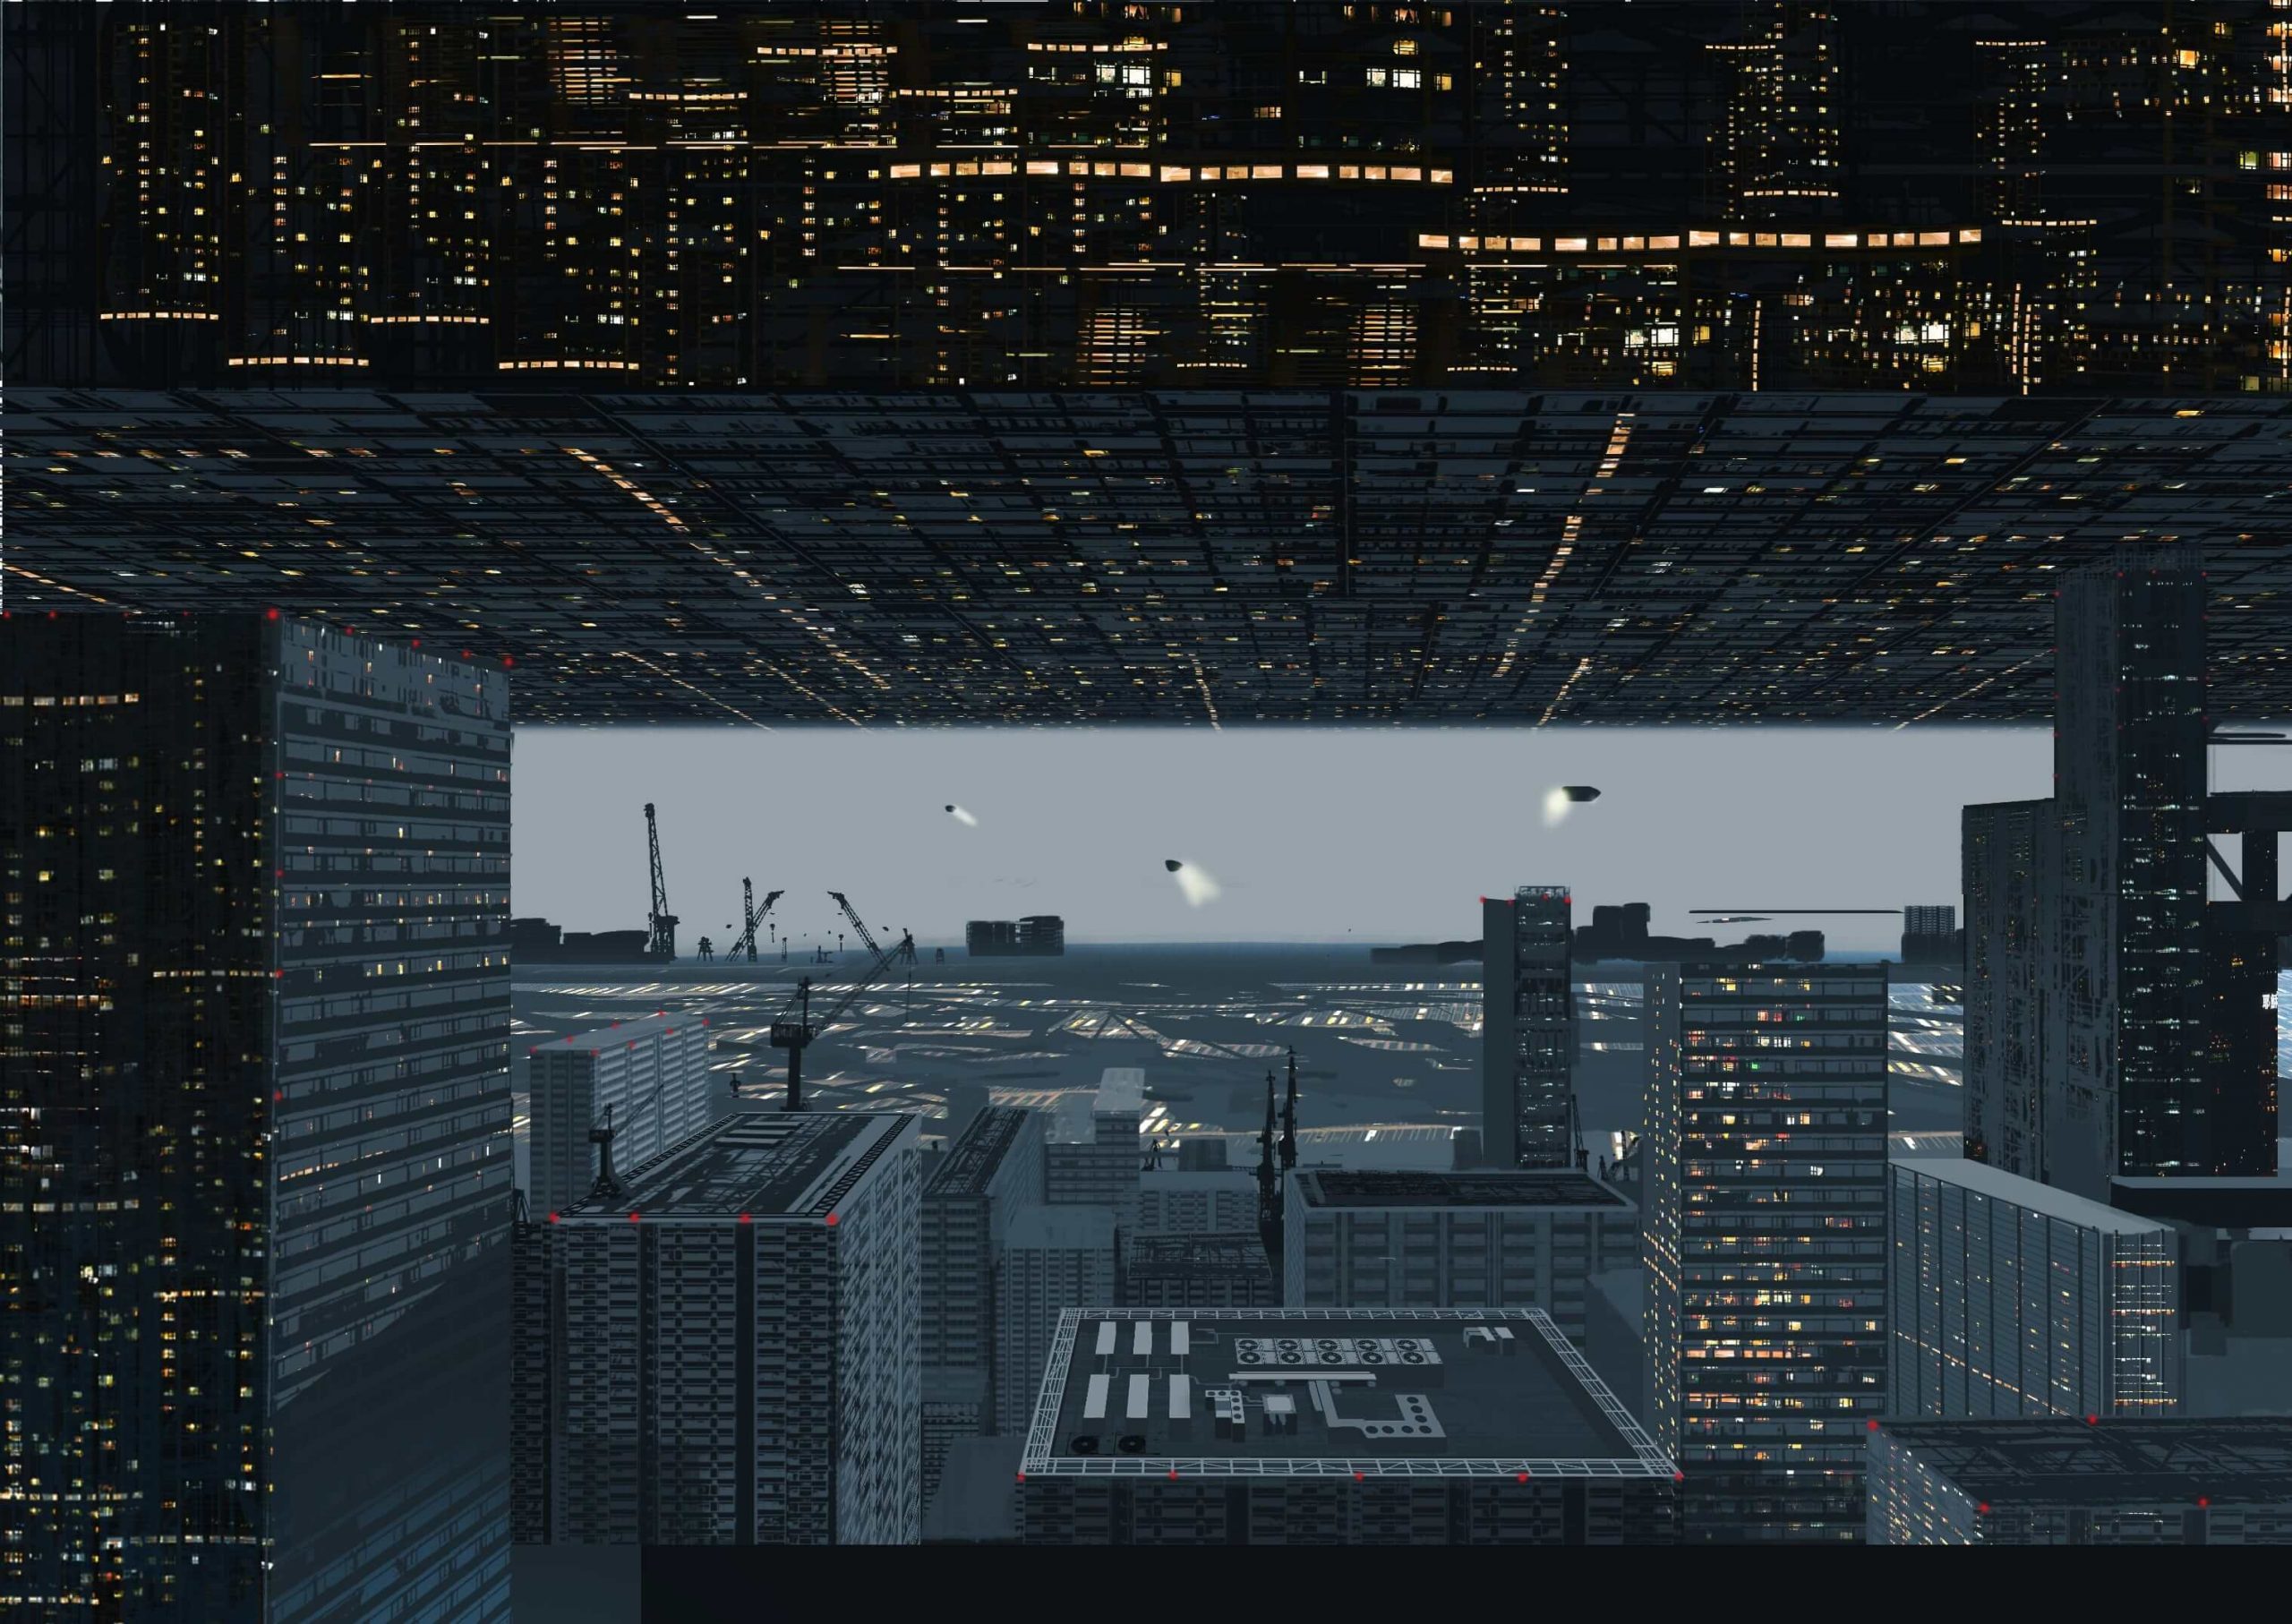
(three) Add the lite. Utilize a soft brush to add together colour so that the light at the back of the building shines into the foreground. Besides, assuming that the light is coming from under the city, lower the opacity and add blue to make it look like a brume.
(iv) To accommodate the overall color tone, employ a tone bend to adjust the color. At this time, place the stairs that were drawn on a separate layer and adjust them while keeping an eye on the overall balance.

(5) Add a light to the stairs in the foreground. The reason why I chose greenish is considering I wanted to brand sure that the color would not disharmonize with the aviation obstacle light behind it.

(six) Finally, add a screen layer of color to the layer where I drew the people.
The texture of the building I used this time is now available at ART street!
Please cheque information technology out!
ーーーーーーーーー
Creator Rank Benefits
https://medibang.com/folio/virtually-creatorrank/
"Illustration task introduction" work
ーーーーーーーーー
「ツチヤ」
ART street
The drove is here:https://medibang.com/author/11253434/
Interview:https://medibang.com/page/interview/tsuchiya002/
twitter:https://twitter.com/abisswalker8

Source: https://medibangpaint.com/en/use/2021/10/how-to-draw-a-beautiful-background/
Posted by: hoffmanvalinarts.blogspot.com
0 Response to "how to draw backgrounds for beginners"
Post a Comment